background image

Note: To receive PSTN calls (i.e. calls from a standard landline) you will need to
contact MyNetFone customer service and upgrade your account to a MegaSaver plan. To
call MyNetFone customer service, dial 181 using your LSV40 Phone or dial 1300 731
048 using your landline. 

Voicemail

Your voice mail box is ready to go when you purchase the product! All you need to do is
activate it before people can start leaving messages for you.

How do I setup my voice mail box?

1. To access your voicemail, dial 121 from your VoIP handset.
2. Follow the voice prompts to setup your personal greeting so your friends know it's you
that they are leaving a message for.

How do I collect my voice mail?

Just call 121 using your LSV40 Phone. If you have any new messages, the system will let
you know how many messages there are. Follow the voice prompts to listen to your
messages.

Note: You can dial 181 at any time using your LSV40 Phone or 1300 731 048 using
your landline to contact MyNetFone customer service.

Appendix 1 – Troubleshooting

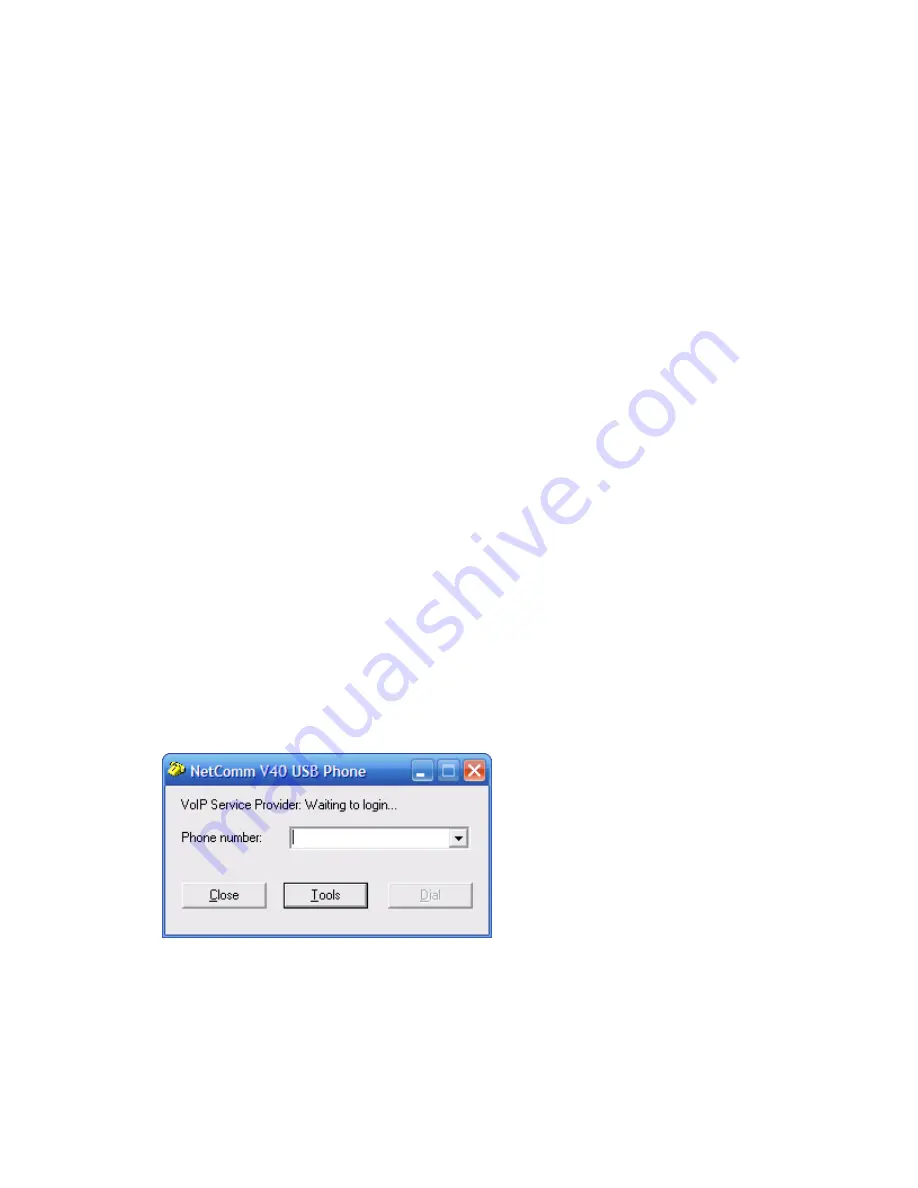
1. I cannot login to my VoIP service provider and I see the following window:

This usually means that your router (ADSL modem / Router) has a problem
communicating with your VoIP service provider’s SIP proxy. Please check that your
ADSL modem / router has the ability to route SIP packets by checking with the
manufacturer.

7

Содержание LSV40

Страница 1: ...ill need to install the NetComm V40 USB Phone application onto your Desktop PC or Laptop in order to configure the phone Follow these steps to install the software 1 Ensure your Desktop PC or Laptop i...

Страница 2: ...top 4 You have finished the hardware installation and need to complete Step3 Configuring the NetComm LSV40 USB Phone Step 3 Configuring the NetComm LSV40 USB Phone VoIP Service Provider Configuration...

Страница 3: ...ted on a sticker on the back of the handset Register to SIP Proxy Server Sends authentication requests to your VSP s VoIP Service Provider SIP proxy server 4 Click OK 5 Check that you have successfull...

Страница 4: ...lly Refer to Appendix 2 Advanced Configuration to change any settings of the phone using the ini file Group 3 Button Use the Red button on the LSV40 USB phone is to hang up or reject an incoming call...

Страница 5: ...just this setting if the person you are calling complains that your voice is too soft increase setting or distorted decrease setting Ideal volume is when you see 2 yellow bars in the level indicator U...

Страница 6: ...e made using your VoIP account For the latest rates and country codes visit the http www myfone com au website Receiving incoming calls Your new VoIP number is displayed on the base of the LSV40 Phone...

Страница 7: ...sonal greeting so your friends know it s you that they are leaving a message for How do I collect my voice mail Just call 121 using your LSV40 Phone If you have any new messages the system will let yo...

Страница 8: ...ings and try again 3 I cannot login to my VoIP service provider and I see the following window This indicates that you are able to connect to your VoIP service provider but your username and password...

Страница 9: ...USB Phone using a text editing program such as Notepad or Wordpad f Edit the value of EnableSpeakerRing from 0 to 1 g Edit the value of EnableBuzzerRing from 1 to 0 h Save the changes to this file and...

Страница 10: ...ir dealing for the purposes of private study research criticism or review as permitted under the Copyright Act no part may be reproduced stored in a retrieval system or transmitted in any form by any...

Страница 11: ...ed in or with the product 3 The customer complies with all of the terms of any relevant agreement with NetComm and any other reasonable requirements of NetComm including producing such evidence of pur...

Страница 12: ...ich cannot be excluded This warranty is in addition to and not in replacement for such conditions and warranties To the extent permitted by the Relevant Acts in relation to your product and any other...

Отзывы: