2. Attach the supplied USB Cable to the USB socket on the bottom of the LSV40
handset. You can connect either end of the cable depending upon your
preferences.
3. Attach the other end of the USB cable to the USB port of your Desktop PC or
Laptop.
4. You have finished the hardware installation and need to complete Step3,
Configuring the NetComm LSV40 USB Phone.
Step 3: Configuring the NetComm LSV40 USB Phone
VoIP Service Provider Configuration:
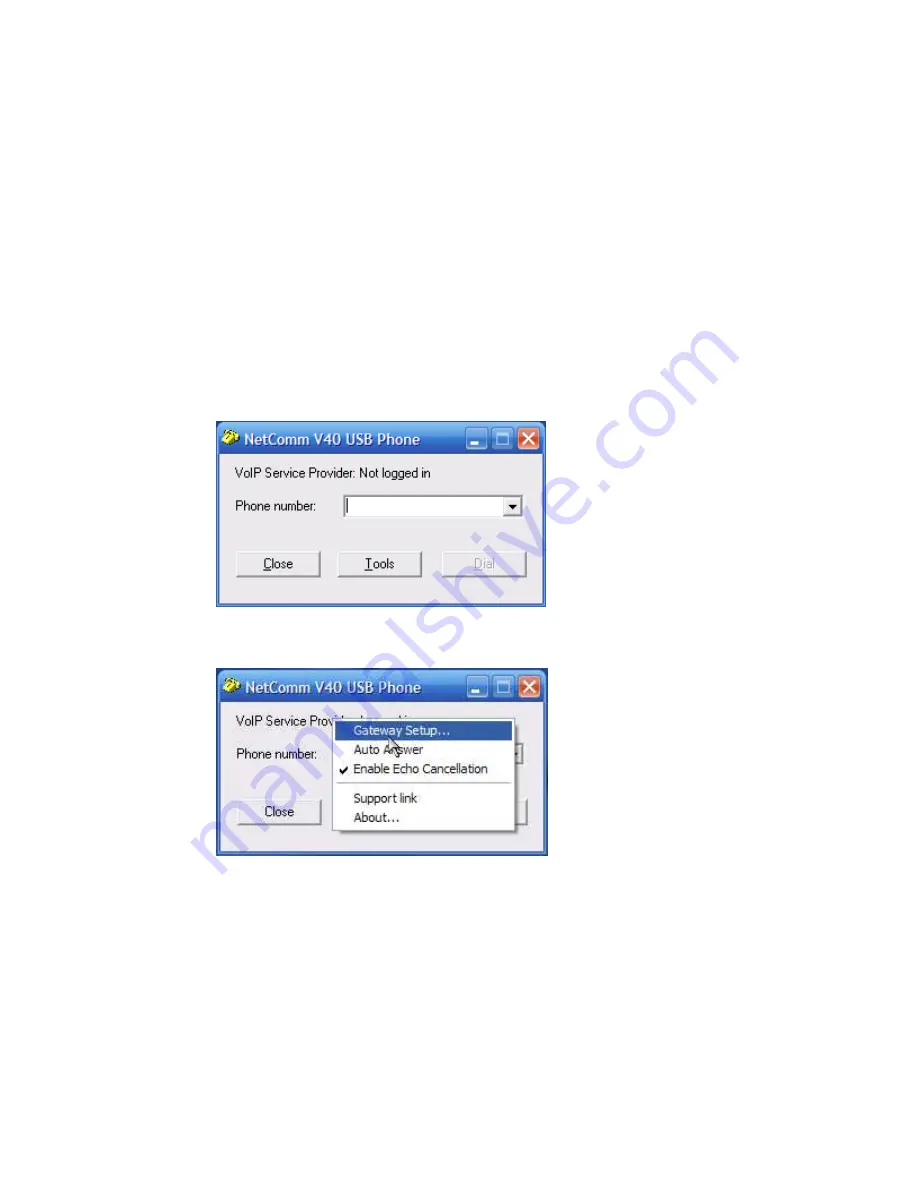
1. Run the NetComm LSV40 USB Phone software (Start
Programs
NetComm LSV40 USB Phone
NetComm LSV40 USB Phone):
2. Click the ‘Tools’ button and select ‘Gateway Setup’ to setup the phone:
3. Enter the details issued by your VoIP service provider (VSP):
2


