6
Replacing a Drive Drawer in a 60-Drive Tray
6
Reinstall the right fan canister.
7
Remove the left fan canister by pressing on the tab holding the fan canister handle in place, and then
pulling the handle toward you.
8
Use the handle to pull the left fan canister out of the drive tray.
9
Disconnect the left cable chain mounting bracket from the midplane. Insert your finger into the
orange circle, and pull the mounting bracket completely out of the drive tray.
NOTE
If you are performing this procedure with the power turned on, when you disconnect the
last cable chain, all of the LEDs, including the Service Action Allowed LED, go off.
10
Disconnect the left cable chain mounting bracket from the drive drawer. Insert your finger into the
orange circle, and pull the mounting bracket completely out of the drive tray. Remove the left cable
chain.
11
Reinstall the left fan canister.
ATTENTION
Possible hardware damage
– If you are performing this procedure with the power
turned on, you must reinstall the fan canisters before you remove the drive drawer.
Otherwise, the equipment could overheat.
12
At the front of the drive tray, remove the bezel from the front of the drive tray.
13
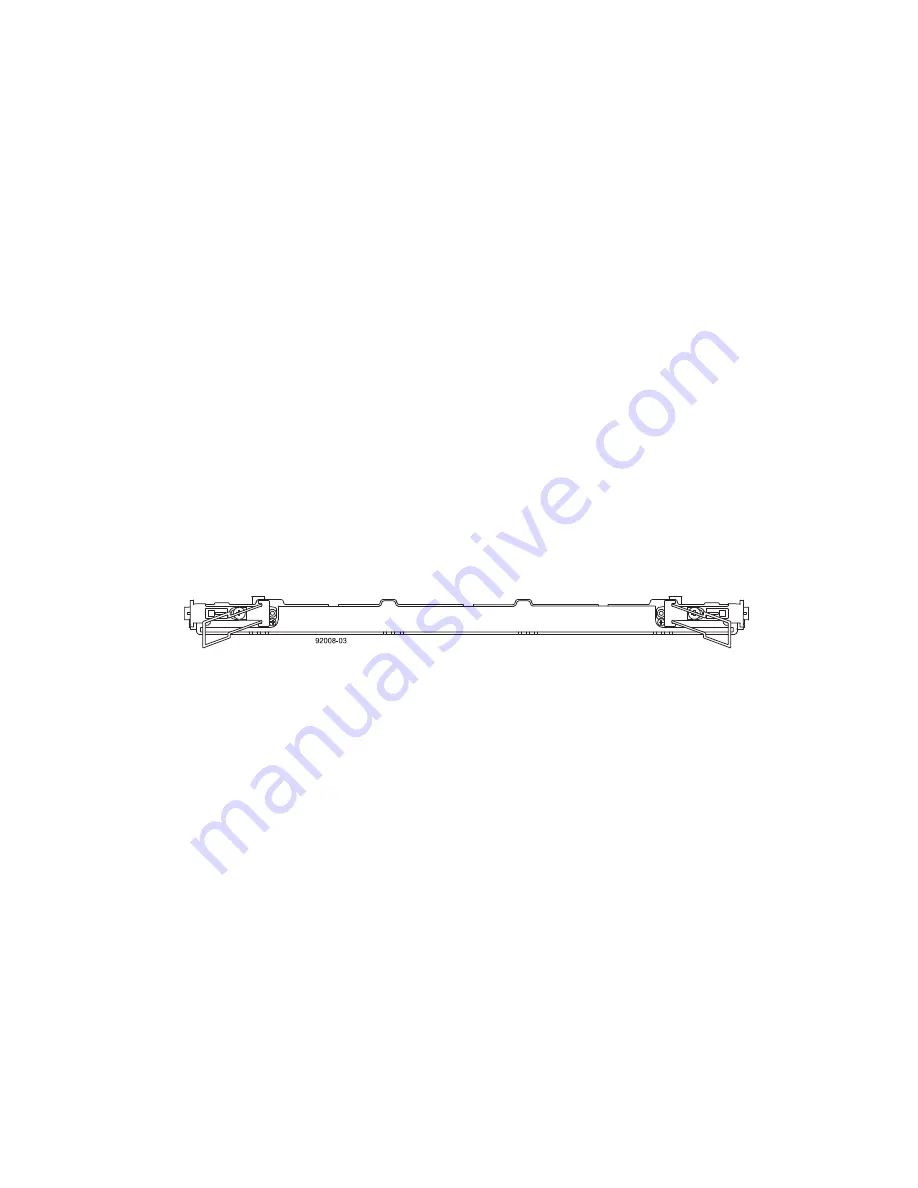
Release the levers on each side of the drive drawer by pulling both towards the center (
).
Figure 6 Levers on the Drive Drawer
14
Carefully pull on the extended levers to pull out the drive drawer until the drive drawer stops. The
drive drawer should not come completely out of the drive tray at this time.
IMPORTANT
If the logical unit numbers (LUNs) have already been assigned and created, the
location of the drives in the drive drawer is critical. Record the location of the drives
before removing the drives in the next step.


