


13. Mocowanie
układu
zawieszenia
należy
powierzyć
producentowi,
jego przedstawicielowi serwisu lub osobie z odpowiednimi
kwalifikacjami.
OSTRZEŻENIE
:
Jeśli
widoczne
są
podejrzane ruchy oscylacji,
należy
natychmiast
wyłączyć
wentylator i go nie
używać,
skontaktować
się
z
producentem, jego przedstawicielem serwisu lub odpowiednio
wykwalifikowaną
osobą.
Konserwacja
1.
Wyjąć
wtyczkę
z gniazdka elektrycznego.
2.
Usunąć
kurz z
zewnętrznych
powierzchni wentylatora za
pomocą
suchej szmatki.
3. Aby
zdjąć
ramkę
kratki
należy
odkręcić
śruby
montażowe
znajdujące
się
na
krawędzi
kratki.
4.
Wytrzeć
kurz z kratki i
łopat
za
pomocą
wilgotnej szmatki. Uwaga
—
nie wolno zbyt mocno
zmoczyć
szmatki, aby nie
tworzyła
ociekających
kropel, to
może
ograniczyć
izolację
wentylatora.
5. Przy czyszczeniu
łopat
nie
używać
zbyt
dużej
siły,
odkształcenie
łopaty
wpłynie
na
wyważenie.
6. Wentylator
należy
zmontować,
postępując
odwrotnie do
demontażu.
Jeśli
to nie jest
możliwe,
nie
używać
siły.
Należy
jak najszybciej
odesłać
wentylator do producenta lub wskazanego serwisu w celu
kontroli
urządzenia.
7. Przed uruchomieniem,
osłona
śmigła
musi
być
dobrze
skręcona
za
pomocą
śrub
montażowych.
8.
Uruchomić
na 5 minut.
Sprawdzić,
czy wentylator pracuje
prawidłowo.
Konserwacja jest
zakończona.
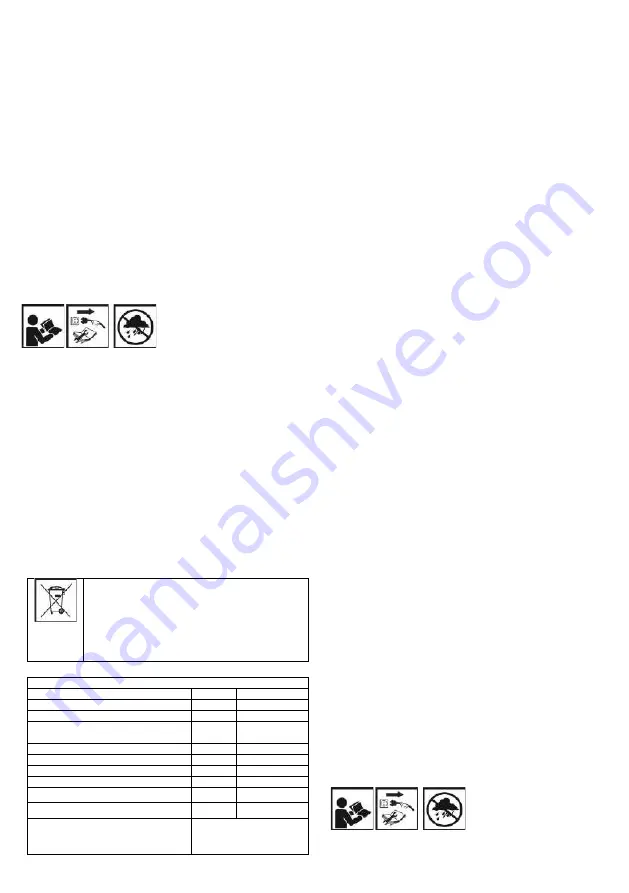
Objaśnienie
zastosowanych piktogramów
1
2
3
1. Przeczytaj
instrukcję
obsługi,
przestrzegaj
ostrzeżeń
i warunków
bezpieczeństwa
w niej zawartych!
2.
Odłącz
urządzenie
przed
naprawą.
3.
Chroń
urządzenie
przed
wilgocią.
INSTRUKCJA
MONTAŻU
Montaż
nie jest wymagany. Wentylator w momencie dostawy jest w
pełni
zmontowany.
INTRUKCJA
UŻYTKOWANIA
Ustaw wentylator na
płaskiej,
bezpiecznej powierzchni z której
urządzenie
nie spadnie oraz nie zostanie
pociągnięte
przez przewód
zasilający.
Ustaw
wybraną
prędkość
wentylatora
obracając
przełącznik
znajdujący
się
z
tyłu
wentylatora.
0 -
Urządzenie
wyłączone
1 - Niska
prędkość
2 -
Średnia
prędkość
3 - Wysoka
prędkość
Wyreguluj
pozycję
wentylatora, aby
uzyskać
odpowiedni
przepływ
powietrza.
UTYLIZACJA
Produktów zasilanych elektrycznie nie
należy
wyrzucać
wraz z domowymi odpadkami, lecz
oddać
je do utylizacji
w odpowiednich
zakładach.
Informacji na temat
utylizacji udzieli sprzedawca produktu lub miejscowe
władze.
Zużyty
sprzęt
elektryczny i elektroniczny
zawiera substancje
nieobojętne
dla
środowiska
naturalnego.
Sprzęt
nie poddany recyclingowi stanowi
potencjalne
zagrożenie
dla
środowiska
i zdrowia ludzi.
DANE ZNAMIONOWE
90-005
PARAMETR
SYMBOL
WARTOŚĆ
Napięcie
zasilania
V
220-240V
Częstotliwość
zasilania
f
50Hz
Maksymalne
natężenie
przepływu
wentylatora
F
42.84 m3/min
Moc wentylatora
P
50W
Wartość
eksploatacyjna
SV
0.94 (m
3
/min)/W
Pobór mocy w trybie czuwania
PSB
0 W
Poziom mocy akustycznej wentylatora
LWA
51.70 dB(A)
Maksymalna
prędkość
powietrza
c
2.71 m/s
Klasa
ochronności
I
Dodatkowych informacji udziela
Grupa Topex Sp. z o. o. Sp.
k. Ul. Pograniczna 2/4, 02-
285 Warszawa
EN
INSTRUCTION MANUAL
FLOOR FAN 30 CM
90-009
NOTE: BEFORE THE EQUIPMENT IS USED FOR THE FIRST TIME,
READ THIS INSTRUCTION MANUAL AND KEEP IT FOR FUTURE
REFERENCE.
DETAILED SAFETY REGULATIONS
a) This equipment may be used by children at least 8 years old and
by persons with reduced physical and mental abilities and
persons who are not familiar with the equipment, if supervision or
instruction regarding the use of the equipment in a safe manner
is provided so that the threats were understandable. Children
should not play with the equipment. Unattended children should
not clean or maintain the equipment.
b) Before removing the cover, make sure that the fan is disconnected
from the power supply.
WARNING
! The device is used for indoor work.
Warning
:
1. Do not insert your fingers or other objects into the grille or movable
parts when the fan is running.
2. Do not place the fan near window curtains or on uneven floors.
3. Avoid places with gas, gasoline and those that threaten the fan get-
ting wet.
4. In the event of unusual noises or other irregularities in operation,im-
mediately remove from use and return the fan to the manufacturer or
an authorized repair service.
5. If the supply cord is damaged, it has to be replaced by the manufac-
turer, service representative or similarly qualified person in order to
avoid threats.
6. Do not attempt to disassemble or repair the fan in case of its incorrect
work. Send the fan to an authorized service center for repair.
7. This fan is not intended for use by people (including children) with
reduced physical, sensory or mental capabilities or lack of experi-
ence and knowledge unless they have been given supervision or in-
struction concerning use of the fan by a person responsible for their
safety.
8. Children should be supervised so that they can not play with the fan.
9. After assembling the fan, do not remove the grille.
10. Disconnect the fan from the power source before cleaning or mainte-
nance. It it is necessary to remove the grille for cleaning or mainte-
nance, make sure that the fan propeller does not move and fan has
been disconnected from power source.
11. Replacement of a part of a safe suspension system should be en-
trusted to the manufacturer, his service representative or a per-
son with appropriate qualifications.
12. Fastening to the wall, e.g. through hooks and other means, should
withstand four times the weight of the wall fan.
13. Attaching the suspension system should be entrusted to the manu-
facturer, his service representative or a person with appropriate qual-
ifications.
14.
WARNING
: If suspicious oscillation is visible, immediately turn off the
fan and do not use it, contact the manufacturer, his service repre-
sentative or a suitably qualified person.
Maintenance :
1. Unplug the fan from the socket.
2. Remove dust from the outside of the fan with a soft cloth.
3. To remove the front grille, unscrew the securing screws located on
the edge of the grill.
4. Wipe dust off the grilles and blades with a soft cloth. Note - Do not
wet the cloth too much so that it does not form dripping drops, it may
limit the fan insulation.
5. When cleaning the blades, do not use too much force, deformation
of the blade will affect the balance.
6. The fan should be assembled in reverse order to removal. If this is
not possible, do not use force. Send the fan to the manufacturer or a
designated service center as soon as possible to check the device.
7. Before start, the propeller guard must be tightened securely with the
mounting screws.
8. Run for 5 minutes. Check that the fan is working properly.
Maintenance is complete.
Explanation of the pictograms used
1
2
3
1. Read the operating manual, observe the warnings and safety
conditions contained in it!


