Performance Verification
N-550
17
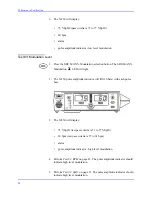
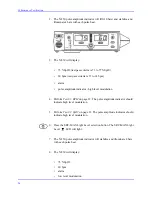
4. Press the Power On/Off button to turn the N-550 on.
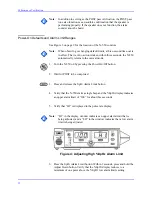
5. Leave the sensor open with the LEDs and photo detector visible.
6. After the N-550 completes its normal power-up sequence, verify that the
sensor LED is brightly lit.
7. Slowly move the sensor LED in proximity to the photo detector element
of the sensor (close the sensor slowly). Verify, as the LED approaches the
optical sensor, that the LED intensity decreases.
8. Open the sensor and notice that the LED intensity increases.
9. Repeat step 7 and the intensity will again decrease. This variation is an
indication that the microprocessor is in proper control of LED intensity.
10. Press the Power On/Off button to turn the N-550 off.
Operation with a Live Subject
Patient monitoring involves connecting the sensor to a live subject for a
qualitative test.
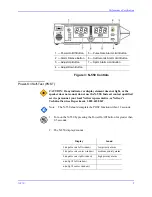
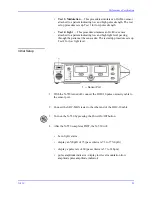
1. Sensor Port
1. Ensure that the N-550 is connected to an AC power source.
2. Connect a DOC-10 pulse oximetry cable to the N-550 sensor port (1).
Содержание OxiMax N-550
Страница 1: ...N 550 Pulse Oximeter Service Manual min min SpO2 N 550 SatSeconds SpO2 ...
Страница 10: ...Blank Page ...
Страница 38: ...Blank Page ...
Страница 64: ...Blank Page ...
Страница 81: ...Disassembly Guide N 550 71 Figure 39 Equipotential Ground Terminal Removed ...
Страница 82: ...Blank Page ...
Страница 86: ...Spare Parts 76 Figure 40 Exploded View ...
Страница 90: ...Blank Page ...
Страница 108: ...Blank Page ...
Страница 120: ...Blank Page ...
Страница 130: ...Figure 56 Main PCB Parts Locator Diagram 129 Technical Description N 550 ...
Страница 131: ...Figure 57 Front Panel Parts Locator Diagram 131 N 550 Technical Description ...
Страница 136: ...Blank Page ...
Страница 137: ... ...


