Hob-based hood control
en
9
¡
In networked standby mode, the appliance requires
a maximum of 2 W.
9.1 Setting up Home Connect
Requirements
¡
The appliance is switched off.
¡
You have a mobile device with a current version of
the iOS or Android operating system, e.g. a smart-
phone.
¡
The mobile device and the appliance are within
range of your home network's Wi-Fi signal.
1.
Download the Home Connect app.
2.
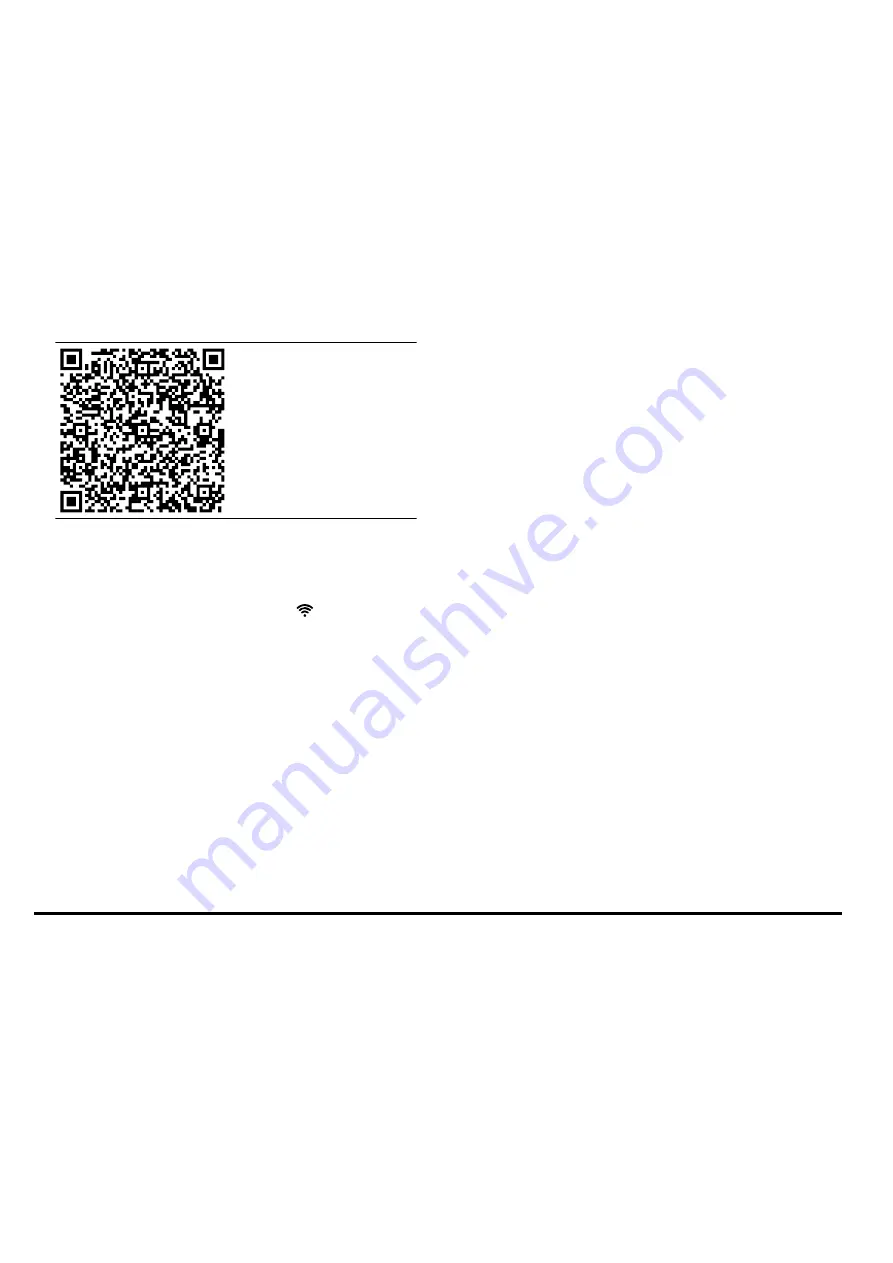
Open the Home Connect app and scan the follow-
ing QR code.
3.
Follow the instructions in the Home Connect app.
9.2 Resetting the connection
▶
To reset the saved connections to the home net-
work and to Home Connect, press twice.
9.3 Software update
Your appliance's software can be updated using the
software update function, e.g. for the purposes of op-
timisation, troubleshooting or security updates.
To do this, you must be a registered Home Con-
nect user, have installed the app on your mobile device
and be connected to the Home Connect server.
As soon as a software update is available, you will be
informed via the Home Connect app and will be able to
start the software update via the app. Once the update
has been successfully downloaded, you can start in-
stalling it via the Home Connect app if you are in your
home network (Wi-Fi). The Home Connect app informs
you once installation is successful.
Notes
¡
The software update consists of two steps.
–
The first step is the download.
–
The second step is the installation on your appli-
ance.
¡
You can continue to use your appliance as normal
while updates are downloading. Depending on your
personal settings in the app, software updates can
also be set to download automatically.
¡
Installation takes a few minutes. You cannot use
your appliance during installation.
¡
We recommend that you install security updates as
soon as possible.
9.4 Remote diagnostics
Customer Service can use Remote Diagnostics to ac-
cess your appliance if you contact them, have your ap-
pliance connected to the Home Connect server and if
Remote Diagnostics is available in the country in which
you are using the appliance.
Tip:
For further information and details about the avail-
ability of Remote Diagnostics in your country, please
visit the service/support section of your local website:
www.home-connect.com.
9.5 Data protection
Please see the information on data protection.
The first time your appliance is registered on a home
network connected to the Internet, your appliance will
transmit the following types of data to the
Home Connect server (initial registration):
¡
Unique appliance identification (consisting of appli-
ance codes as well as the MAC address of the Wi-Fi
communication module installed).
¡
Security certificate of the Wi-Fi communication mod-
ule (to ensure a secure data connection).
¡
The current software and hardware version of your
appliance.
¡
Status of any previous reset to factory settings.
This initial registration prepares the Home Connect
functions for use and is only required when you want to
use the Home Connect functions for the first time.
Note:
Please note that the Home Connect functions
can only be utilised with the Home Connect app. In-
formation on data protection can be retrieved in the
Home Connect app.
Hob-ba s e d h ood c on trol
10 Hob-based hood control
You can connect your appliance to a suitable hob and,
in this way, control the functions of your appliance via
the hob.
If the hob and the extractor hood are Home Connect-
compatible, connect the appliances in the Home Con-
nect app. To do this, connect the two appliances to
Home Connect and follow the instructions in the app.
Notes
¡
Please note the safety precautions in the instruction
manual for your appliance and ensure that they are
also observed when operating the appliance via the
hob-based hood control.
¡
Operating your appliance always takes priority. It is
not possible to use the hob-based hood control dur-
ing this time.
¡
You can only connect to the extractor hood via the
Home Connect app. Other connection routes are no
longer supported.
Содержание D98IPT2S0B
Страница 1: ...Extractor hood User manual and installation instructions D98IPT2S0 D98IPT2S0B D98IPT2Y5...
Страница 23: ......


