4
Dashboard
When all the basic settings have been made, press “Install”. The configuration will be
written to the PowerRouter and the system will reset to activate the configuration.
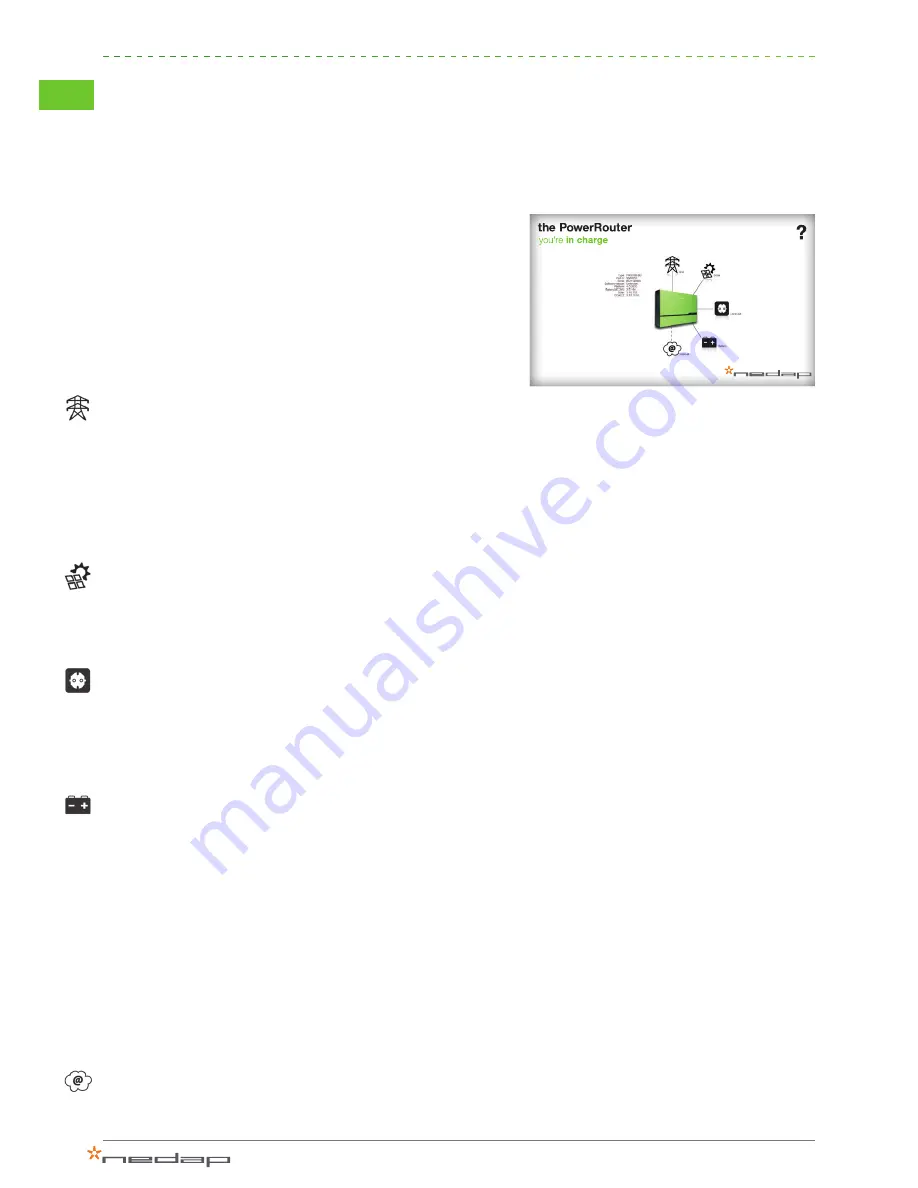
The main panel of the installation tool is a dashboard that
provides you information about the current status of the
PowerRouter. Advanced settings can be made via the drop-down
menu that opens when you hover over the word “Advanced” in the
upper-right corner.
Hover over the icons and a mouse-over status panel will appear
with additional information as explained below:
Grid
>
Module status: shows the status of the AC module in the
system. Only intended for diagnostics during service.
>
Grid voltage: shows the current grid voltage.
>
Frequency: shows the current grid frequency.
>
Grid Power: shows the output power of the grid module.
>
5 latest grid disconnection events
Solar
>
Module status: shows the status of the system’s internal solar
module.
>
Voltage and current of each solar string at this moment.
Local out
>
Module status: shows the status of the system’s AC module.
>
Voltage island mode: shows the current local out voltage.
>
Frequency: shows the local out frequency.
>
Local power: shows the actual load on local out.
Battery
>
Module status: shows the status of the system’s internal
battery module.
>
Battery type: shows battery type.
>
Autonomy time: shows autonomy time at the current rate of
power consumption.
>
State of charge: shows the current battery charge level, in
percent.
>
Voltage: shows battery voltage (charging or discharging).
>
Current: shows battery current (charging or discharging).
>
Temperature: shows reading from battery temperature sensor
(should be mounted at positive battery clamp).
Internet
>
MAC address: shows the system’s MAC address.
2
Weiter
Zurück
Figure 8: Dashboard
Advanced


