


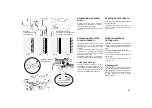

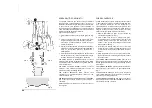

⑩
⑪
⑫
⑨
①
②
③
④
⑤
⑥
⑦
⑧
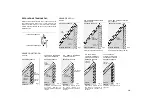
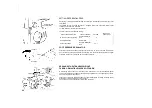
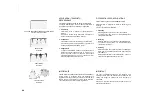
Right needle thread
Tension
control
Number of thread
Stitch length control
Lower looper thread
4
3
2
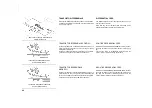
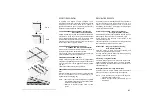
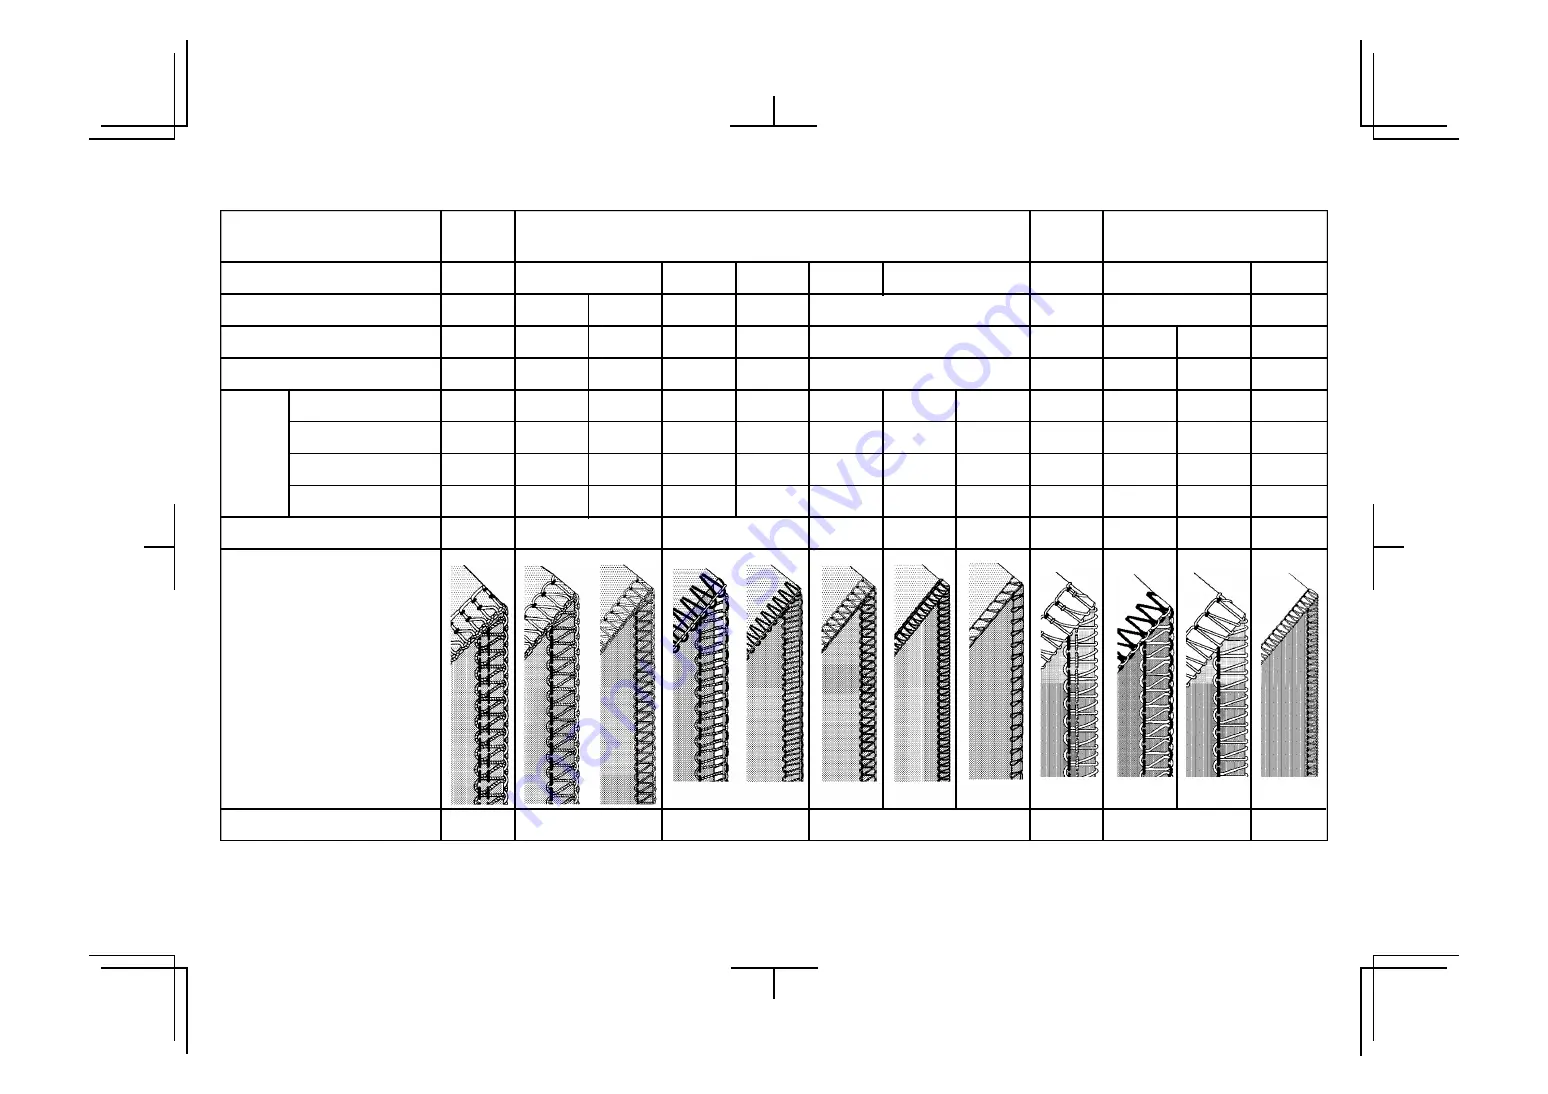
Flat seam
Narrow hem Rolled hem Picot stitch
Rolled hem
- 6 -
6
- 6 -
Overedge cutting width dial
Needle to use
Left
and
Right
Left
Left
Left
Right
Right
Right
Right
3
6
Left
and
Right
Super stretch
4 - 6
Stitch finger
○
○
○
○
○
○
○
○
Two thread convertor
○
○
○
○
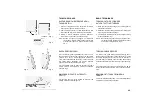
Reference page
20
27
18
17
17, 20
Left needle thread
Upper looper thread
Ref. No.
17,18, 27
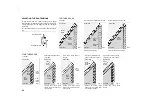
- 4 -
- 4 -
2.5 - 3.5
- 4 -
-
2.5 - 3.5
- 4 -
- 4 -
7 -
-
3 - 5
0 -
- 4 -
2 - 2.5
- 4 -
- 4 -
- R -
7 -
0 -
- 4 -
- 4 -
- P -
- 4 -
-
2 - 3.5
0 -
-
0 -
- 4 -
2.5 - 3.5
1 -
- 5
1 - 2
- 4 -
- 4 -
-
0 -
-
-
-
-
0 -
- 4 -
-
- 4 -
- 4 -
- 4 -
- 4 -
- 4 -
- 4 -
- 4 -
-
-
-
-
- 4
- 4
2.5 - 3.5
4 - 6
4 -
- 5 -
4
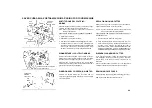
Note: The above settings of tension and overedge cutting width dial are for general guidance.
Tension settings may vary with different threads and fabrics.
A little fine tuning will improve your stitching in many cases.
Following advice helps you.
1. Turn overedge cutting width dial. (See page 21)
2. Adjust needle tensions when you sew thin or thick material.
3. Reduce the tension when you use thick thread.
4. Incorrect tension setting causes stitch skipping. Adjust the tension setting.
5. Tension setting will have problem when needle setting is incorrect.
Try test-sewing with a piece of fabric you are going to use and find the best settings.
SETTING CHART
16
Содержание Lock 181
Страница 1: ......