
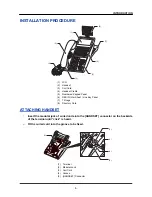


CONNECTING HEADSET
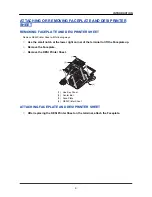
CONNECTING HEADSET WITH TERMINAL
According to the following procedure, Headset is connected to HEADSET Connector which is located bottom of
terminal.
For the headset that is
supported
, please contact
the NEC's dealer or
NEC.
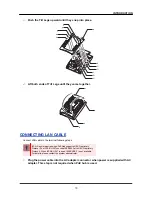
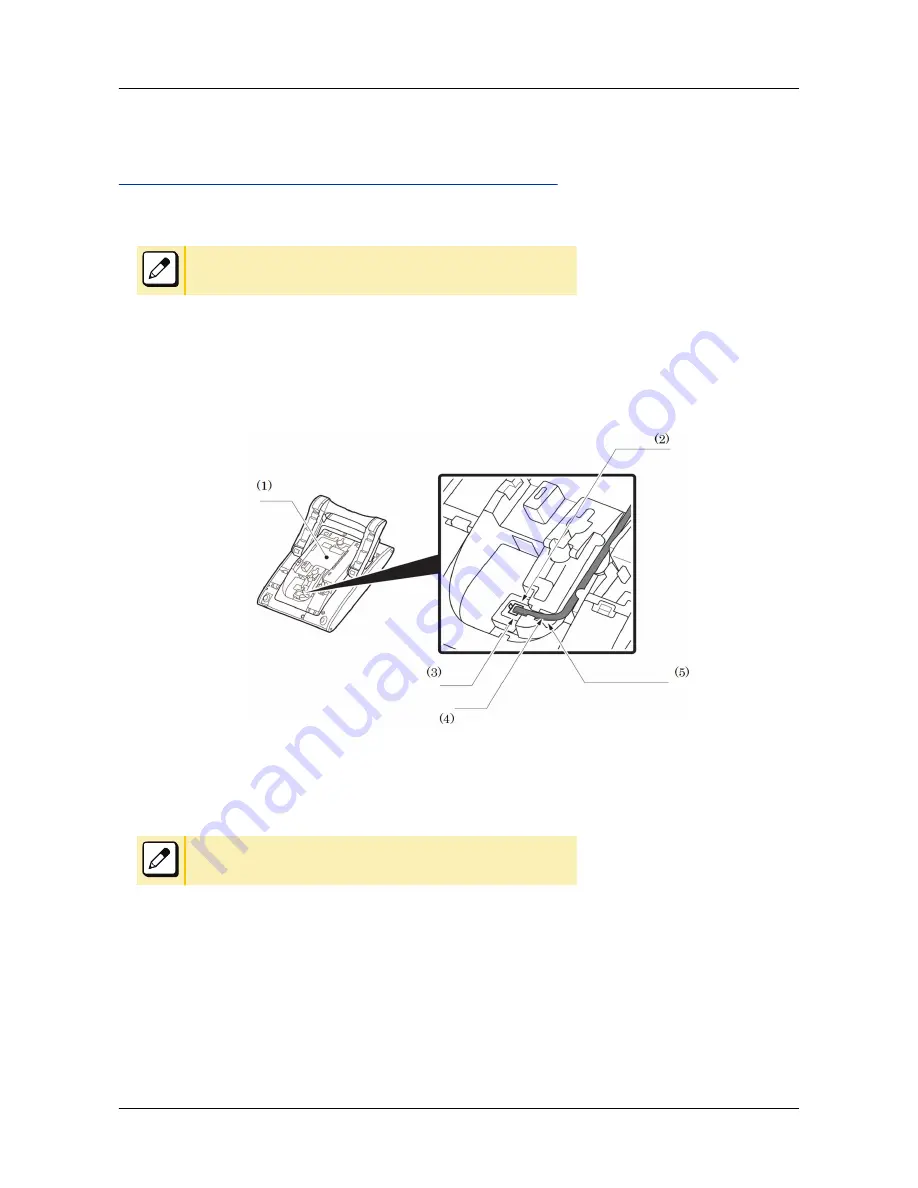
HOW TO CONNECT HEADSET
1.
Plug the modular plug of headset into the HEADSET connector on the bottom of
terminal.
2.
Fit the headset cord into the groove to be fixed.
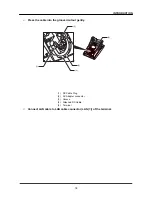
(1) Terminal
(2) HEADSET connector
(3) Modular Plug
(4) Cord
(5) Groove
Refer to the
“TO MAKE A CALL USING HEADSET” on page 64
.
INTRODUCTION
17
Содержание UNIVERGE DT830G(DG)
Страница 1: ...UNIVERGE IP Phone DT830G DG DT830 USER S GUIDE NWA 088677 001 Issue 1 0 May 2014...
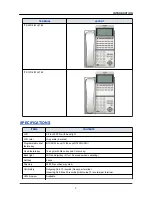
Страница 9: ...TERMINAL LAYOUT ITZ 12D 3 BK TEL ITZ 8LDG 3 BK TEL ITZ 8LD 3 BK TEL INTRODUCTION 2...
Страница 121: ...2 Press Reverse Contrast feature key The display is changed normal screen FEATURE OPERATION 114...


