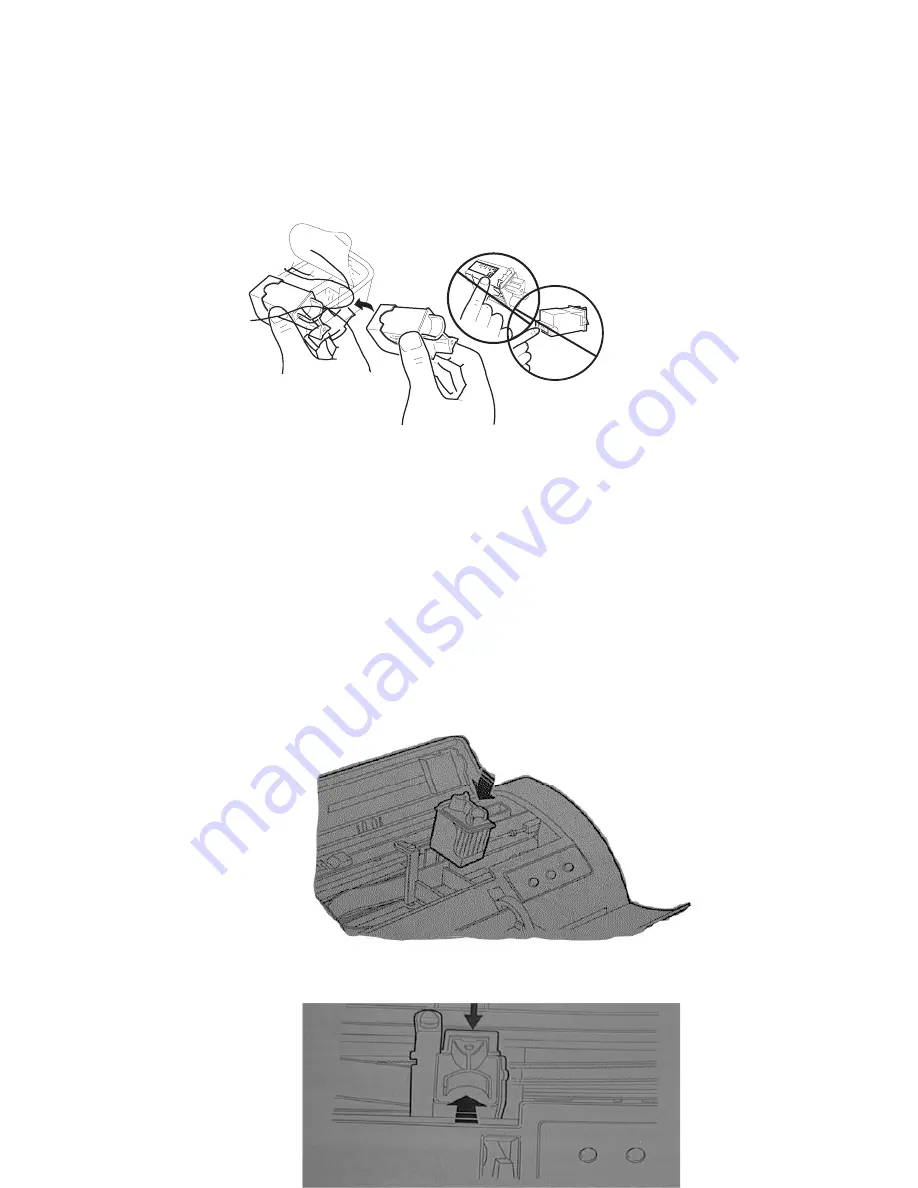
Inserting the Print Head
See the instructions embossed on the inside of the top cover (and illustrated in
Chapter 1 of the User Guide)
•
Open the sealed print head container and remove the instructions leaflet and
the print head, holding it by the thumb and finger grip (end opposite the
protective film).
Do not touch the electrical contacts or sit the print head on them.
•
Remove the protective film.
Do not touch the printing nozzles or sit the print head on them.
Insert picture
•
With the printer already powered, press the Install Cartridge key on the
operator panel to position the print head carriage in the head loading
position. The LED's on the operator panel will both start flashing.
If you do nothing for 60 seconds, the print head carriage will return to its rest
position*. To return the print head carriage to the head loading position, you
must press Install Cartridge again.
* The print head carriage will not return to its rest position if there is no
print head inserted or if the print head selection lever is not in the correct
position.
•
Open the top cover of the printer.
•
With the electrical contacts towards the corresponding contacts in the housing
on the print head carriage, insert the print head gently into its chamber.
•
Holding the lip at the rear of the print head insertion area, push the print
Содержание SuperScript 100C
Страница 9: ...Identifying the Printer Parts ...
Страница 15: ... ...
Страница 31: ...Print Area W M L R Z ...
Страница 44: ......


