17
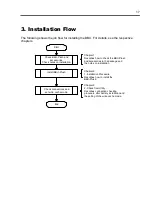
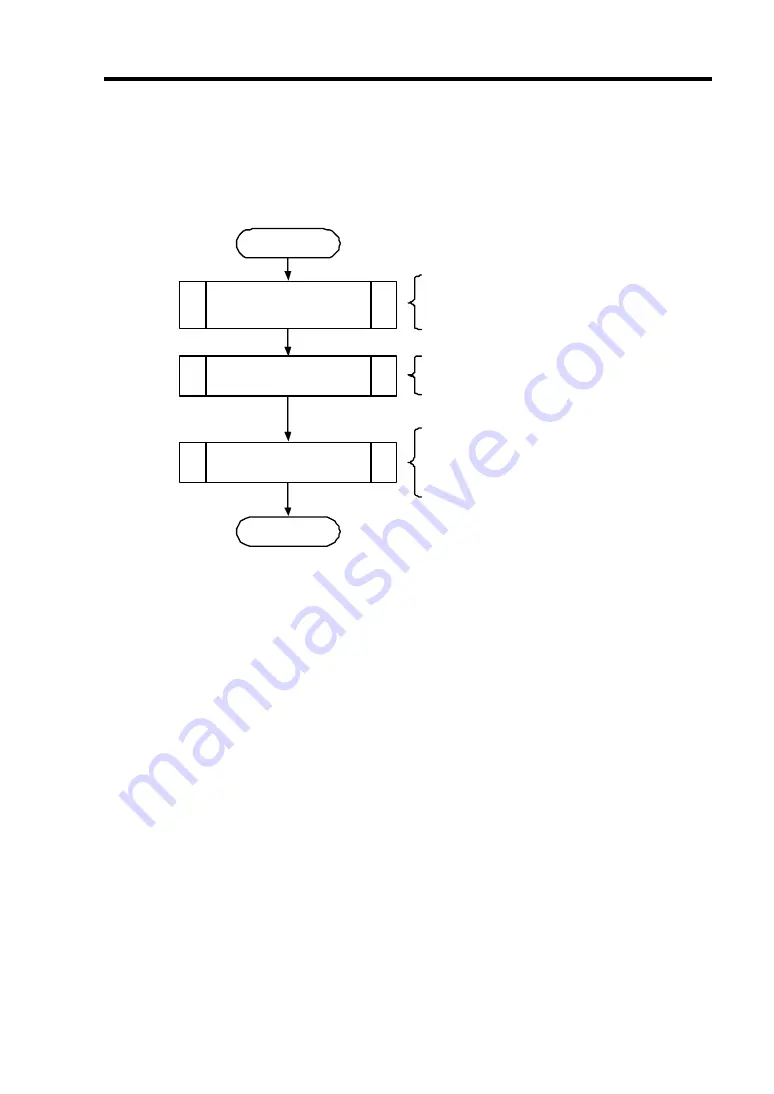
3. Installation Flow
The following shows the job flow for installing the BBU. For details, see the respective
chapters.
Start
Check BBU-P lus3 and
accessories.
Check notes on installation.
Install BBU-Plus3.
Check connections and
set write cache mode.
End
Chapter 1
Describes how to check the BBU-Plus2
and accessories in the package and
the notes on installation.
Chapter 2
2. Check from Utility
Describes connection checking
procedure after battery i nstallation an d
the setting of the write cache mode.
Chapter 2
1. Installation Procedure
Describes how to install the
BBU-Plus2.
Содержание N8103-136
Страница 24: ......
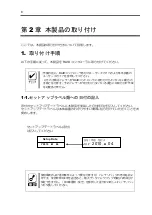
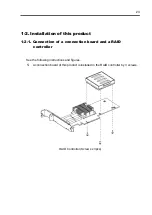
Страница 33: ...9 1 2 本製品の取り付け 1 2 1 コネクションボードと RAID コントローラの接続 本製品のコネクションボードを RAID コントローラに3箇所のネジで取り付けます RAID コントローラ ネジ3ヶ所 ...
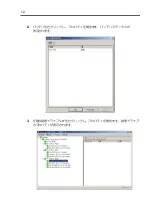
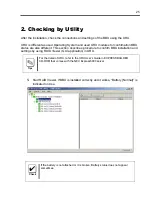
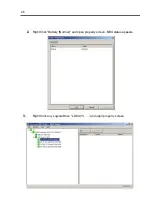
Страница 36: ...12 2 バッテリを右クリックし プロパティを開きます バッテリステータスが 表示されます 3 任意の論理ドライブ LD を右クリックし プロパティを開きます 論理ドライブ のプロパティが表示されます ...
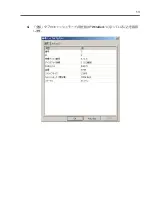
Страница 37: ...13 4 全般 タブのキャッシュモード 現在値 が WriteBack になっていることを確認 します ...
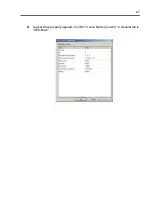
Страница 51: ...27 4 Logical Drive property appears Confirm Cache Mode Current in General tab is Write Back ...

