3
English
Display Card* Installation
1. Following your PC manufacturer’s guidelines, open your computer to access the PCI, AGP or PCI E slot.
2. Place the display card into an available PCI, AGP or PCI E slot and secure all screws.
3. Replace the computer cover.
NOTE:
For information on installing drivers, display modes in multimonitor mode, the setting the dip switches,
please refer to the display card manufacturer’s documentation.
* A Display card is optional for the United States, it is included as a standard accessory for Europe.
Connecting the LCD to Your PC
Once the display card is successfully installed, follow these instructions to connect the display to your PC.
1. Shut down your computer and turn off the power.
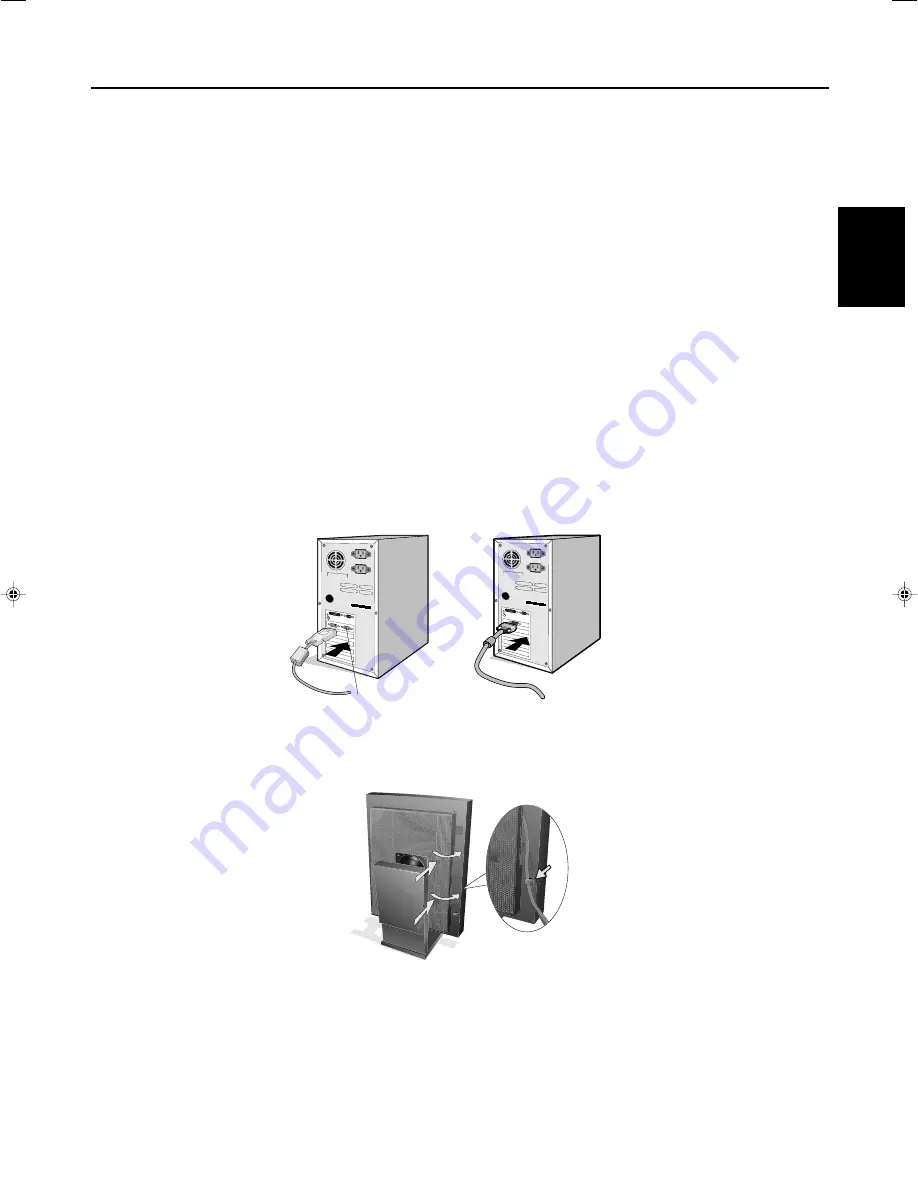
2.
For the PC with DVI digital output:
Connect the DVI signal cable to the connector of the display card in your system
(
Figure A.1
). Tighten all screws.
For the PC with Analog output:
Connect the 15-pin mini D-SUB signal cable (not included) to the connector of the
display card in your system (
Figure A.2
). Tighten all screws.
NOTE:
For dual displays, plug a DVI-D cables into Port 1 and Port 2 of the display card (
Figure A.1).
For further information on display card installation, refer to the display card manual.
Quick Start
3. Remove the cable cover by pressing the two tabs to unlock. Lift the cover to remove
(Figure B.1)
.
Figure A.1
Port 2 for Dual
Display
Figure A.2
Figure B.1
Clip
01_MD21GS2MPINSTALL_EN.P65
14/10/2004, 22:33
3


