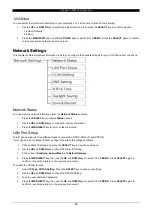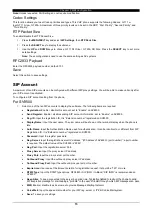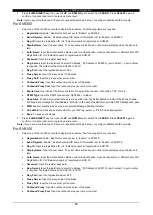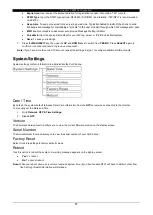
Chapter 4 Web Configuration
23
2.
Click
New
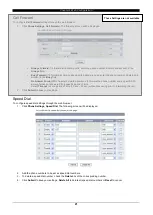
to add a new dial plan. The following screen will be displayed.
3.
Select the dialing timeout from the drop list.
4.
Select
Enable
in the
Switch
field to activate the setting of the dial plan numbered 1.
5.
Input all the information required for the following parameters:
Rule:
you can plan the dialing rule for more users friendly. below wildcard for each means
“
X
” means number of 0~9
“
?
” means the any length of number
“
()
” means the rule include any wildcard of these parentheses.
“
-
“ means to remove
“
+
” means to add
For example: (+0)? , mean the phone will add 0 in front of any dial number.
Account:
Select a SIP account for this dialing plan.
6.
To delete a dial plan, check the
Delete
box of the corresponding number.
7.
Click
Submit
to save your settings or
Cancel
to cancel.
Voice Settings
You can configure the tone frequency and cadence in the voice settings menu. To access voice settings through the web
browser:
1. Click
Phone Settings
,
Voice Settings
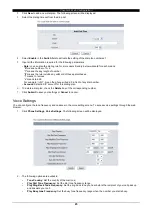
. The following screen will be displayed.
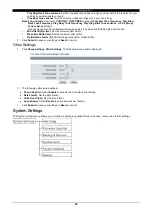
2. The following options are available:
Tone Country:
Set the country of the dial tone.
Play Dial Tone Frequency:
Set the dial tone frequency range.
Play Ring Back Tone Frequency:
Set the ring back tone you hear before the recipient of your call picks up
and answers your call.
Play Busy tone Frequency:
Set the busy tone frequency range when the number you dial is busy.
Содержание GT200
Страница 1: ...A50 035098 001 Issue 1 0 GT200 Terminal User s Guide for UNIVERGE SV Series ITX 1DE 1W BK TEL ...
Страница 2: ...Document History 2 Document History 1 Revision 1 0 Jan 1st 2014 First release ...
Страница 36: ...Chapter 4 Web Configuration 36 Example 1 to access only one IP address Example 2 to access the entire network ...

