


Krios User Guide - Revision 03
15
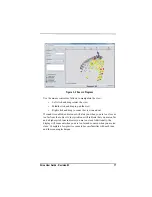
Marker ID
- displays the (automatically assigned) number of the
selected marker.
Reference
- a text field that allows you to specify a name for the
selected marker.
Special Marker
- a drop-down list that allows you to designate the
selected marker as a special marker.
Type
- allows you to view the type of marker.
Processing
The
Processing
window displays the status and prompts for the current
activity.
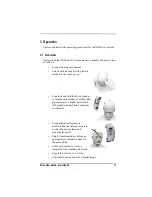
3.5 Attach the Markers
Attach the self-adhesive markers either directly to the scalp or to the
sensor to be measured (e.g. electrodes for EEG or optodiodes for NIRS).
3.6 Scan the Markers
To scan the markers, follow the procedure detailed below:
1. Make sure the Scanner is connected and the software is installed as
detailed in
2. Make sure the scanning environment meets the criteria detailed in
“Scanning Environment” on page 12
3. Double click the
icon to start the NDI Krios software. The
system will auto-connect by default. Alternatively, select
File>Scanner Connection
and select the com/serial port to which
the system is connected.
Note:If the system has been previously connected, it will automatically
reconnect at start up. To disable this feature deselect File>Connect
Options>Reconnect on Start.


