Follow the instructions given below to ensure the safe mounting of the EPC4
bracket on either a wall or under a counter.
• The AC outlet should be installed near the EPC4 and be easily accessible.
• Appropriate Hex or Philips head screw driver is required to seat screws.
Electric screw driver and applicable drill bits are required to create pilot
holes for either screw or wall anchor.
•
Wall Mounting
• Secure wall mount bracket to a wall in the orientation shown to the
right
• If there are no studs available, then mount the bracket with four (4)
¼” diameter, 2 ¼” length hollow wall anchors.
• If there is a stud, then one vertical pair of mounting holes should be
mounted to a stud with ¼” diameter, 2” length wood screws. The
other hole pair should be mounted with hollow wall anchors.
•
Under Counter Mounting
• Use caution mounting under a counter top not to penetrate the
surface. Do not mount to metal counters, or if the thickness of the
material is less than 1 inch.
• Use four (4) ¼” diameter, 1” length wood screws.
•
Special notes about power supply cord when mounting the EPC4 under the
counter or on walls:
• The plug serves as the disconnect.
• Cord shall NOT be attached to the wall or any building structure.
• Cord must not pass through walls, ceilings, floors, or similar openings
in the building structure.
• Route cord away from any edges that can damage the cord.
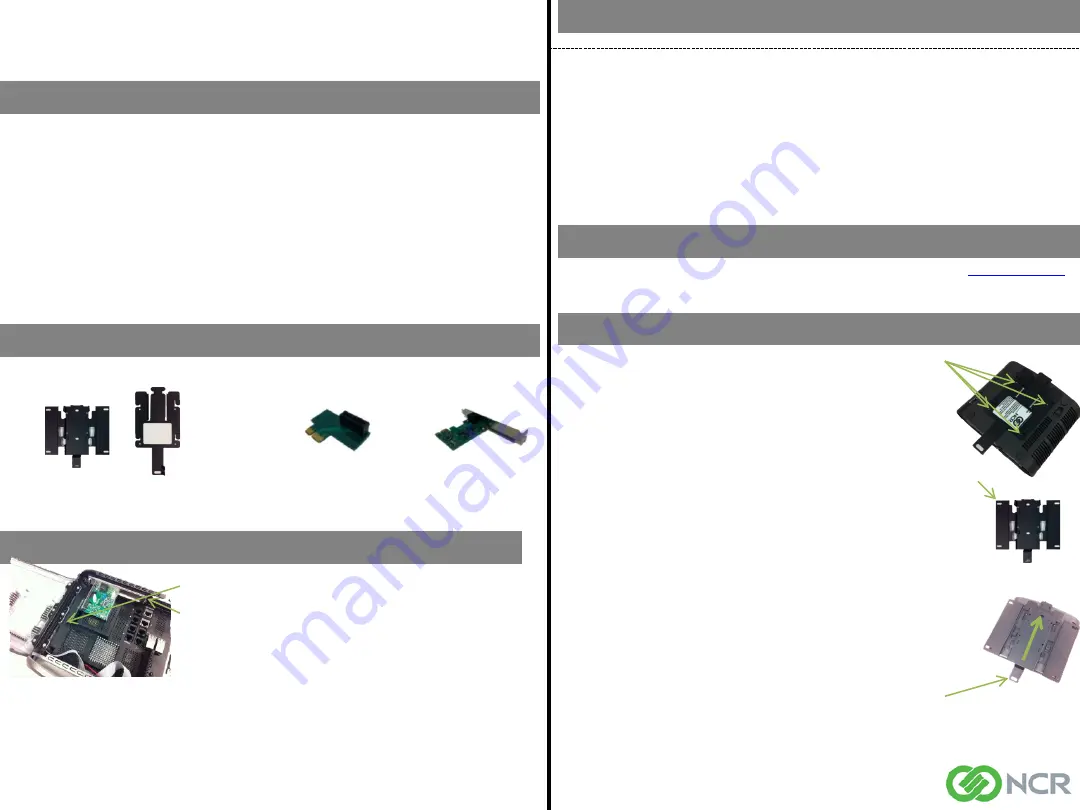
Install the enclosure bracket to the EPC4 using 4 x of the supplied screws.
Orientation of bracket will be dependant on desired orientation of EPC4.
Optional PCI-e Expansion Usage
EPC4 Quick Reference Guide
Technical Overview
Support Information
EPC4 Product Highlights
Thank you for purchasing the EPC4!
• Robust lockable enclosure with internal I/O ports for enhanced security
• Dual core CPU, DDR3 RAM , & SATA SSD storage provide fast transaction processing
• Solid state design for maximum reliability and silent operation
• Industry standard connectivity including 4 x USB , 4 x serial, and 2 x powered serial
• 2x20 LCD display and front panel LEDs for easily determining device status
• Integrated universal power supply saves space and simplifies installation
• Dual Gigabit Ethernet ports for further isolation of credit network from store network
• PCI-e expansion slot for optional dial-up modem or other expansion
• Optional mounting bracket with quick release and padlock features
Optional Accessories
Visit NCR on the World Wide Web
•
•Mounting Bracket
•See optional mounting bracket
instructions
•Modem
•PCI-e Expansion Riser Card
•See optional PCI-e expansion
usage instructions
Basic Troubleshooting
Problem
Suggestions
The unit will not
power on
• Check to make sure the power cord is firmly plugged in to both the EPC4 and AC
power outlet.
• Press and release the power button to turn the EPC4 on. Do not hold the power
button down longer than one second. The power button is located on the back panel.
• Plug a different device into the A/C outlet to confirm the outlet is
powered.
No network
connectivity
• Check to see if the network cable is firmly plugged in to both the EPC4 and network
outlet.
• Check for network link on the front panel. The amber Network LED is illuminated when
the link is active.
• Check network settings to make sure they are configured correctly.
Optional Mounting Bracket Usage and Installation
Attach the EPC4 with enclosure bracket to the wall bracket as shown (Note: Optional locking feature on
wall bracket)
• The optional PCI-e riser card must be used
• Plug the PCI-e riser card into the expansion slot (shown to the right).
• Secure the supporting bracket to the chassis using supplied screw.
• Plug the PCI-e expansion card into the riser card and secure to the
PCI-e slot on the back panel using supplied nut.
The EPC4 electronic payment controller utilizes a next generation Intel® Atom™ Dual Core Processor which
offers great performance with low power consumption for a more reliable design. Product highlights include:
NCR P/N 497-0476345
Rev C


