NAV-502FHDi
USER MANUAL
7
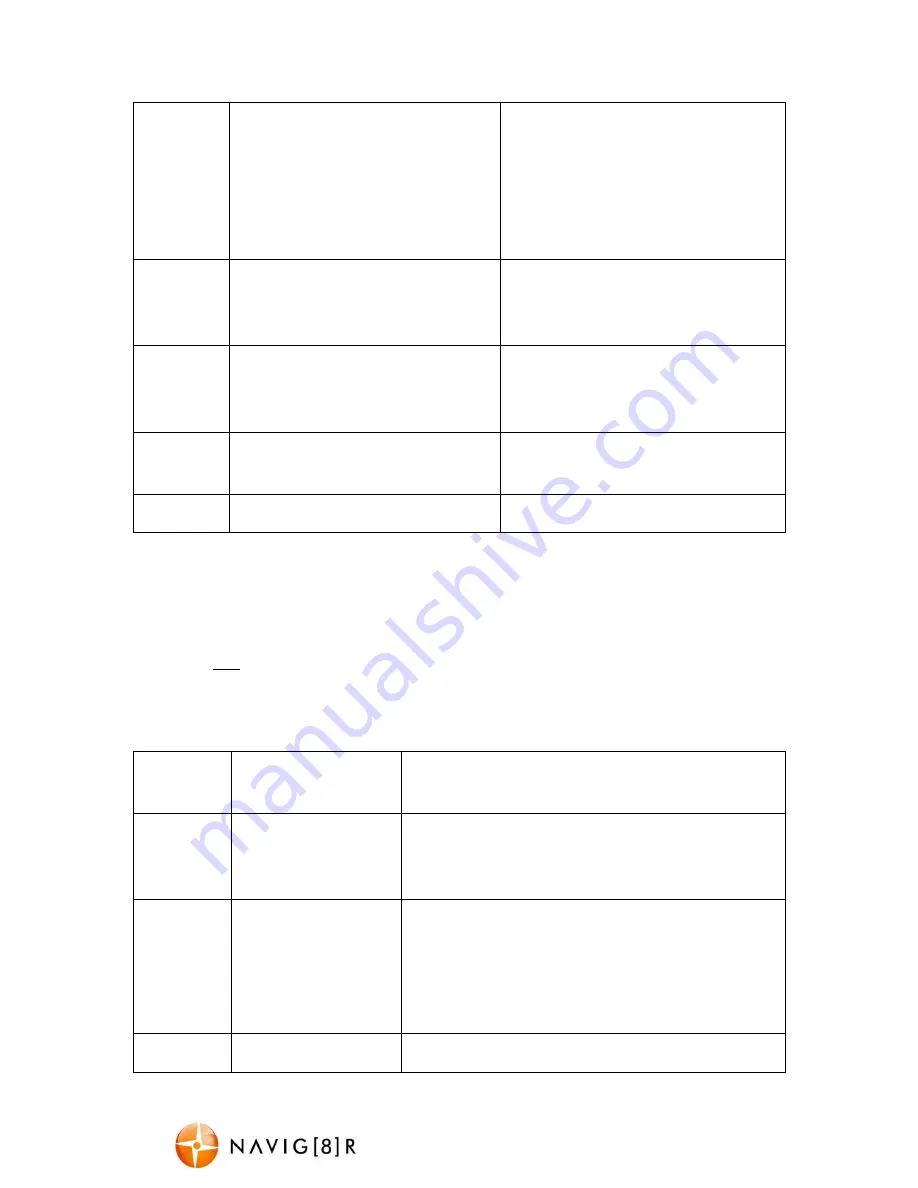
G-Sensor:
Select [Off, High Middle, Low]
Select the level of sensitivity for the
auto bump file record feature. “Low”
would a BIG bump / knock / shock
would trigger the auto save feature.
“High” would mean a relatively small
knock / bump would trigger auto save.
Car Plate:
Select [Up or down to adjust the
field. Press the Menu button to go to
the next field]
Allow you to enter a number plate.
Format:
Select [SD card]
Select “OK” to format the Micro SD
card. Warning: formatting the card will
erase all of the content on the card.
Default
Setting:
Select [ok/ cancel]
Select OK to return the device settings
back to the original factory settings.
Version:
Display the Firmware Version
Digital Still Camera (DSC) Mode Settings:
Turn on the NAV-502FHDI and press the “OK” button to stop recording. Press the
MODE
button until the camera icon appears in the top left of the LCD display. Next press
MENU
to
enter into DSC mode settings. Press the
▲
/
▼
buttons to select one of the setup options
and press OK to select that option. (Pressing the Menu button again to exit)
Available Options:
Menu
Option
Selection Options
Option Description
Capture
Mode:
Select[ Single, 2s
timer, 5s timer, 10s
timer]
When the OK button is pressed it will take a photo.
Resolution:
Select [12M, 10M,
8M, 5M, 3M, 2MHD,
VGA, 1.3M]
12M highest image quality, least amount of photos.
10M high image quality, least amount of photos.
8M high image quality, least amount of photos.
5M mid image quality, mid amount of photos. 3M
low image quality, more amount of photos.
Sequence:
Select [on/ off]
Take multiple photos (5) at one time.


