Chapter 2
Installation
2-4
ni.com
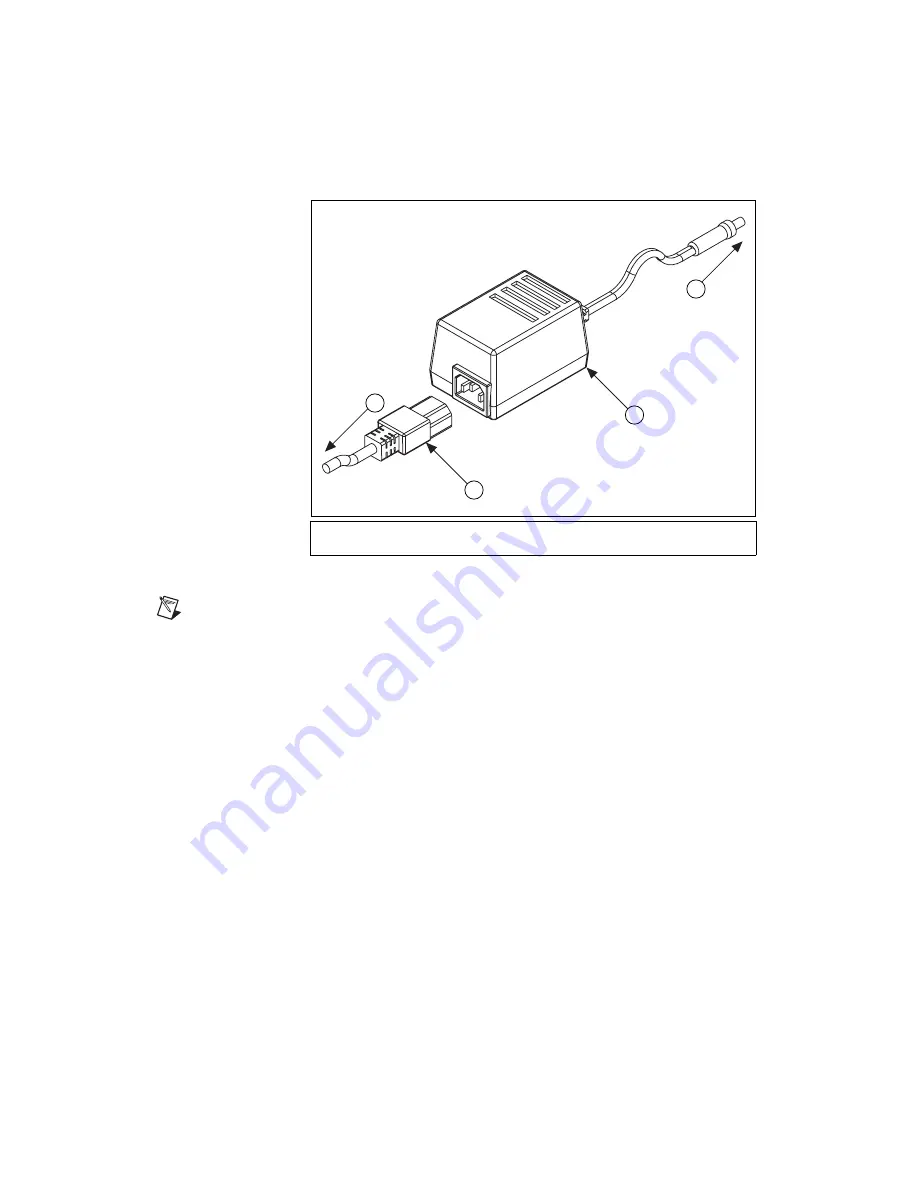
Figure 2-3.
Connecting Power to the GPIB-ENET/100
Note
Do
not
connect GPIB devices to your GPIB port until you configure NI-488.2
as described in Chapter 4,
, and then run the installation verification
test to verify the software installation, as described in Chapter 5,
.
Running the installation verification utility requires that you leave the port unconnected.
Step 3. Switch on Your GPIB-ENET/100
Before you power-on your GPIB-ENET/100, contact your network
administrator to find out if the Dynamic Host Configuration Protocol
(DHCP) is available on your network to perform the configuration
automatically. By default, the GPIB-ENET/100 attempts its network
configuration through DHCP. If DHCP is not available, the unit enters
network configuration mode so you can configure your network settings
manually using the NI Ethernet Device Configuration utility. For more
information about DHCP, refer to the
section in Chapter 6,
Using Your GPIB-ENET/100 and NI-488.2
.
When you turn on the front-panel power switch, the
PWR/RDY
LED
alternates rapidly between red and yellow while the GPIB-ENET/100
completes its power-on self-tests and attempts to acquire its network
parameters. Each Ethernet and GPIB LED lights up as its functionality is
tested.
1
To AC Outlet
2
Power Cord
3
Power Supply
4
To GPIB-ENET/100 Power Jack
1
2
3
4


