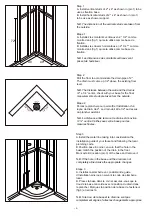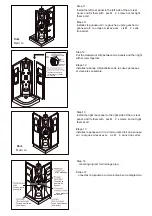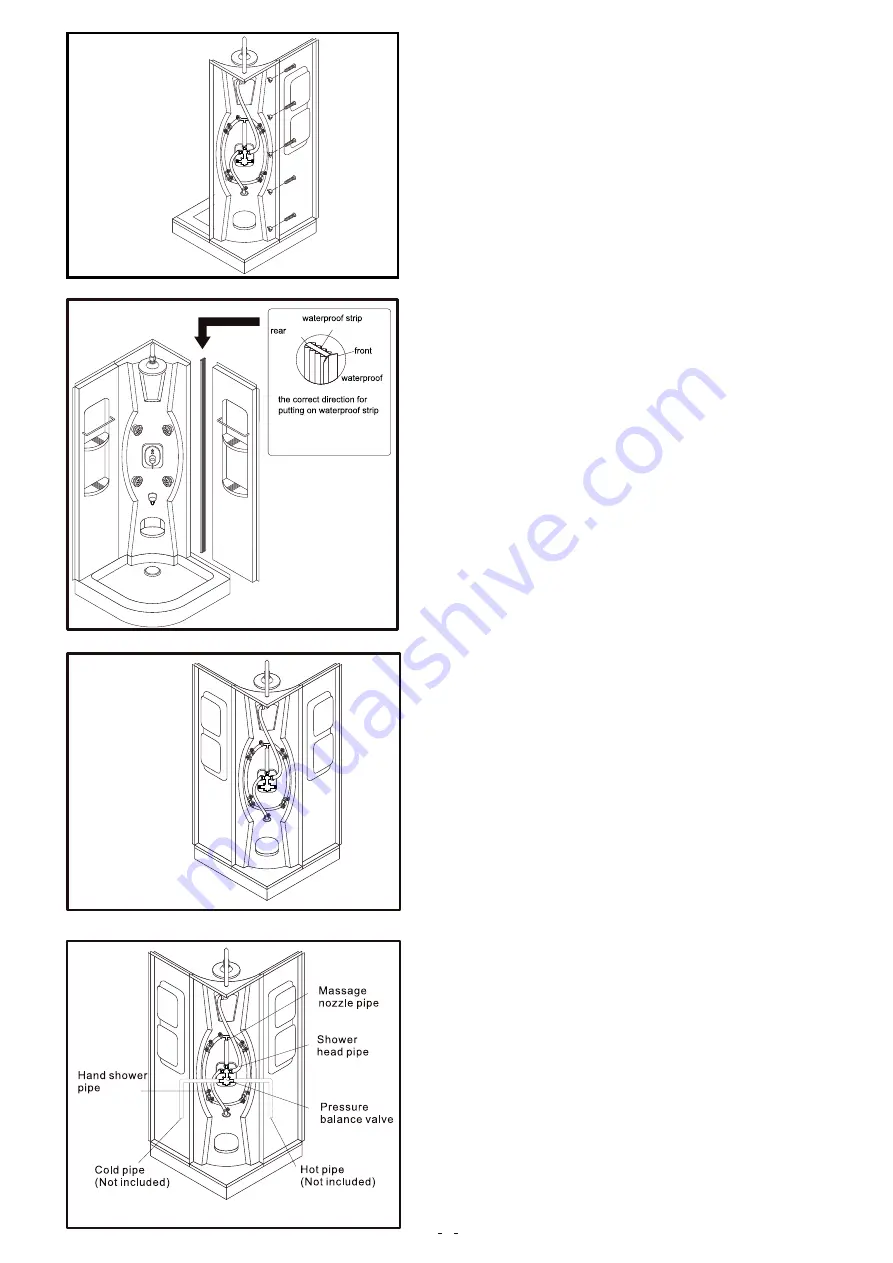
Step 12
Put the waterproof strip between two panels and then tight
with screws together.
Étape 12
Installez la bande d’étanchéité entre les deuz panneaux
et vissez-les ensemble.
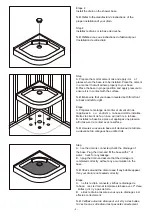
Step 13
Install the right rear panel to the right side of the arc rear
panel. And fix them with pcs M
2 screws, but not tight
them at all.
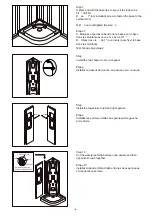
Step 14
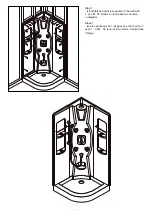
onnecting digram for drainage pipe.
Étape 13
Installez le panneau arri re droit au coté droit du panneau
arri re arqué et vissez avec vis M
2 sans trop serrer.
Étape 14
onnectez la tuyauterie comme indiqué sur le diagramme.
Derri re
Back
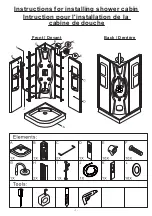
Step 11
Install the left rear panel to the left side of the arc rear
panel, and fix them with pcs M
2 screw, but not tight
them at all.
Étape 11
Installez le panneau arri re gauche au coté gauche du
panneau arri re arqué et vissez avec vis M
2 sans
trop serrer.
Derri re
Back
derri re
bande d’étanchéité
devant
étanche
la bonne position pour
l installation de la bande
d étanchéité
.
.
Tuyau de la
pomme de
douche
et de massage
Tuyaux de la
douchette
alve à pression
balancée
Tuyau d eau chaude
(non inclus)
Tuyau d eau froide
(non inclus)
.
.
.
.
.
.
.
.
.
.
.
.
Содержание PN-RD4003-223
Страница 1: ...PN RD4003 223 Installation Instruction Sheet Manuel d installation...
Страница 8: ...Step 1 ix the parts tape 1 ixez les morceaux 7...
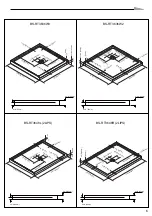
Страница 19: ...10 BS RT3660L BS RT3660R 3 3 8 85mm 4 3 8 110mm 3 3 8 85mm 4 3 8 110mm...
Страница 21: ...SUITE CONTINUED D Mortier Mortar 12 INSTALLATION BASE BASE INSTALLATION E F FORET 1 8 1 8 DRILL BIT...
Страница 25: ...SUITE CONTINUED FORET 1 8 1 8 DRILL BIT A 05 A 04 SUITE CONTINUED 16...


