23
MENU GUIDE
Connect your USB memory device to STB
1. Record
∙
IF you want to record the program, Press “REC”button.
∙
Press “STOP” button to stop recording.
2.PLAY
∙
If you want to play the recorded file in your USB
memory device, press “PLAY” button and then File List will be displayed.
∙
Select the file which you want to play using
▲▼
and press OK.
∙
If you want play other file, press OK button and File List will be displayed
∙
SLOW : Press “PLAY” button. If you press “PLAY” button again, the speed will be normal.
∙
F/F, Rewind, Pause is supported.
3. File Manager (Go to Main Menu
→
Utility
→
USB)
∙
Delete
- If you want to delete the file, press Yellow button.
- Select the file which you want to delete using
▲▼
and press OK.
∙
Fromat
- The STB supports only FAT32 file system
- If you want to format your memory device onto FAT32, press Blue button.
- After format, the all data will be deleted.
4. Caution
∙
The only USB 2.0 high speed device is supported for PVR function.
∙
S / W download and MP3 play supports USB 1.1 full speed.
∙
Plesae use more than 2GByte memory device or USB HDD for PVR function.
∙
Normally 1GBtye can record 30~40 minutes depends on program.
∙
Some USB memory device cannot be supported.
∙
Memory fragmentation can occur record problem, please format your USB memory device
ossasionally.
∙
For more information and updated software, please visit our website.
USB PVR
MENU GUIDE
VI.Utility
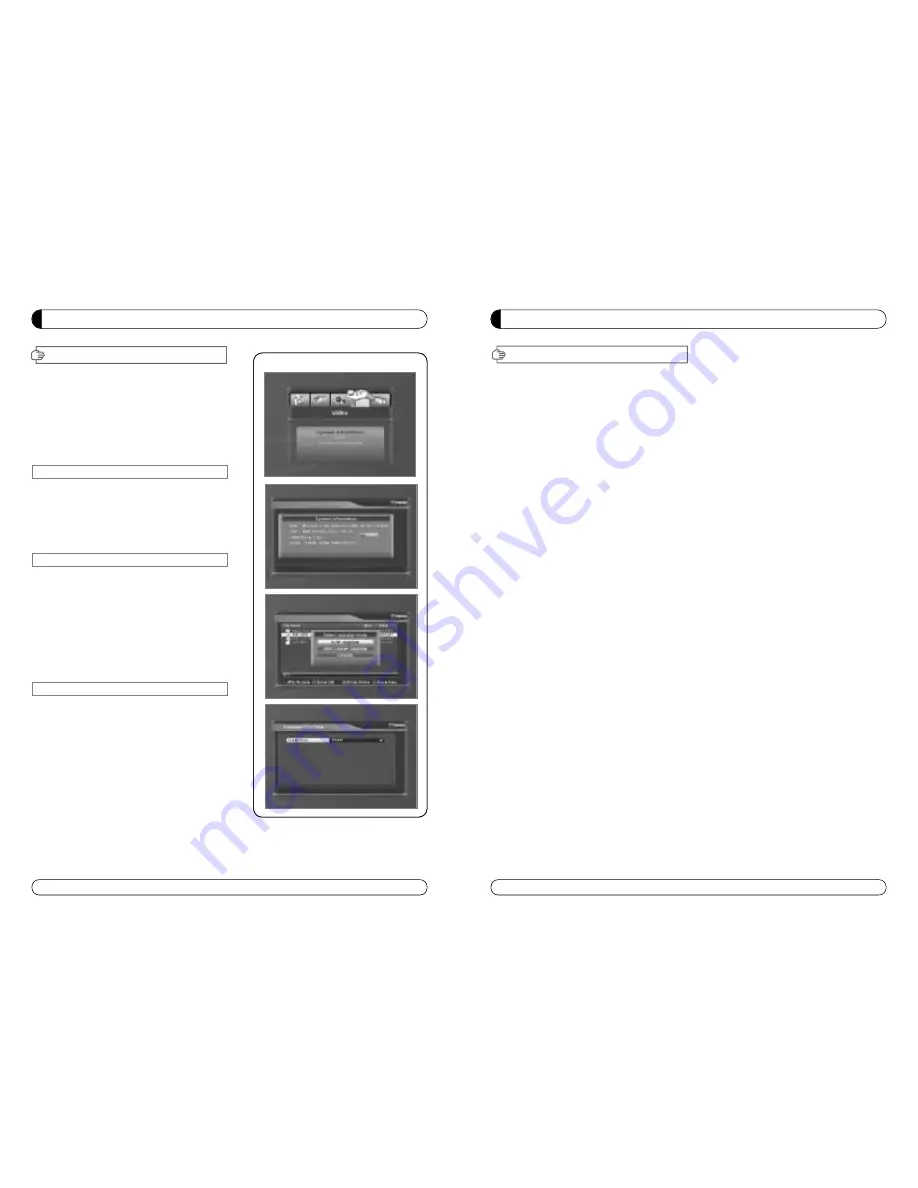
This section may help you to use USB, etc.
Select Utility in Main Page using
▲▼
and press OK.
∙
VI -1. System Information
∙
VI -2. USB
∙
VI -3. Common Interface
VI-1. System Information
This option help you to know the current S/W and
H/W version. Also provides you the product name.
1. Select System Information in Options using
▲▼
and
pres OK.
2. Press EXIT to return to the previous menu.
VI
-2 USB
The receiver is equipped with host.
1. Select USB in Utility with
▲▼
and press OK.
2. If you want to change mode(S/W Upgrade, BootLoader
Upgrade), press RED button on the RCU.
3. Select the file which you want to upgrade using
▲▼
and press OK.
4. After downloading the selected file, the receiver will
reboot automatically.
VI
-3 Common Interface
The receiver is equipped with one slot of Common
Interface which have access to the scrambled the pay per
view services with various conditional access modules and
a valid smart card.
The programs that can be descrambled are determined by
the conditional access module and smart card that you
use.
1. Select Common Interface in utility with
▲▼
and press OK.
2. Common Interface displays on the screen.
(The phrase ‘No Module’ is indicated when the
conditional access module is not istalled)
3. Insert the conditional access module into Slot.
4. The name of the Slot differs according to each inserted conditional access module.
5. Press EXIT to return to the previous menu or press MENU to go to current live channel.
22
Содержание STX-5 USB
Страница 25: ...Español SX 5 USB STX 5 USB Por favor leereste Manual detenidamente antes del instalar el Receptor ...
Страница 49: ...Nederlands SX 5 USB STX 5 USB Lees eerst deze handleiding goed door voordat u de ontvanger installeert ...
Страница 97: ...Français SX 5 USB STX 5 USB S il vous plaît lirsez attentivement ce manuel avant d installer le recepteur ...
Страница 121: ...Portugese SX 5 USB STX 5 USB Please read this User s Manual Carefully before installing this Receiver ...
Страница 145: ...264 265 ...
Страница 146: ...266 267 ...
Страница 147: ...268 269 ...
Страница 148: ...270 271 ...
Страница 149: ...273 272 ...
Страница 150: ...275 274 ...
Страница 151: ...277 276 ...
Страница 152: ...278 Memo ...
Страница 153: ...Memo ...


