background image

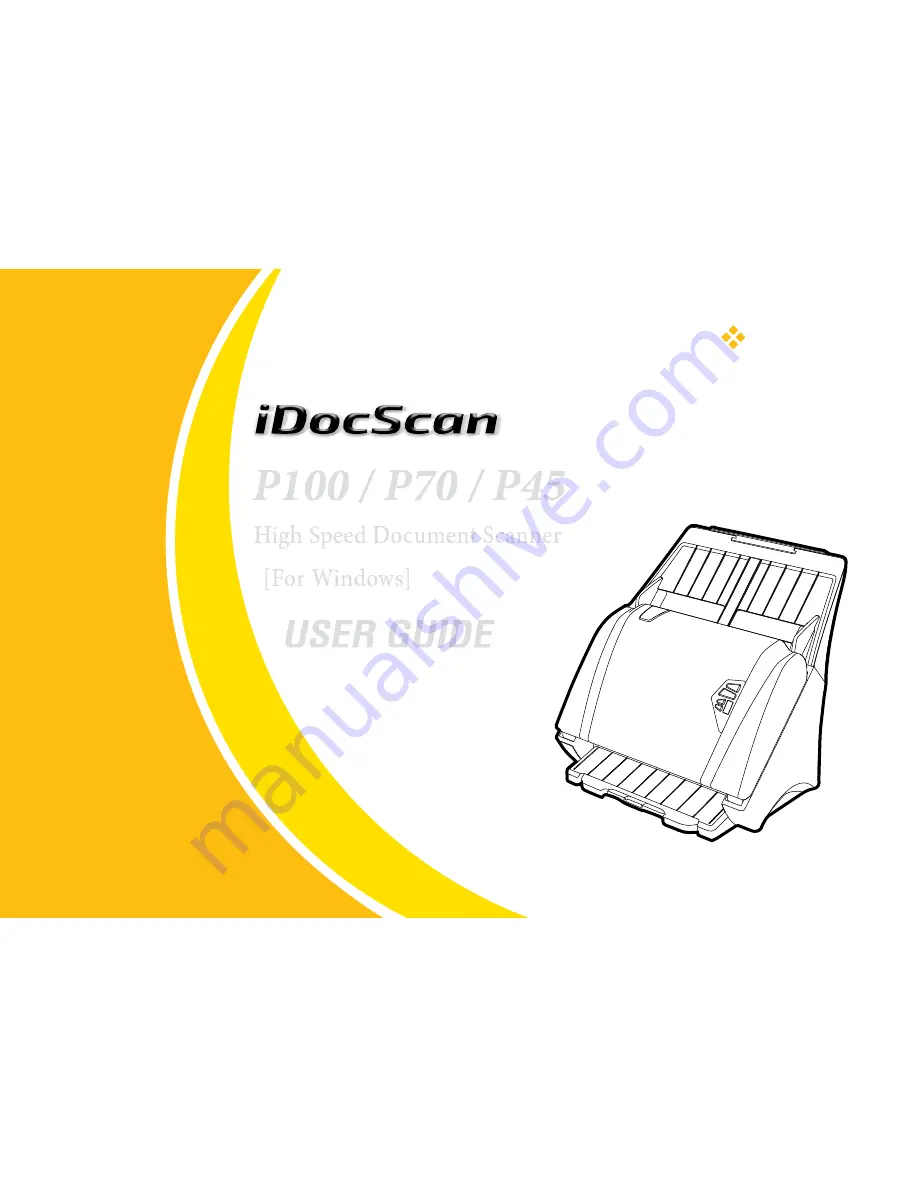
P100 / P70 / P45

High Speed Document Scanner 

[For Windows]

USER GUIDE


English

V6.5

All trademarks are 

the property of their 

respective owners 

and all rights are 

acknowledged.

Images and screenshots 

shown inside this User 

Guide are example only, 

which may vary according 

to the devices used and its 

operating system. 

“PXXX” mentioned In this Guide 

refers to the model number 

P100, 

P70, and P45.

All contents and specifications of this User 

Guide are subject to change without notice.

Содержание idocscan p100

Страница 1: ...s and all rights are acknowledged Images and screenshots shown inside this User Guide are example only which may vary according to the devices used and its operating system PXXX mentioned In this Guid...

Страница 2: ...rd abrasive surfaces to avoid damage to the lens and other parts Do not scan originals with glue grease correction fluid or wet ink on it which can cause malfunctions Operate the unit on a level well...

Страница 3: ...tion Scan to PDF 24 Destination Scan to Application 26 Destination Scan to OCR 27 Destination Scan to BCR 28 Destination Scan to Dropbox 29 Destination Scan to Google Drive 30 Scan Settings For All Sc...

Страница 4: ...npacking and Assembling the Scanner AC Adapter see Connecting the Scanner Power Cord see Connecting the Scanner USB Cable see Connecting the Scanner Installation DVD see Installing the Scanner Softwar...

Страница 5: ...use 1 Hold the Input Tray then insert locking tabs on the Input Tray into the slots on the top of the Scanner 1 2 2 Push in the locking tabs into the slots to snap them into place 1 2 3 Pull the Outp...

Страница 6: ...ing and Assembling the Scanner Continued Detaching the Input Tray 1 To detach the Input Tray gently push it backward to release the Input Tray from the Scanner 1 2 2 Pull away the Input Tray from the...

Страница 7: ...ray 6 Input Tray Holds paper stack to be fed into the ADF for scanning 7 Paper Guides Adjust the Guides to match the paper width 8 Control Panel a Power and Power LED Turn on or off the power Show the...

Страница 8: ...on Solid red Indicates the ADF Cover is open Operation LED Off Indicates no scanning activity Solid blue Indicates the Scanner is in operation Solid red Indicates the USB Cable is not connected to a c...

Страница 9: ...olor screen 4GB RAM or greater USB 2 0 high speed port DVD ROM drive 5GB available hard disk space for software installation Supported operating systems Windows XP Vista 7 8 8 1 and 10 NOTES The scann...

Страница 10: ...nu will open automatically If the installation menu does not open automatically double click on the icon for your computer s DVD ROM drive 2 Click on below applications from the installer menu to inst...

Страница 11: ...ile integrated within this application Adobe Acrobat Reader This application allows to open the scanned image that is converted into PDF format using the Scan To PDF function of the Scanner For the de...

Страница 12: ...on Continued Turning Power On Off Turning Power On Press Power until Power LED turns green Your computer then recognizes that the Scanner has been plugged into the USB Port and automatically loads iDo...

Страница 13: ...the Scanner icon from the system tray to bring up the iDocScan Touch panel 2 Click i information at the bottom right of the iDocScan Touch panel installation Continued 3 The Information dialog box ap...

Страница 14: ...uctions to completely remove the application from the computer installation Continued Showing Hiding Tooltips You can show default or hide the tooltips for the iDocScan Touch panel and the settings pa...

Страница 15: ...folds irregular shapes or tears into the Input Tray Do not scan fragile photos very thin and thick paper and important originals as misfeeding may wrinkle or damage them If a stack of paper cannot be...

Страница 16: ...e that can cause problems to feed A Loading Business Cards or Plastic Cards 1 Use the same techniques to loosen and straighten the card stack as the Loading the Paper Stack 2 Slide the Paper Guide to...

Страница 17: ...ing Tabs Scan Settings Scan Size When scanning plastic and embossed cards make sure to select the Thick Media Mode checkbox and uncheck Document Protection checkbox see Adjusting the Setting Tabs Scan...

Страница 18: ...canning a long document exceeding 356mm 14 up to 3000mm 118 see Adjusting the Setting Tabs Scan Settings Scan Size If the document exceeded the maximum support length for the ADF the scanning will sto...

Страница 19: ...window appears in which you can adjust settings for each Scan to option in the Destination Scan Settings and Image Adjustments tabs 2 1 3 4 5 7 6 8 9 10 11 1 Number 1 9 Indicates the order of the Sca...

Страница 20: ...save the settings you changed and close the Settings window 9 Cancel Click to close the Settings window without saving the changes 10 Apply Click to apply the selected scan job with the settings you c...

Страница 21: ...files are saved Click Browse to specify a file folder to save the scanned image NOTES You cannot specify folders where root privileges are required NOTES Save Path cannot reset to the default Save Pat...

Страница 22: ...0 characters i e Scanned000001 jpg 4 File Type Select a file format to save scanned image Choices JPEG jpg Single Page PDF pdf Multi Page PDF pdf PDF A pdf NOTES Single Page PDF is used for splitting...

Страница 23: ...perform text recognition 8 File Compression Use the slider to compress a file to reduce the total size in High Medium or Low The higher the compression level the lower the file size and vice versa NO...

Страница 24: ...mat with 4 digit serial number at the end i e 20150811 1546490001 jpg Custom The filename is created with a prefix specified in the File Name up to 20 characters i e Scanned000001 jpg setting idocscan...

Страница 25: ...DF file NOTES PDF A format is used for the long term archiving of electronic originals 4 Open after Scanning Saving Check this function to open the file or the folder automatically after scanning or s...

Страница 26: ...lick Browse to specify a file folder to save the scanned image NOTES You cannot specify folders where root privileges are required NOTES Save Path cannot reset to the default Save Path once changed 3...

Страница 27: ...ither one of this setting yyyyMMddHHmmss The filename is created in the yyyyMMddHHmmss format with 4 digit serial number at the end i e 20150811 1546490001 jpg Custom The filename is created with a pr...

Страница 28: ...e folder to save the scanned image NOTES You cannot specify folders where root privileges are required NOTES Save Path cannot reset to the default Save Path once changed 3 File Name Settings You can c...

Страница 29: ...er at the end i e 20150811 1546490001 jpg Custom The filename is created with a prefix specified in the File Name up to 20 characters i e Scanned000001 jpg 3 File Type Select a file format to save sca...

Страница 30: ...OTES The File Compression is only available in the Color and Gray mode but not in the B W mode setting idocscan touch Continued Destination Scan to Google Drive Click the Destination tab to bring up t...

Страница 31: ...tiple originals into one file NOTES PDF A format is used for the long term archiving of electronic originals 4 Open after Scanning Saving Check this function to open the file or the folder automatical...

Страница 32: ...ms containing colors in full color Select Gray to scan the image in grayscale using varying shades of gray Select B W to scan text only originals or line drawings Select Multi Color Output to enable t...

Страница 33: ...ia Mode Check this function only when scanning thick or rigid media such as credit cards ID cards or other embossed cards When the Thick Media Mode is enabled the Stop Scanning After Multi Feed functi...

Страница 34: ...his box when scanning business cards plastic and embossed cards or when a false multi feed occurs frequently NOTES When paper jams occur be sure to clear the jammed paper see Clearing Paper Jams 10 Do...

Страница 35: ...es NOTES This function can not work with a large skew angle 12 Blank Page Removal Check this function to automatically remove the blank pages from the scanned image If blank pages are still scanned us...

Страница 36: ...r of the following actions Click Continue Scanning to continue scanning after reloading the next originals properly Click Finish to save the current document and exit Image Adjustments For All Scan to...

Страница 37: ...s between lighter and darker areas Example Contrast 50 Contrast 0 Contrast 50 NOTES Contrast is not enabled in B W 2 Descreen Descreening helps to reduce moire patterns in magazines or other printed m...

Страница 38: ...an remove the round shaped punch holes around the edges of the originals The punch holes around the edges are replaced with the color closest to the originals Example Original Punch Holes Removal appl...

Страница 39: ...tamps and retains the black text If None is selected No color is dropped out Example of removing the red stamp from the Original Color Dropout applied Check the Advanced checkbox to activate the Filte...

Страница 40: ...ecified folder on your computer 2 Scan to Email This option enables you to quickly scan to the E mail with the files saved in the specified folder When scanning completes the default E mail applicatio...

Страница 41: ...he editable text using supplied ABBYY FineReader Sprint When scanning completes the scanned image will be opened NOTES Ensure to select the correct language of the original text in the settings to per...

Страница 42: ...t Google Drive must be installed on your computer and has been logged in A detection dialog box appears to detect whether the shared folder exists before scanning Scanning from the iDocScan Touch Pane...

Страница 43: ...h the Settings you previously configured see Adjusting the Setting Tabs The Processing bar appears showing the current scan status 5 After scanning completes the scanned image is saved and opened acco...

Страница 44: ...ch Overview 3 Press Scan Stop to start scanning to the destination with the Job Settings you previously configured see Adjusting the Setting Tabs The Processing bar appears showing the current scan st...

Страница 45: ...lect File Select a file to display it in the Preview area 3 Save Path Indicates the folder where the scanned image is saved 4 Browse Specify a new folder to save the scanned image 5 Save Click to save...

Страница 46: ...ing stops asking if you want to stop scanning 2 1 1 Stop Scanning To end scanning process click Stop Scanning A dialog box will appear asking if you want to save the already scanned image Click No to...

Страница 47: ...after the previous scan finishes asking if you want to scan the next document 2 1 1 Continue Scanning To continue the next scan place the next document on the scanner then click Continue Scanning 2 Fi...

Страница 48: ...its TWAIN interface which is different from this scanner s TWAIN interface Please refer to the instructions supplied with that application Accessing the TWAIN Interface 1 Load the originals into the...

Страница 49: ...e Scan Resolution as required see Configuring the TWAIN Settings 8 Click Scan in the TWAIN interface to initiate a scan The Image Processing bar will appear showing the scan status 9 After the Image P...

Страница 50: ...scanned will be automatically saved Configuring the TWAIN Settings The TWAIN interface comes with the same settings and controls on iDocScan Touch that can be used to configure the scan profiles For...

Страница 51: ...NOTES Color Dropout is enabled in Gray and B W mode 12 Advanced Enable the Filter Threshold function for Color Dropout 13 Filter Threshold Move the slider toward Maximum or Minimum to adjust the rang...

Страница 52: ...information from the iDocScan Touch panel to display the Scanner s information dialog box During the scanning operation the number of Total Page Count are accumulated NOTES Be sure to always disconne...

Страница 53: ...cohol 95 to clean below parts 95 Isopropyl Rubbing Alcohol NOTES Never spray the cleaner directly onto the Automatic Document Feeder Separation Pad Scanning Glasses Feed Roller Feed Roller Separation...

Страница 54: ...ument Feeder then clean entire surface of the rollers To remove the rollers see Replacing Separation Roller and Replacing Feed Rollers Scanner Sensors If the Scanner Sensors are blocked by dust or oth...

Страница 55: ...omatic Document Feeder If cleaning rollers and lens did not improve image quality then please perform calibration Ensure the Calibration Sheet is clean and free of dust before use The Calibration Shee...

Страница 56: ...ion to open the Calibration dialog box 5 Click Calibrate to start calibrating The Calibration Sheet will be gradually fed through the Automatic Document Feeder A progress bar will appear indicating th...

Страница 57: ...Feed Roller 1 x 1 300 000 sheets Feed Roller 2 x 1 300 000 sheets For information about consumable items contact our local authorized supplier or visit us online at www mustek com tw Checking Consumab...

Страница 58: ...Pad and pull to remove it 3 Grip the new Separation Pad and align the tabs with the mounting slot Push the tabs into place and then close the ADF cover 4 Click i information from the iDocScan Touch p...

Страница 59: ...er 1 Pull the Cover Tab to open the ADF cover 2 Push the tabs on each side of the Separation Roller Cover and pull to open the Cover 3 Grip the long end of the Separation Roller to pull it out from th...

Страница 60: ...Push the long end of the Roller down into the U shaped opening to lock into place 1 2 5 Close the Separation Roller Cover back into place and then close the ADF cover 6 Click i information from the iD...

Страница 61: ...Roller is marked with number 2 Be sure to match the number on the roller and the holder respectively for replacement 1 2 1 Pull the Cover Tab to open the ADF cover 2 Slide the Paper Guides all the wa...

Страница 62: ...hes the roller number 2 Angle the wheel end and push the wheel into the slot Rotate the handle up to lock it 1 2 6 Close the feed path cover back into place and then close the ADF cover 7 Click i info...

Страница 63: ...owing actions 1 2 1 2 Paper skew dialog Paper jam misfeed dialog 1 Yes If you wish to continue scanning from the jammed page reload the jammed and unscanned pages back in the Input Tray then click Yes...

Страница 64: ...e paper If the Paper Guides are too tight or too loose against the paper stack this can cause failures to feed Check if the long paper exceeds the maximum length of 118 3000 mm in the Long Sheet mode...

Страница 65: ...exceeds the maximum length of 118 3000 mm in the Long Sheet mode Check If the consumable items appear worn refer to the Replacing Consumable Items section Poor scan quality Inspect your originals if t...

Страница 66: ...speeds Scanning takes longer than usual when you enable the Descreen function In Long Sheet mode why it can t set a resolution higher than 300 dpi Performing Long Sheet scanning can consumes great dea...

Страница 67: ...f the computer s memory scanning may stop due to insufficient memory Exit the application and change the scanning conditions such as reduce scanning resolution Make sure your computer meets the memory...

Страница 68: ...8 x 85 1 mm Long Document Mode up to 118 3 000 mm at 300 dpi Weight Thickness 28 312 g m2 7 87 lbs 0 04 0 38 mm 0 0015 0 0149 Capacity Max 120 sheets A4 Letter 70 g m2 or 18 lbs with thickness under...

Страница 69: ...42 mm Interface Hi Speed USB 2 0 File Format Output JPEG jpg BMP bmp TIFF tif Multi TIFF tif PDF pdf PDF A pdf NOTES These supported file formats are available for use with iDocScan Touch application...

Страница 70: ...P100 P70 P45...

Отзывы: