9
•
Preview
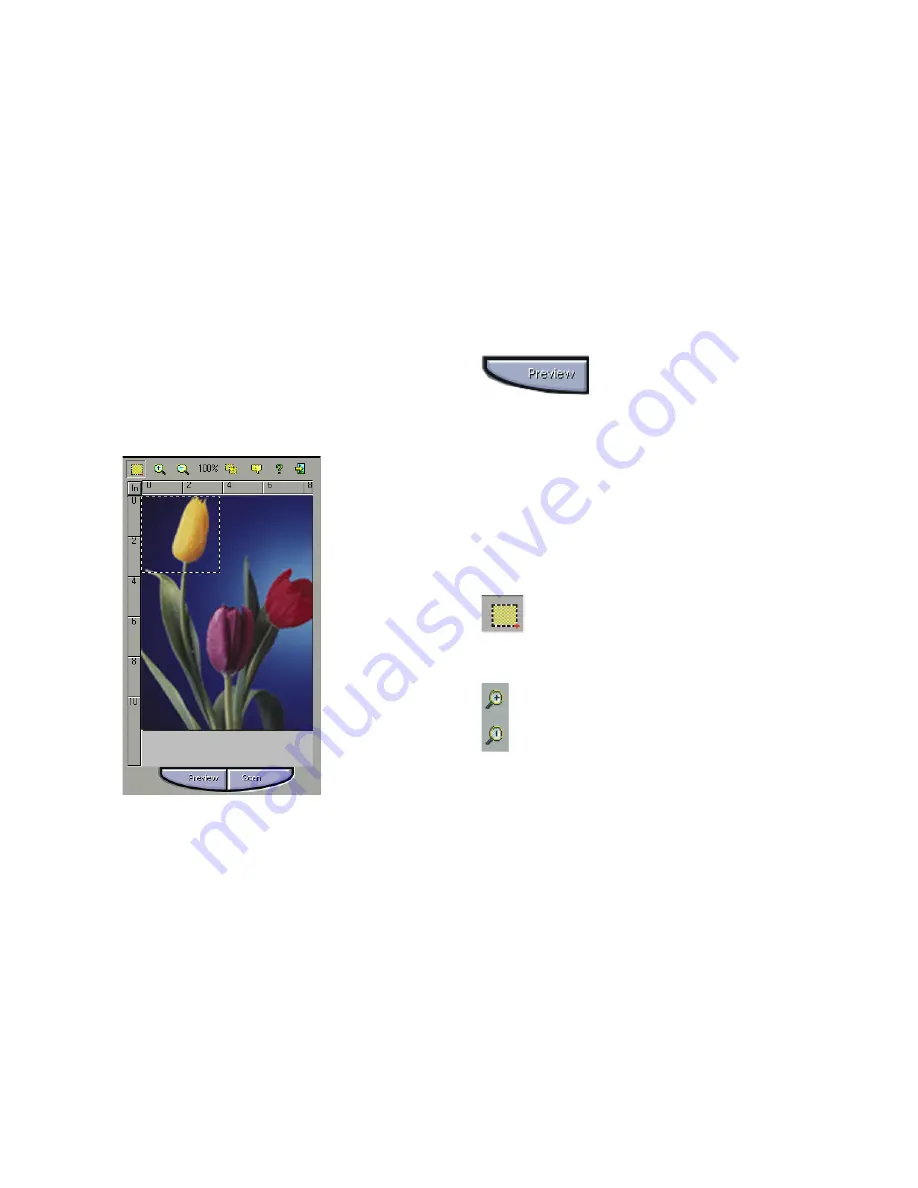
Preview (a quick low-resolution scan of
the entire original image) the image in
order to get a clearer idea of the image area
you want to include in your final scan. To preview,
the steps are:
1. Place the document face down on the scan window
glass;
2. Click on the Preview button. After the scanner has
scanned the document, the scanned image will appear
in the Preview Window.
• Cropping Tool
You can select an area, if you don’t want to scan the
whole document. This is optional.
• Zoom Tools
The Zoom In tool increases the magnification
(multiple levels) of the image area. In magnified view,
you can drag the Crop Frame to the exact area you
want to scan. Use the Zoom Out tool to shrink the
image.
The Preview Window & Buttons
The Preview window is where the preview image appears.
It is recommended that you preview each document/image
before scanning. Using the preview image, you can
specify the final image area to be included in the scan
and/or apply the enhance and filters features.


