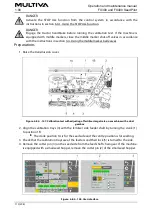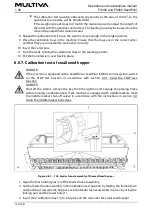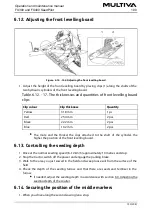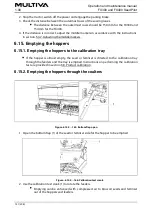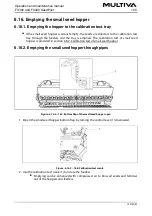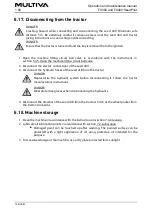
5. Select the user interface under Settings (1) on the Drive screen.
6. Enter the fertiliser target rate in the input eld (2) and select Calibration test (3).
Figure. 6.8.4. - 149. Starting the calibration test
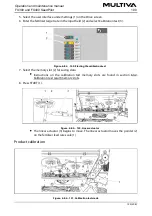
7. Select the memory slot (2) for saving data.
Instructions on the calibration test memory slots are found in section 6.3.2.
Calibration test result memory slots.
8. Press START (1).
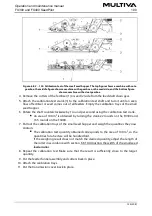
Figure. 6.8.4. - 150. Linear actuator
The linear actuator (3) begins to move. The linear actuator moves the pointer (2)
on the fertiliser feed rate scale (1).
Product calibration
Figure. 6.8.4. - 151. Calibration test crank
Operation and maintenance manual
FX300 and FX400 SeedPilot
1.00
120 (208)
Содержание FX300 SeedPilot
Страница 200: ...Hydraulic schematics FX300 and FX400 1 Hydraulic schematics FX300...
Страница 201: ...Hydraulic schematics FX300 and FX400 2...
Страница 202: ...Hydraulic schematics FX300 and FX400 3 Hydraulic schematics FX400...
Страница 203: ...Hydraulic schematics FX300 and FX400 4...
Страница 204: ...Electrical schematics FX300 and FX400 1 Electrical schematics...
Страница 205: ...Electrical schematics FX300 and FX400 2...


