MultiModemII User Guide
64
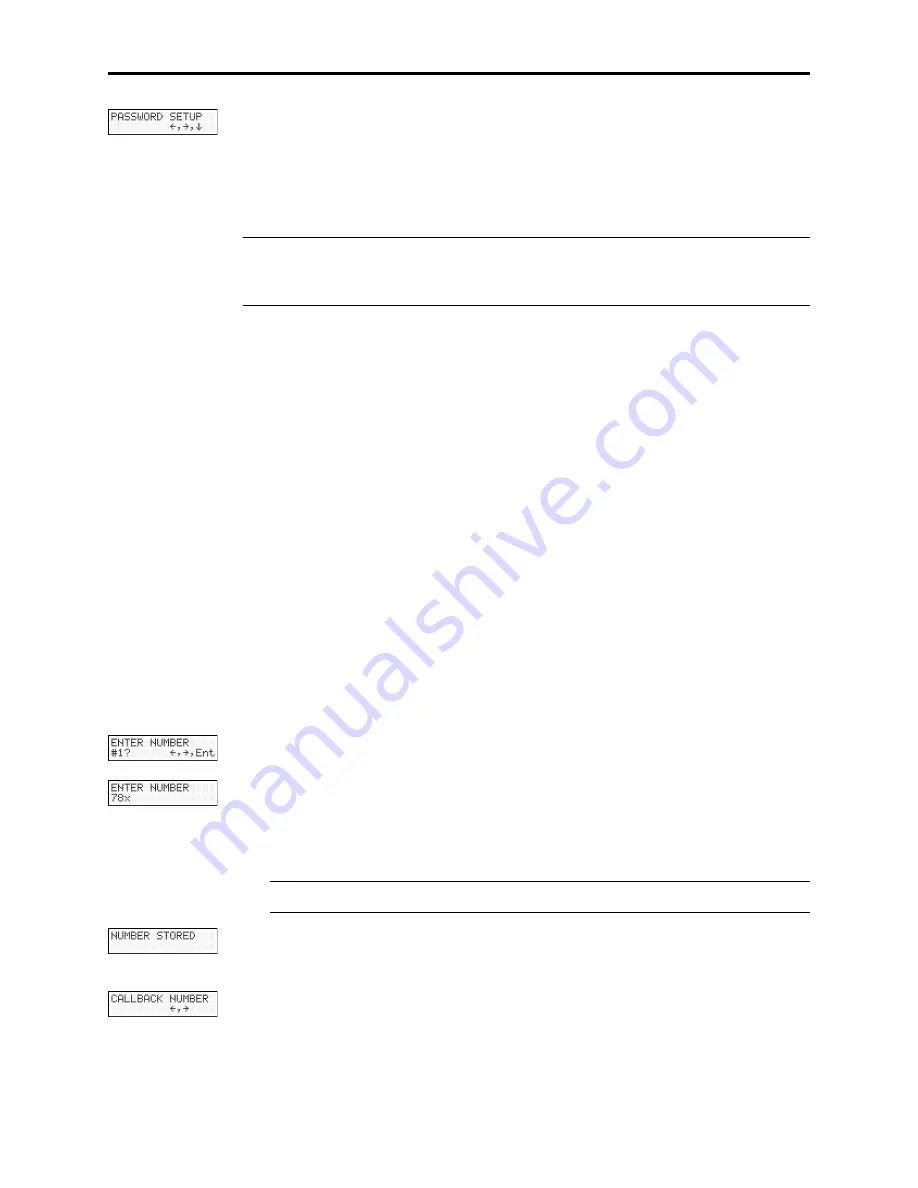
7. Press the Enter button again to go to the PASSWORD SETUP screen.
8. Press
à
,
à
to go to the ENTER PASSWORD #2? screen.
9. Repeat steps 3–7 to enter the next password.
10. Repeat as many times as necessary, up to memory location 30, until all pass-
words have been entered.
Warning:
There is no way to review an entry to confirm that it has been entered cor-
rectly. If you attempt to look at a password entry by pressing the Enter button for an
ENTER PASSWORD #n?
screen, it is possible to accidentally erase the entry.
Assigning Callback Phone Numbers
At Command Method
1. Open a data communication program, such as HyperTerminal.
2. To store a callback phone number in the first memory location, type
AT#CBN01=xxxxxxxxxx
, where xxxxxxxxxx is the dialing string, and press E
NTER
.
The dialing string can include the digits 0 through 9 and any of the following
characters: #, *, comma (,), semicolon (;), W, A, B, C, and D. Up to 30 characters
can be used. Example: AT#CBN01=9,16127853000.
3. To store a callback phone number in the second memory location, type
AT#CBN02=xxxxxxxxxx
, where xxxxxxxxxx is the dialing string, and press E
NTER
.
Note that the memory location number in the command is incremented by one.
4. Repeat as many times as necessary, through memory location 30, until all dial-
ing strings have been entered.
Front Panel Method
1. Turn on the modem.
2. Starting at the STATUS screen, press the following buttons on the front panel:
â
,
â
,
à
,
â
,
â
,
à
,
â
,
â
,
à
. The ENTER NUMBER #1? screen appears.
3. Press the Enter button on the front panel to select memory location 1. The
ENTER NUMBER
screen appears.
4. Press the
áß
or
â
button several times to select the first digit in the number.
5. Press the
à
button to go to the next digit in the number.
Note:
To backspace or to cancel an entry, press
à
several times.
6. The number can be up to 30 characters in length. Repeat steps 4 and 5 until the
number is entered, and then press the Enter button to store it. The NUMBER
STORED
screen should appear.
7. Press the Enter button again to go to the CALLBACK NUMBER screen.
8. Press
à
,
à
to go to the ENTER NUMBER #2? screen.
9. Repeat steps 3–7 to enter the next number.
Содержание MT5600BA
Страница 1: ...Model MT5600BA Model MT5600BL Data Fax Modem User Guide...
Страница 7: ...Contents vii Appendix G ASCII Character Map 106 Index 107...
Страница 8: ...MultiModemII User Guide viii...
Страница 9: ...1 Introduction...
Страница 13: ...2 Quick Start...
Страница 24: ...MultiModemII User Guide 16...
Страница 25: ...3 Using the Front Panel...
Страница 28: ...MultiModemII User Guide 20 Trunks Limbs Branches Twigs Menu Overview...
Страница 39: ...4 AT Commands S Registers Result Codes...
Страница 64: ...MultiModemII User Guide 56...
Страница 65: ...5 Remote Configuration...
Страница 68: ...MultiModemII User Guide 60...
Страница 69: ...6 Callback Security...
Страница 76: ...MultiModemII User Guide 68...
Страница 77: ...7 Leased Line Operation...
Страница 82: ...MultiModemII User Guide 74...
Страница 83: ...8 Solving Problems...
Страница 91: ...Appendixes...
Страница 115: ...Index...


