Connection Cables and Cable Wiring
Industio
CP-134U
Series
User’s Manual
5-7
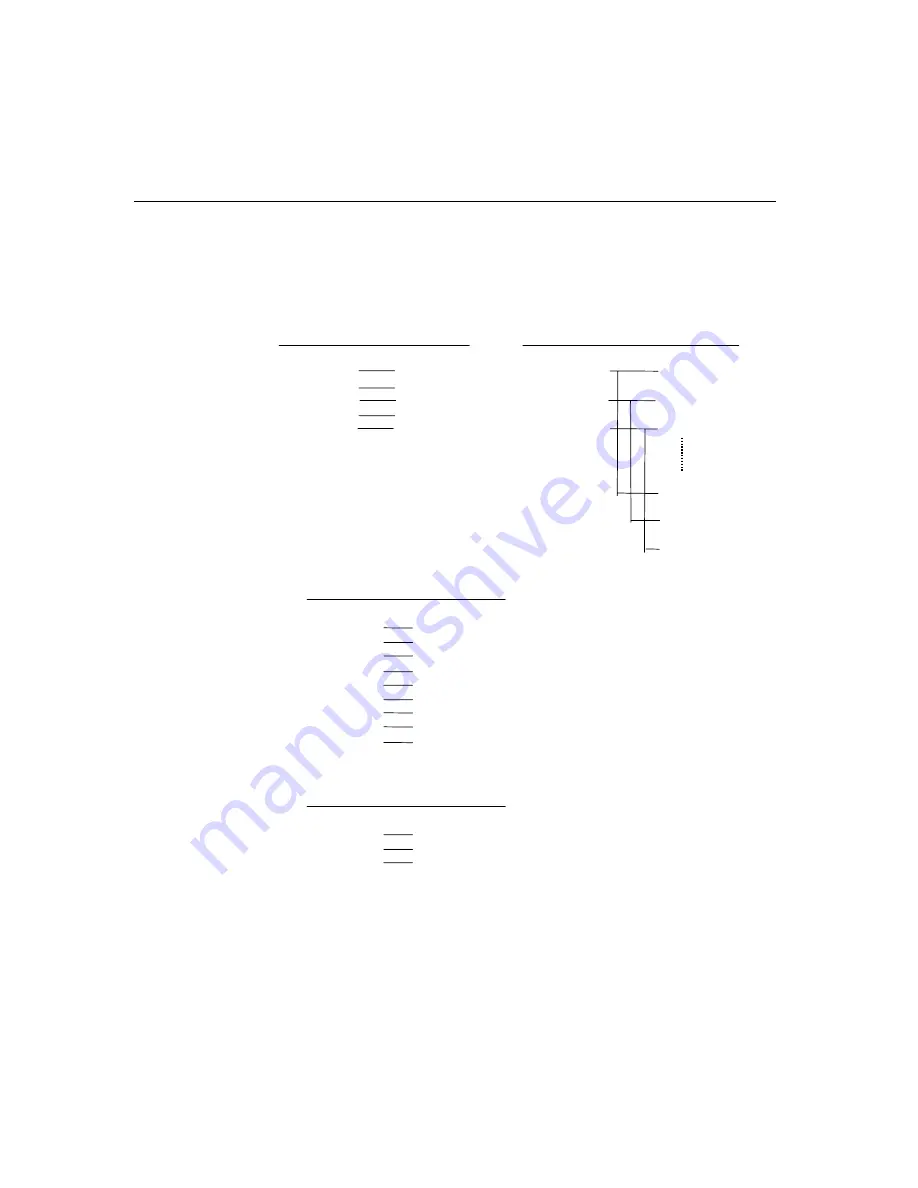
Cable Wiring—DB9
RS-422
Point-to-point
RS-422 Broadcasting
CP-134U
RS-422 Device
CP-134U
RS-422 Device 1
2 TxD+(B)
RxD+(B)
2 TxD+(B)
RxD+(B)
1 TxD-(A)
RxD-(A)
3 RxD+(B)
TxD+(B)
3 RxD+(B)
TxD+(B)
1 TxD-(A)
RxD-(A)
4 RxD-(A)
TxD-(A)
4 RxD-(A)
TxD-(A)
5 GND
GND
5 GND
GND
RS-422 Device N
RxD+(B)
TxD+(B)
RxD-(A)
TxD-(A)
GND
CP-134U – RS-422 with Handshaking
CP-134U
RS-422
Device
2 TxD+(B)
RxD+(B)
1 TxD-(A)
RxD-(A)
3 RxD+(B)
TxD+(B)
4 RxD-(A)
TxD-(A)
5 GND
GND
7 RTS+(B)
CTS+(B)
6 RTS-(A)
CTS-(A)
8 CTS+(B)
RTS+(B)
9 CTS-(A)
RTS-(A)
CP-134U – 2-wire RS-485
CP-134U
RS-422
Device
2 Data+(B)
Data+(B)
1 Data-(A)
Data-(A)
5 GND
GND
Содержание Industio CP-134UL
Страница 16: ......
Страница 64: ......
Страница 68: ......
Страница 78: ......
Страница 85: ...Industio CP 134U Series User s Manual A 1...