Leakdown Test
1.
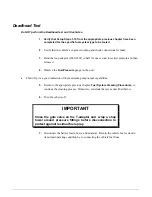
Verify that Setup Steps 1-10 from the appropriate previous chapter have been
completed for the specific fuel system type to be tested
.
2.
Verify that the vehicle’s engine is running and check connections for leaks.
3.
Turn off the vehicle.
4.
Note the pressure reading on the unit’s
Fuel Pressure
gauge.
•
The pressure should be maintained or increased due to heat expansion.
•
On CIS systems the pressure will drop to a point then stabilize (see manufactures specifications for
this amount).
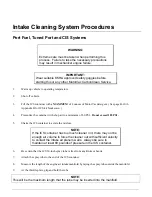
If a pressure drop occurs, this indicates a leak in the system. To isolate the leak you
will need to re-pressurize the system. Use the procedures below to re-pressurize the
system:
•
Press and hold the
Start/Run
button.
•
Turn the
Pressure Adjust
regulator clockwise until the unit’s
Fuel Pressure
gauge
displays
3/4
of the pressure noted in
Step 4
.
•
Release the
Start/Run
button.
•
Press the
▬
button to decreases the time until the
Time
LED displays five
minutes.
•
Press the
Leak Test
button on the unit’s control panel.
Use the procedure above to re-pressurize the system whenever there is significant
drop in pressure during the Leakdown test.
Once you have re-pressurized the system, use the procedures below to isolate the leak.
•
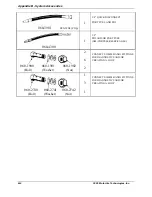
Locate the pressure line adaptor closest to the T-adaptor (#060-4500) and the vehicle’s fuel tank.
Bend the pressure line adaptor in half and squeeze tightly. If the pressure stabilizes, this indicates a
leak in either the pressure fuel line or a bad one-way check valve in the vehicle’s fuel pump.
•
Locate the return line adaptor close to the pressure regulator. Bend the return line adaptor in half and
squeeze tightly. If the pressure stabilizes, this indicates a leak in the vehicle’s pressure regulator.
This problem is generally dirt-related and should be resolved by the cleaning process. However, if
fuel is present in the vacuum line from the regulator, this indicates a leaking diaphragm.

