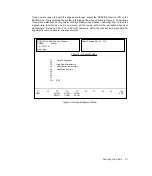
Each parameter can be adjusted one of three ways:
The UP arrow key will increase the parameter value. The DOWN arrow key will decrease the
parameter value.
The PGUP key will increase the parameter with a rate increase of 10% present value. The PGDN
key will decrease the rate of decrease by 10 % present value.
The UP/DOWN keys may also act as a toggle between two given parameter values or choices
such as "ON/OFF" or "YES/NO."
1.
Oscillator Warp
This adjustment sets the reference oscillator so that the transmit and receive frequencies are
set correctly for the radio. Since the SABER radio is a synthesized radio, this one adjustment
will set ALL the receive and transmit frequencies in the radio correctly, once you set oscillator
warp correctly on one frequency. When aligning Oscillator Warp, you can see the change in
frequency during the alignment process or in "real time." You do not have to reprogram the
radio to see the immediate frequency change. To perform this adjustment, use the
procedure given below.
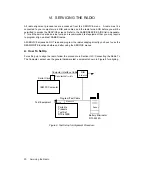
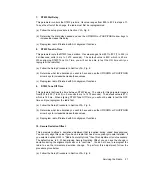
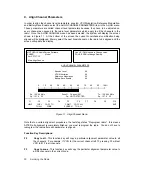
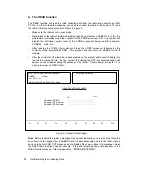
(a) Follow the Setup Procedure in Section VI-A, Fig. 8.
(b) Key up the radio by pressing the push-to-talk (PTT) button on the radio or by using the
PTT switch on the test set. Ensure that you have the RF connector terminated in a 50
ohm load and connected to a frequency counter so that you can measure the transmit
frequency. Determine the frequency error between the desired channel frequency and
the frequency measured.
(c) De-key the radio.
(d) Calculate the number of steps required to bring the radio on frequency using the
following formulas:
For UHF radios: number of steps = (frequency error in Hz) / 180
For VHF radios: number of steps = (frequency error in Hz) / 80
NOTE: A negative frequency error indicates that the frequency will have to be increased
by stepping up with the UP arrow key (or PGUP). A positive frequency error indicates
that the frequency will have to be decreased by stepping down with the DOWN arrow
key (or PGDN).
(e) Select the OSCILLATOR WARP item on the screen by using the ENTER or TAB key.
The selected item will be highlighted in inverse video.
(f) Use the UP or DOWN arrow key to decrease or increase the value of the number shown
by the number of steps calculated above. Note that the number shown is a hexadecimal
number and the numbers will go from 00 through FF. As an example, if the original value
shown is 44, pressing the UP arrow key will cause the number to scroll through the
following sequence - 45, 46, 47, 48, 49, 4A, 4B, 4C, 4D, 4E, 4F, 50, 51, etc...
If you had calculated that 13 positive steps were required to bring it on frequency, you
can press and release the UP arrow key 13 times. Or, you can hold the UP arrow key
down and the numbers will scroll up in value and once you have reached the desired
value, release the key. You may also use the PGUP key to increment by 10.
(g) Key the radio and check the frequency. Repeat the procedure if necessary. Ensure that
the measured frequency is within the specified frequency window for that radio model.
23
Servicing the Radio


