5
3
Switch the steam switch
‚
to on and
this will now illuminate.
Steam trigger
WARNING: At the start water may
be ejected. Aim the steam safely. Start
by releasing the steam into a bucket
or sink.
1
Ensure the safety lock
¤
is off. When
the lock is pushed towards the rear the
trigger cannot be activated. Push the
lock forward to release the steam trigger.
2
When you press the steam trigger, steam
will be emitted from the nozzle.
H
3
There will be an initial delay of a few
seconds before the water reaches the
boiler. This delay is indicated by the
pump noise and reduces as water enters
the system.
IMPORTANT: On the first use it may take
up to 30 seconds before steam is released.
If steam is not released within 30 seconds
remove and refit the tank, then re-try.
4
Keep the steam trigger pressed and
direct the steam at the surface to be
cleaned, removing the dirt by moving the
steam jet backwards and forwards over
the area.
5
To stop the steam jet, release the steam
trigger.
There will be a delay before the steam
ceases as the remaining water in the
system is expelled.
WARNING: This is normal. Make
sure the steam nozzle is safely
held/located during this period.
6
When the water reaches a low level the
pump will click, this is due to air being
pumped instead of water. Stop using the
appliance, locate the steam nozzle in a
safe location and refill the tank. It is not
necessary to wait for the appliance to
cool down.
IMPORTANT: If the pump is run dry for a
long period it may become air blocked. If
this happens, switch off or leave the unit to
fully cool before re-trying.
Attaching tubes
and handle
WARNING: Allow all parts to cool
and make certain steam has stopped
before attempting to fit or change any
accessories.
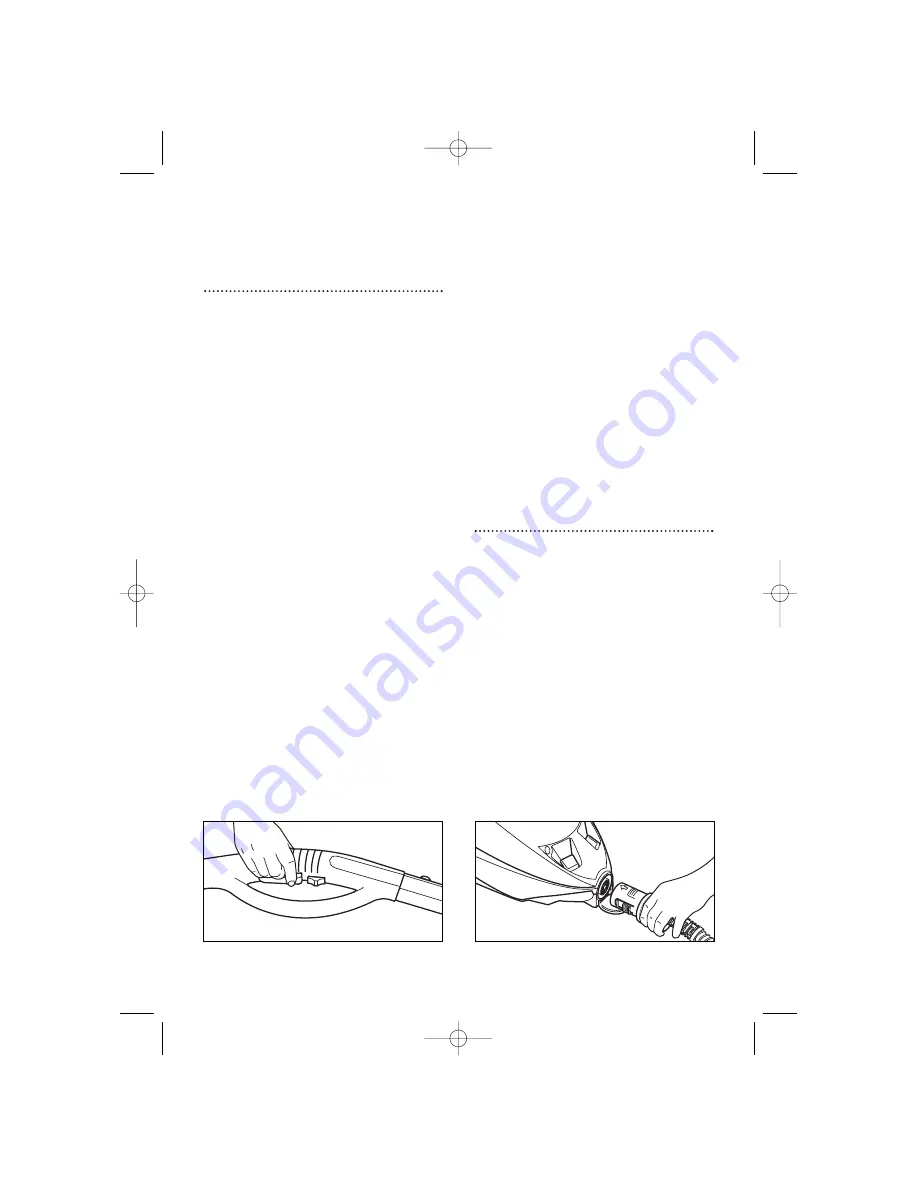
1
Pull the flap down that covers the inlet.
Push the plug firmly into the inlet with
the arrow facing upwards
I
.
2
Attach the desired accessory, i.e. large
floor brush, jet nozzle or the extension
tube directly to the hose handle
depending on the application.
H
I
70460 Rev 2 10/8/04 10:44 AM Page 5


