background image

17 

SOFTWARE INSTALLATION AND SETUP 

This 3D printer, like most 3D printers, uses open source 3D printing software. We 
recommend that you begin your 3D printing experience by using Python 2 and ReplicatorG 
to create the Gcode 3D model files. Perform the following steps to install Python and 
ReplicatorG for Windows and to setup ReplicatorG for use with this printer: 

1.


Point your browser to 

http://www.python.org/downloads/a


2.


Download the latest version of Python 2 software. At the time of this writing, the 
latest version of Python 2 is 2.7.10. Do not use Python 3, as the ReplicatorG software 
is incompatible with Python 3. 

3.


Locate the file you just downloaded and double-click it to launch the installer. 

4.


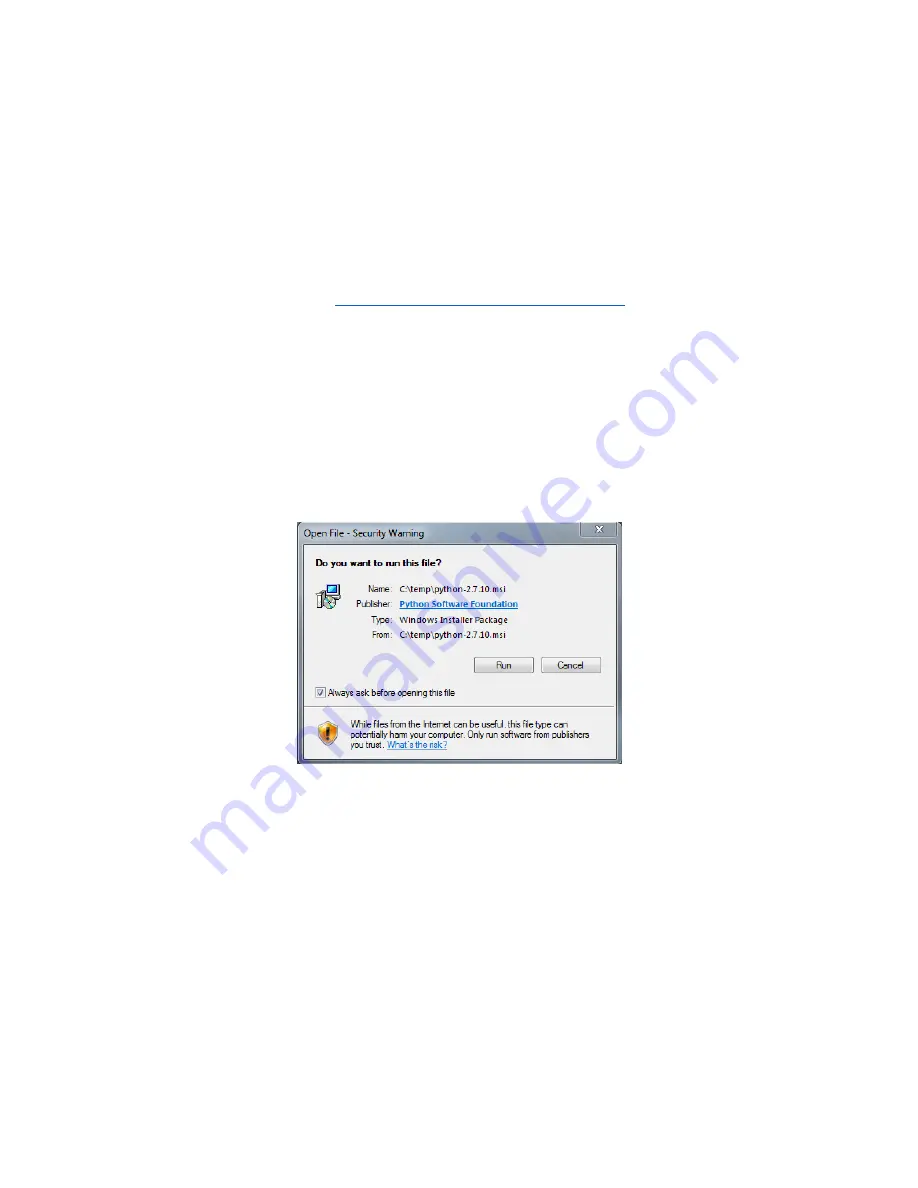
Depending on your Windows security settings, you might see a security warning. 
Click the Run button to continue. 


Содержание maker architect 13861

Страница 1: ......

Страница 2: ...FEATURES 4 CUSTOMER SERVICE 4 PACKAGE CONTENTS 5 NAVIGATING THE MENU SYSTEM 5 UNPACKING AND SETUP 6 FINE TUNING PLATFORM HEIGHT 15 SOFTWARE INSTALLATION AND SETUP 17 TECHNICAL SUPPORT 30 REGULATORY COMPLIANCE 30 Notice for FCC 30 Notice for Industry Canada 31 ...

Страница 3: ...e vibration Do not expose this printer to water or moisture of any kind Do not place drinks or other containers with moisture on or near the printer If moisture does get in or on the printer immediately unplug it from the power outlet and allow it to fully dry before reapplying power Do not place the printer near a heat source such as a fireplace heating vent radiator etc The power supply for this...

Страница 4: ...xtrusion print head Can be upgraded with addition of dual extrusion print head Unheated glass built platform won t warp Well suited for printing with PLA filament Wooden frame for reduced weight Includes PLA filament for printing right out of the box Includes 4GB SD card with preinstalled sample 3D models CUSTOMER SERVICE The Monoprice Customer Service department is dedicated to ensuring that your...

Страница 5: ...system As can be seen in the image the buttons consist of four arrow buttons and a middle button sometimes referred to as the M button Use the Up and Down arrow buttons to move the highlight in the menus Use the Middle M button to select the currently highlighted menu entry Use the Left arrow button to back out to the previous menu Throughout this manual you will be asked to navigate the menu syst...

Страница 6: ... follow these unpacking instructions could result in damage to your new printer 1 Place the box on the floor in the middle of a clean flat area Carefully open the top and remove the accessories box and set it aside 2 Slide your hands down the sides of the printer to grab the edge of the frame Lift it out of the box and place it on your work area ...

Страница 7: ...er 4 Remove the foam packing from inside the top of the printer then open the top of the exposed box and carefully remove the print head extruder and set it on your work area next to the printer 5 Remove the box from inside the printer and set it aside ...

Страница 8: ...w visible Grip each side of the platform at the back next to the vertical guides and gently pull the platform up to give access to the boxes under the platform 7 Remove the boxes from beneath the build platform and set them aside ...

Страница 9: ...ap from around the print head extruder Open the parts bag and remove two 2 3 8 long hex screws and the hex wrench 9 Place the extruder on the extruder seat with the fan facing forward Secure it to the seat using two 3 8 long hex screws ...

Страница 10: ...printer with the two clips Ensure that the guide tube can reach the extruder but do not connect it to the extruder yet 11 Remove the outer plastic nut from the filament support bracket then insert the threaded end through the hole in the back of the printer ...

Страница 11: ...11 12 Screw the nut onto bracket and tighten it from both sides Take care not to over tighten 13 Insert the SD card into the vertical slot on the right side of the printer ...

Страница 12: ...s the I side of the power switch to turn the printer ON 16 Press the Middle M button on the printer s front panel to activate the menu system then select Utilities Run Startup Script This script will take you through the process of leveling the build platform loading filament and starting your first print Follow the on screen instructions which for your convenience are listed below Please review a...

Страница 13: ...nd the plate Grab a sheet of paper to assist us 11 Adjust the front two knobs until paper just slides between nozzle and plate 12 Adjust the back two knobs until paper just slides between nozzle and plate 13 Adjust the right two knobs until paper just slides between nozzle and plate 14 Adjust the left two knobs until paper just slides between nozzle and plate 15 Check that paper just slides betwee...

Страница 14: ...xtruding 25 Did the plastic extrude from the nozzle Yes No OK I ll keep my motor running You may need to push harder 26 Great I ll stop running my extruder Press M to continue 27 How d it go Ready to make something Yes Awesome We ll go to the SD card menu and you can select a model No We ll go to the main menu Congratulations you have successfully setup your printer and have started your first 3D ...

Страница 15: ... a successful print Examine the extruded material and compare it to the following charts to determine if your build platform is a tad too high a tad too low or just right You may need to make several passes at height adjustment before you are ready for a large complicated print job ...

Страница 16: ...16 ...

Страница 17: ...indows and to setup ReplicatorG for use with this printer 1 Point your browser to http www python org downloads a 2 Download the latest version of Python 2 software At the time of this writing the latest version of Python 2 is 2 7 10 Do not use Python 3 as the ReplicatorG software is incompatible with Python 3 3 Locate the file you just downloaded and double click it to launch the installer 4 Depe...

Страница 18: ...18 5 Click the Next button to continue 6 Click the Next button to accept the default install directory 7 Click the Next button to accept the default program options ...

Страница 19: ...nstallation 9 Point your browser to http replicat org download 10 Download the Windows version of the software 11 Locate the file you just downloaded and double click it to launch the installer 12 Depending on your Windows security settings you might see a security warning Click the Run button to continue ...

Страница 20: ...t screen warns that It looks like you don t have Python We will tell ReplicatorG where to find the Python software later in these instructions For now click the Install button to continue 15 The installer will unpack the installation files then will launch the Driver Installation Wizard Click the Next button to continue ...

Страница 21: ... Windows security settings you may see up to six security warnings For each one click the Install this driver software anyway button to continue 17 Once the drivers have finishing installing click the Finish button to continue 18 Click the Next button to complete the installation ...

Страница 22: ...s then locate and double click the ReplicatorG shortcut 20 When it runs for the first time the ReplicatorG client will copy files to the install location Once it has completed the process select File Preferences 21 Click the Advanced tab then click the Select Python interpreter button ...

Страница 23: ...t the Python exe file located in the following directory c Python27 then click the Open button 23 Click the Close button to save your preferences 24 Click the Machine menu select Machine Type Driver entry then click The Replicator Single ...

Страница 24: ...ded USB cable plug one end into the back of the printer and the other into an available USB port on your computer then turn the printer on 27 Select Machine Connection Serial Port Rescan serial ports then select Machine Connection Serial Port COM where is a number other than COM1 In this case it is COM10 ...

Страница 25: ...tton highlighted below second from the right 29 ReplicatorG will respond by changing the banner to green and displaying the printer status on the right as shown in the image below 30 Select File Examples 20mm_Calibration_Box stl ...

Страница 26: ...ddle of the virtual build platform as shown below Note If the software does NOT load the model and change to the above view perform the following steps a Select File Examples 20mm_Calibration_Box stl again b Exit ReplicatorG by pressing CTRL Q c Reload ReplicatorG ...

Страница 27: ...Raft option The selected model 20mm Calibration Box has no overhanging elements and has sufficient contact area so deselect the Use Raft Support option 35 If you are using Support for overhanging elements on your model set the Use support material option to either Exterior support or Full support The Exterior option creates support only for those parts of the model that are over the build platform...

Страница 28: ... value will require more time to print but will have a smoother appearance while higher values will print quicker and will handle overhangs and bridges better but will have a rougher appearance For this model set Layer Height mm to 0 27 40 The Number of shells value determines the thickness of the exterior walls For this model set Number of shells to 1 41 The Feedrate mm s setting determines the s...

Страница 29: ...his printer is 0 4mm 48 Click the Generate Gcode button 49 You will be displayed an Acceleration Warning Click the OK button to clear the dialog ReplicatorG will then generate the GCode file Congratulations you have just sliced a model and created your first GCode file You can now export this file to an SD card for direct printing or from within ReplicatorG by clicking the Build button leftmost bu...

Страница 30: ...use undesired operation Modifying the equipment without Monoprice s authorization may result in the equipment no longer complying with FCC requirements for Class B digital devices In that event your right to use the equipment may be limited by FCC regulations and you may be required to correct any interference to radio or television communications at your own expense This equipment has been tested...

Страница 31: ...een the equipment and receiver Connect the equipment into an outlet on a circuit different from that to which the receiver is connected Consult the dealer or an experienced radio TV technician for help Notice for Industry Canada This Class B digital apparatus complies with Canadian ICES 003 Cet appareil numérique de la classe B est conforme à la norme NMB 003 du Canada ...

Отзывы: