9
6.
The lift allows you to mount the projector in its normal orientation or inverted. The
normal orientation is preferred if the space between the primary ceiling structure
and the dropped ceiling surface is limited. Mount the projector to the projector
mounting plate. If the mounting holes on the projector mounting plate do not align,
use the included multifunctional arms. DO NOT MOUNT THE PROJECTOR TO THE
DECORATIVE CEILING PLATE!
7.
Use M10 threaded rods with washers and nuts (not included) to adjust the distance
between the projector (if mounted inverted) or the projector mounting plate (if
mounted normally) and the decorative ceiling plate. There should be at least 0.8"
(20mm) between the decorative plate and the projector or projector mounting
plate.
8.
Connect the projector power and video to the projector. If using an inverted
orientation, first feed the cables through the hole in the projector mounting plate.
9.
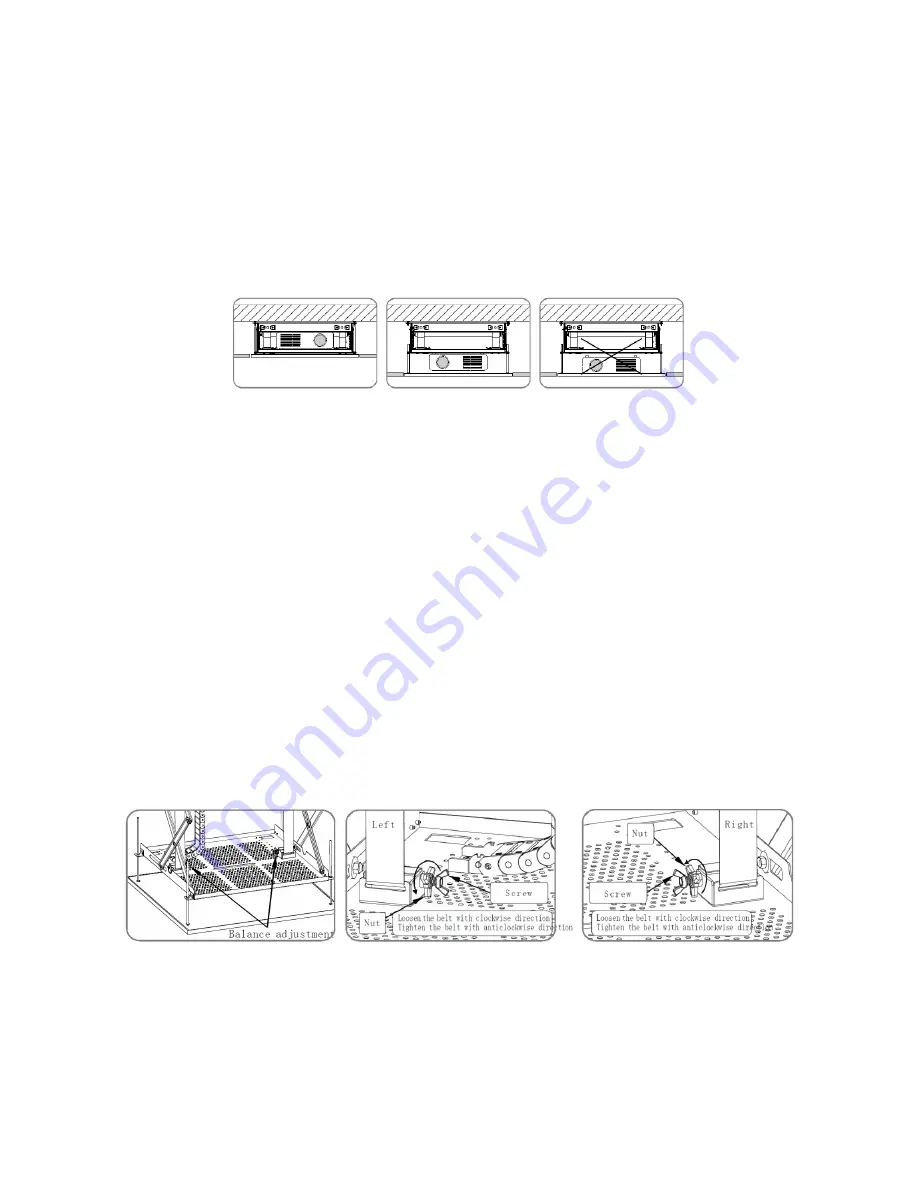
Use a carpenter's level to recheck the balance of the projector mounting plate. If it
is not perfectly level, adjust the length of the woven belts. To adjust the height, first
loosen the locking wingnut, then turn the adjustment nut. Turn the nut clockwise to
lower the height on that side or turn it counterclockwise to raise the height. Make
small adjustments to each side. Adjust each side until balance is achieved. Finally,
tighten the locking wingnuts to prevent the adjusting nut from moving.
10.
Plug the projector power and video cables into the projector lift.
11.
Run a video cable from the projector lift to the video source.


