© MOBATIME
25 / 32
800697.09
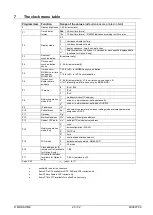
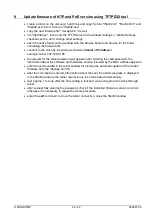
By pushing the
PB1L
button, the entered values are stored and the clock returns to the
menu item
P13.
Push together
PB1L
and
PB2L
to return to
P13
without storage of the data
Note: Through the setup menu, it is possible to set only one NTP server IP address. If
more than one NTP server addresses were previously configured (using telnet or
MOBA-NMS tool), after opening the
P13
submenu the IP address of currently active
NTP server is displayed. When the IP address was modified and the configuration is
saved using the setup menu, the IP address is stored to the definition of the first NTP
server, the other NTP server addresses are cleared including those defined by the NTP
server domain names.
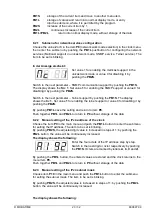
8.3
Submenu for displaying IPv6 addresses
Choose the menu item
P14
and push
PB1L
to enter the IPv6 addresses
submenu. In the submenu choose required IP address for displaying and push
PB1L
to display the first part of the IPv6 address.
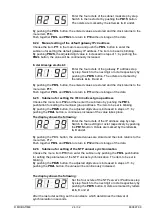
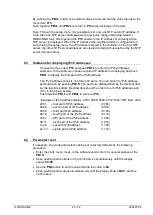
The IPv6 address consists of a total of 8 parts. You can switch to IPv6 address
particular part by pushing
PB1S
. The parts are distinguished by the decimal dots
on the last three digits. Decimal dots show the order of each IPv6 address parts
(0-7) in the binary system.
Push together
PB1L
and
PB2L
to return to
P14.
Example of IPv6 address display 2001: 0db8: 0000: 0012: f68e: 38ff: fee8: 4a13
2001
–
first part of IPv6 address
(000b)
0db8.
–
second part of IPv6 address
(001b)
000.0
– t
hird part IPv6 address
(010b)
001.2.
–
fourth part of the IPv6 address
(011b)
f6.8e
–
fifth part of the IPv6 address
(100b)
38.ff.
– s
ixth part of the IPv6 address
(101b)
fe.e.8
–
seventh IPv6 address
(110b)
4a.1.3.
–
eighth part of iPv6 address
(111b)
8.4
Parameter reset
If necessary, the clock parameters can be set to factory defaults by the following
procedure:
•
Enter the clock menu, move to the software version item by several pushes of the
PB1S
•
Keep pushing both buttons on the clock frame simultaneously until the display
shows
C0:00
•
Use the
PB2
button to set the value behind the colon to
04
•
Keep pushing both buttons simultaneously until the display shows
FAC1
and the
clock resets

