Form 824262
Page Number - 23
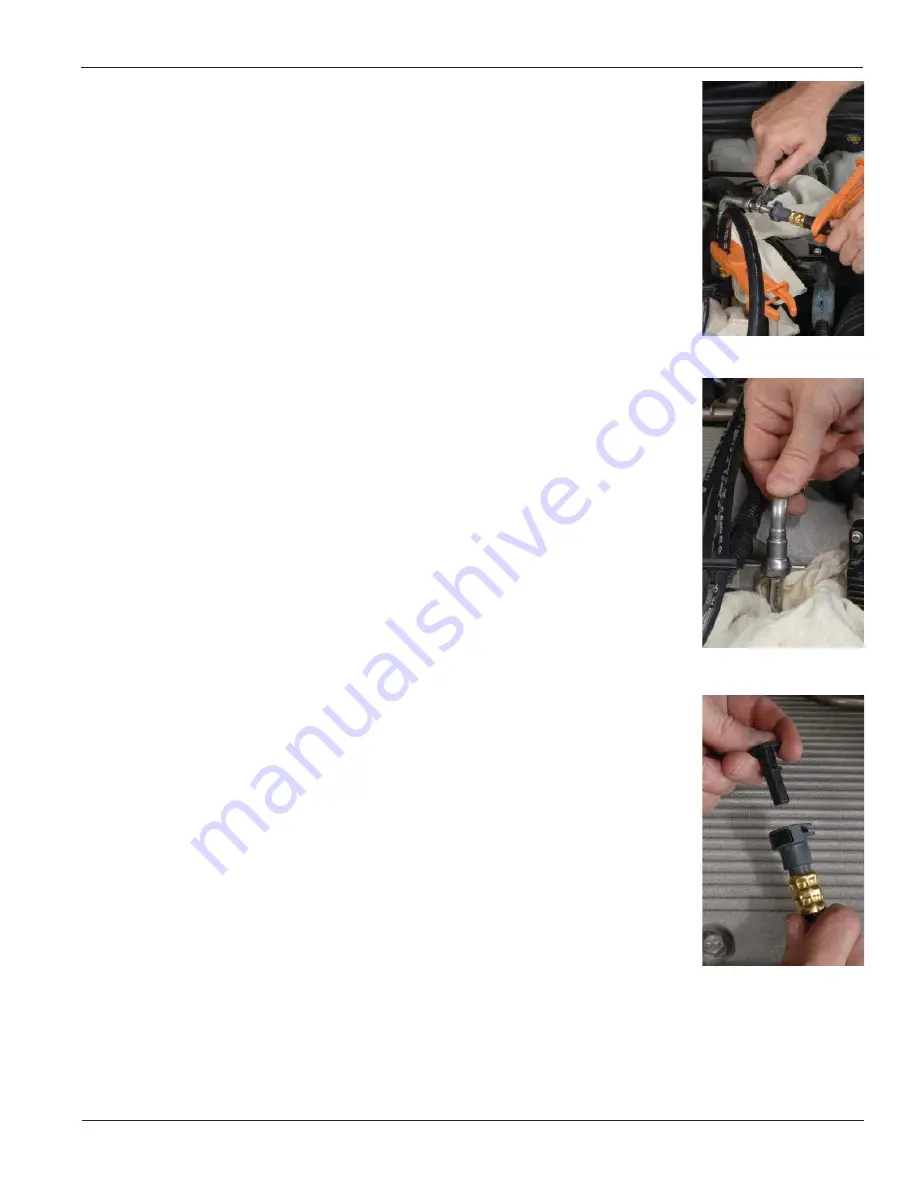
Fig. 36
Fig. 35
Fig. 37
no leaks are evident, replace the
fuel pump module due to a faulty pump check valve or leaking regulator.
4. Remove the clamp from the fuel line, and restart the engine to build pressure.
5. Turn off the engine and immediately clamp off the FST inlet hose running to the tester from
the fuel supply line. This will trap the pressure gauge between the clamp and the fuel rail.
6. If the pressure drops, the cause is a leaking injector(s).
Disconnecting the FST
The FST Pro contains features and components to safely disconnect with a minimal release of
fuel. Follow the procedures below and always observe the safety precautions listed in the front
of this
manual. Carefully read the warning below concerning disconnecting from a hot returnless fuel
system.
1. When vehicle testing is completed, turn off engine and relieve pressure on the fuel system
by pressing the pressure relief valve located on the stem of the pressure gauge (Fig. 33).
Watch the pressure gauge readings and fuel being released through the small clear hose to
the collecting container.
The flow control valve must remain in the OPEN position during pressure relief. When fuel
pressure is not shown on the gauge, and fuel stops flowing through the relief hose, proceed
to step 2.
2. Place shop towels under the connections to capture any fuel that may spill out when the
hoses are disconnected.
3. Using the two scissor hose clamps supplied in the FST Pro kit, clamp both of the connect-
ing hoses near the end where they
connect to the vehicle's fuel system (Fig. 34). Lock them securely to prevent fuel from leak-
ing out of the tester when the hoses are disconnected.
WARNING:
After testing a returnless fuel system, use extreme caution when disconnecting
the outlet hose connecting the FST to the fuel rail. If the engine is hot, releasing the pres-
sure from a returnless fuel system will cause the fuel to boil in the fuel rail. Even though the
pressure has been released, the boiling fuel will cause it to build up again once the hose is
clamped. To reduce the risk of fuel spray it is best to allow the engine to cool before discon-
necting the hose. Otherwise, use the FST pressure relief valve to relieve the pressure just
before clamping the hose. Once the hose is clamped, quickly disconnect the hose from the
fuel system before the pressure has time to build. Try to keep a shop towel wrapped around
the connection to catch any fuel spray.
4. Rotate the flow control valve to the CLOSED position to help
prevent fuel leakage.
5. With the scissor clamps locked in place on the connecting hoses, disconnect the FST
adapters and fitting connectors from the
vehicle’s fuel system (Fig. 35).
6. Reconnect the vehicle fuel lines and check for possible fuel
connection leaks before starting the engine (Fig. 36). Cycling the ignition ON and OFF
without starting the engine, will run the fuel pump briefly to prime the fuel system on most
vehicles. Always check fuel line connections to ensure they are securely fastened and do
not leak.
7. Place the disconnected ends of the connection hoses into an approved fuel container with
the bypass and pressure relief hoses. Drain fuel from the FST flowmeter, gauge and hoses
by releasing the scissor clamps. Rotate the flow control valve and press the pressure relief
valve as necessary to ensure all fuel is drained from the tester.
8. Use the plastic hose plugs supplied in the FST kit, to temporarily cap the open ends of the
flowmeter connecting hoses (Fig. 37).
9. If testing is complete, disassemble and store all components of the FST Pro in the original
case.


