


9
CONNECTIONS
PRECAUTIONS
FEA
TURES
PREP
ARA
TION
TROUBLE-
SHOOTING
OTHERS
CONNECTIONS
CONNECTION WITH USB INTERFACE
2
2
2
2
2
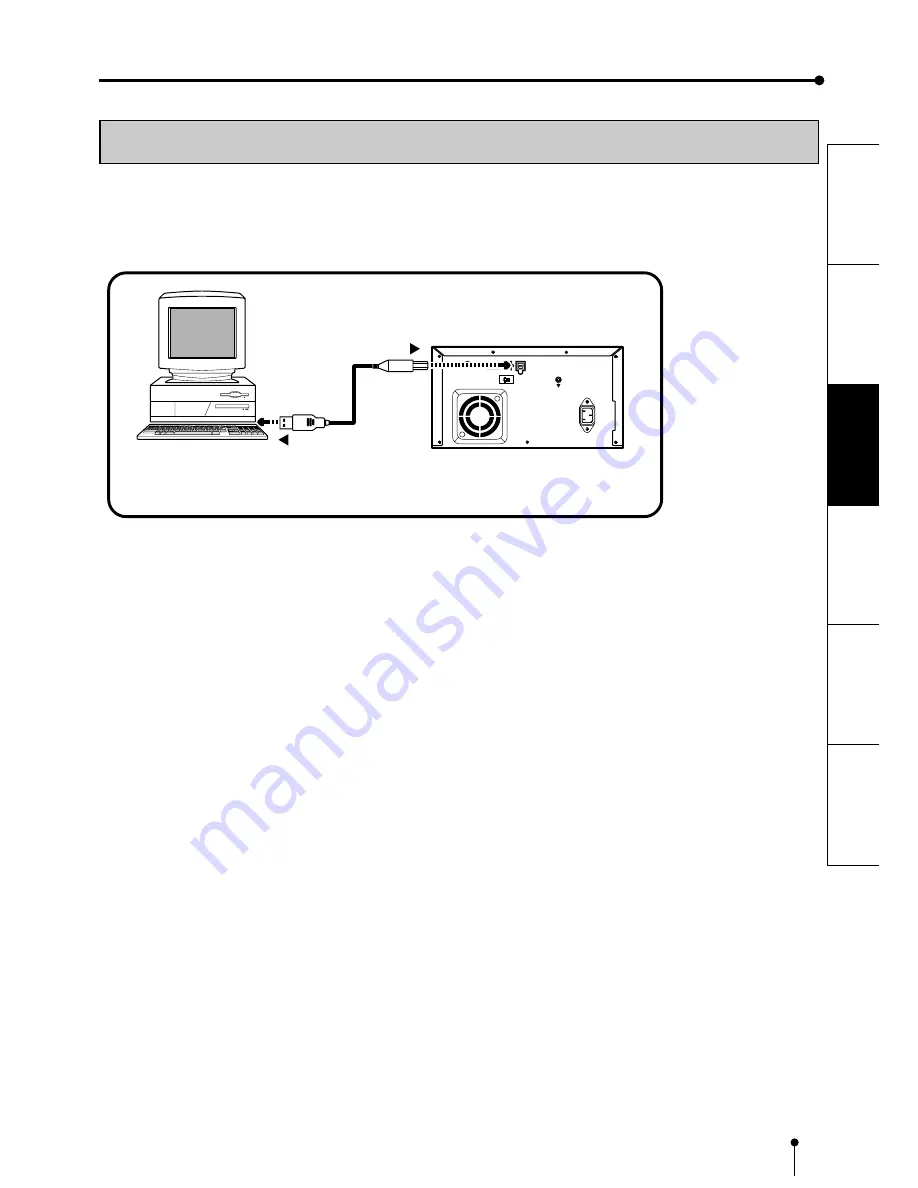
CONNECTING WITH PC
Connect this unit with a personal computer as following example.
AC LINE
REMOTE
USB
OFF
ON
8 7 6 5 4 3 2 1
To USB port
Personal computer
Printer
To USB port


