EN-19
ENGLIS
H
Image adjustment
You can adjust projected images by using Picture and Video Image
menus.
To adjust the brightness and contrast:
You can make adjustments of the brightness of the projected image
using the menu.
(See page 16 for the menu options.)
1.
Display the Picture menu.
2.
Select Brightness or Contrast by pressing the
S
or
T
button.
3.
Adjust the selected option by pressing the
W
or
X
button.
To cancel the menu:
4.
Press the MENU button.
Brightness
Every time the
X
button is pressed, the image becomes brighter.
Every time the
W
button is pressed, the image becomes darker.
Contrast
Select to adjust the contrast of the image. Every time the
X
button is
pressed, the image becomes brighter and more clearly defined. Every
time the
W
button is pressed, the image becomes darker and less
clearly defined.
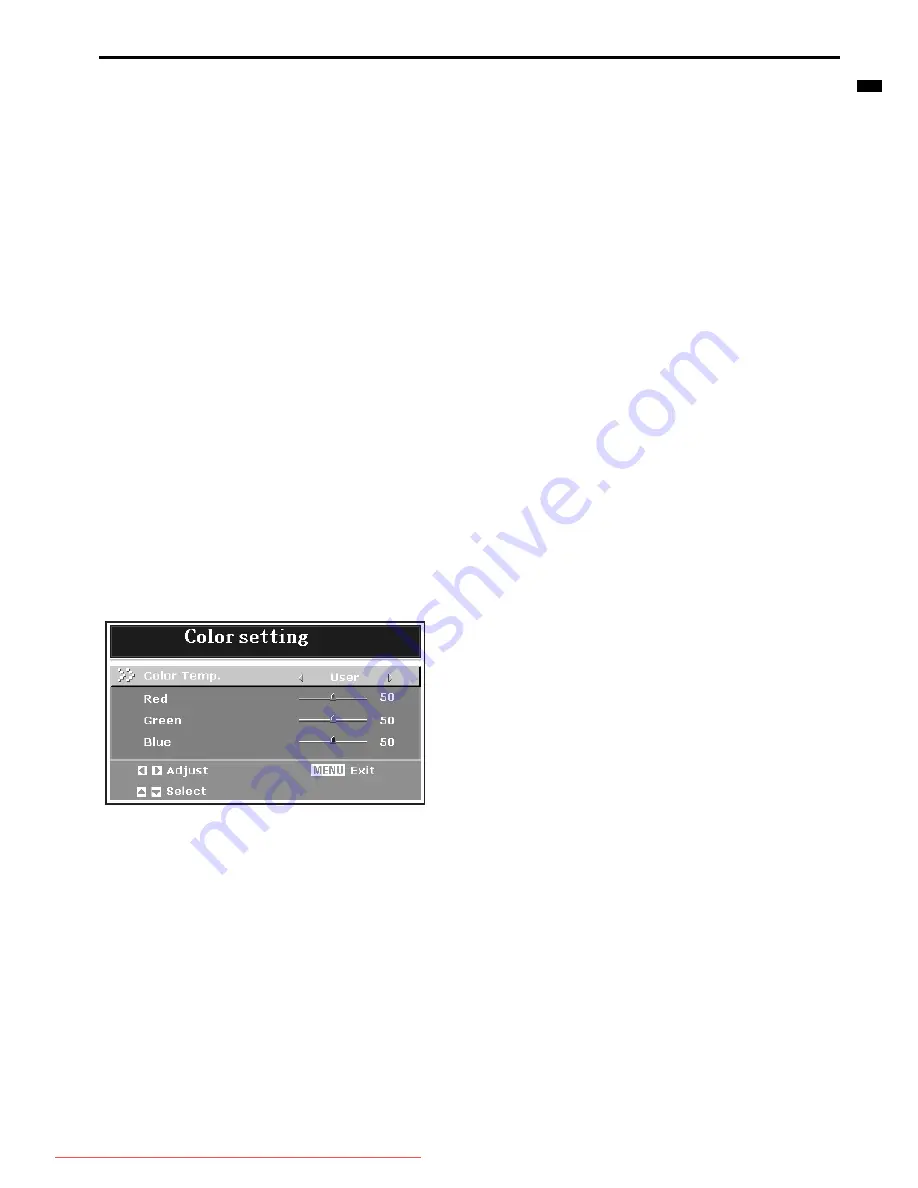
To adjust the color setting:
You can adjust color setting using the menu.
(See page 16 for the menu options.)
1.
Display the Picture menu.
2.
Select Color Setting by pressing the
S
or
T
button.
3.
Select your desired color temperature by pressing the
W
or
X
button.
To set a user-defined color temperature, perform the fol-
lowing procedure:
1.
Select User in the Color Temp menu.
2.
Press the
S
or
T
button to select the desired setting.
3.
Press the
W
or
X
button to adjust the selected setting.
To cancel the menu:
4.
Press the MENU button.
To adjust the color:
You can adjust color using the menu.
(See page 17 for the menu options.)
1.
Display the Video Image menu.
2.
Select Color by pressing the
S
or
T
button.
3.
Adjust the selected option by pressing the
W
or
X
button.
To cancel the menu:
4.
Press the MENU button.
Color
Use to adjust the color density of the projected image. Every time the
X
button is pressed, the color becomes lighter. Every time the
W
but-
ton is pressed, the color becomes darker.
To sharpen or soften the projected image:
You can adjust the sharpness of the projected image using the menu.
(See page 17 for the menu options.)
1.
Display the Video Image menu.
2.
Select Sharpness by pressing the
S
or
T
button.
3.
Adjust the selected option by pressing the
W
or
X
button.
To cancel the menu:
4.
Press the MENU button.
Sharpness
Use to adjust the sharpness of the projected image. Every time the
X
button is pressed, the image appears more sharp. Every time the
W
button is pressed, the image appears more soft.
To adjust the tint:
You can adjust the tint using the menu.
(See page 17 for the menu options.)
1.
Display the Picture menu.
2.
Select Tint by pressing the
S
or
T
button.
3.
Select your desired color temperature by pressing the
W
or
X
button.
To cancel the menu:
4.
Press the MENU button.
Tint
Use to adjust the tint of the projected image. Every time the
X
button
is pressed, the image appears more greenish. Every time the
W
but-
ton is pressed, the image appears more reddish.
Downloaded From projector-manual.com Mitsubishi Manuals


