EN-16
Menu operation (continued)
Basic operation
Several settings can be adjusted using the menu.
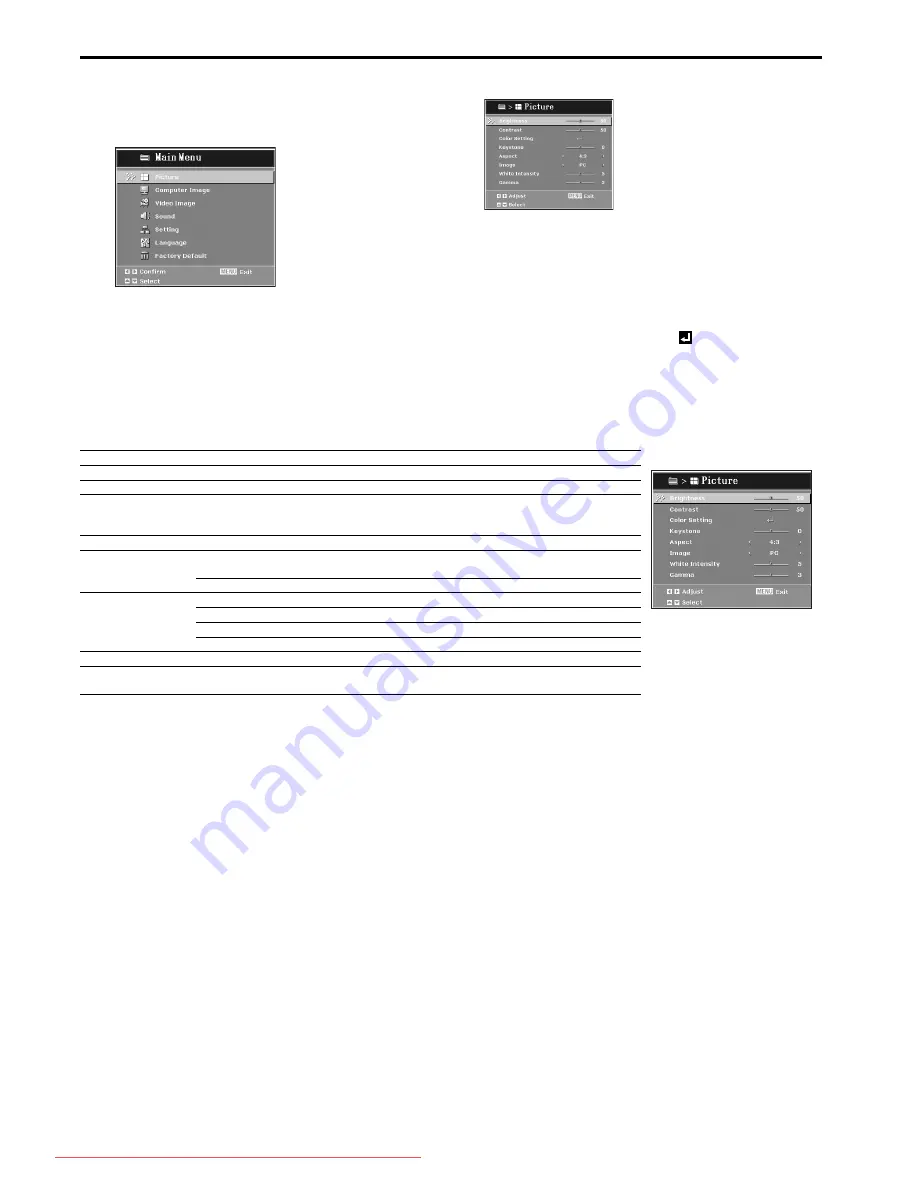
Example : Brightness setting
1.
Press the MENU button.
2.
Press the
S
or
T
button to select Picture.
3.
Press the
X
button.
4.
Press the
S
or
T
button to select Brightness.
5.
Press the
W
or
X
button to adjust the brightness.
6.
Exit the menu by pressing the MENU button several times
Important:
•
When the button doesn't function, unplug the power cord from the
wall outlet. Wait about 10 minutes, plug the power cord in, and try
again.
•
After selecting the items marked with
, press the ENTER but-
ton.
Menu Options
Set the following options provided in the respective menus.
1. Picture menu
•
If the cable is pulled out from the projector when the menu is displayed, last memory will lose, and the setting value will disappear.
Menu option
Setting
Feature description
Brightness
0 - 100
Brighten or darken the image.
Contrast
0 - 100
Set the difference between light and dark areas.
Color Setting
Color Temp 4 options
Adjust the color temperature. At higher temperature the screen looks
colder; at lower temperature, the screen looks warmer. If you select
"User", "Red", "Green" and "Blue" can be adjusted.
Keystone
-20 - +20
Correct the keystone distortion.
Aspect
4:3
The input source will be scaled to fit the projection screen.
•
SXGA signal is supported.
16:9
The input source will be scaled to fit the width of the screen.
Image
PC
For PC presentation (The brightness is emphatic.)
Movie
For home theater.
Standard
For PC standard color.
User
Memorize user's settings.
White Intensity
0 - 10
Increase the brightness of white areas.
Gamma
0 - 6
Effect the represent of dark scenery. With greater gamma value, dark
scenery will look brighter.
Downloaded From projector-manual.com Mitsubishi Manuals


