


EN-15
Important:
• The automatic keystone adjustment may not
be carried out correctly because of the ambient
temperature and the installation conditions of the
projector and the screen. In such cases, correct the
keystone manually.
• When the projector is projecting images where
acceleration is present, such as in a vehicle and
aircraft, the automatic keystone adjustment may
not function correctly. In such a case, set Auto
Keystone in the Installation menu to Off and correct
the keystone manually.
• You can correct the vertical keystones. However,
their adjustment ranges are limited in such
correction.
• When the keystone adjustment is carried out, the
adjustment value is indicated. Note that this value
doesn’t mean a projection angle.
• The allowable range of the adjustment value in
the keystone adjustment varies depending on
the installation condition, input signal and aspect
settings in MENU.
• When the keystone adjustment takes effect, the
MAGNIFY mode and the Overscan function cannot
be used.
• When the keystone adjustment takes effect, the
resolution decreases. In addition, stripes may
appear or straight lines may bend in images with
complicated patterns. They are not due to product
malfunctions.
• Noise may appear on the screen during the
keystone adjustment because of the type of the
video signal being projected and the setting values
of the keystone adjustment. In such cases, set the
keystone adjustment values in the range where the
image is displayed without noise.
• When the keystone adjustment is carried out, the
image may not be displayed correctly because of
the type of input signal.
When entire projected image
isn’t displayed within the screen
(E-Zoom/Shift)
To adjust the projected image size and position, use
E-Zoom/Shift in the Installation menu.
(See page 21 for menu setting.)
1. Display the Installation menu.
2. Press the
or
button to select E-Zoom/Shift.
E-Zoom/Shift
OK
3. Press the ENTER button.
• The E-ZOOM/SHIFT menu appears at the center
of the screen.
E-ZOOM
SHIFT
VOL
4. Press the VOLUME
or
button to adjust the
projected image size.
• Every time the VOLUME
button is pressed,
the projected image becomes larger.
• Every time the VOLUME
button is pressed,
the projected image becomes smaller.
• Projected image is a maximum as factory
default.
E-ZOOM
SHIFT
VOL
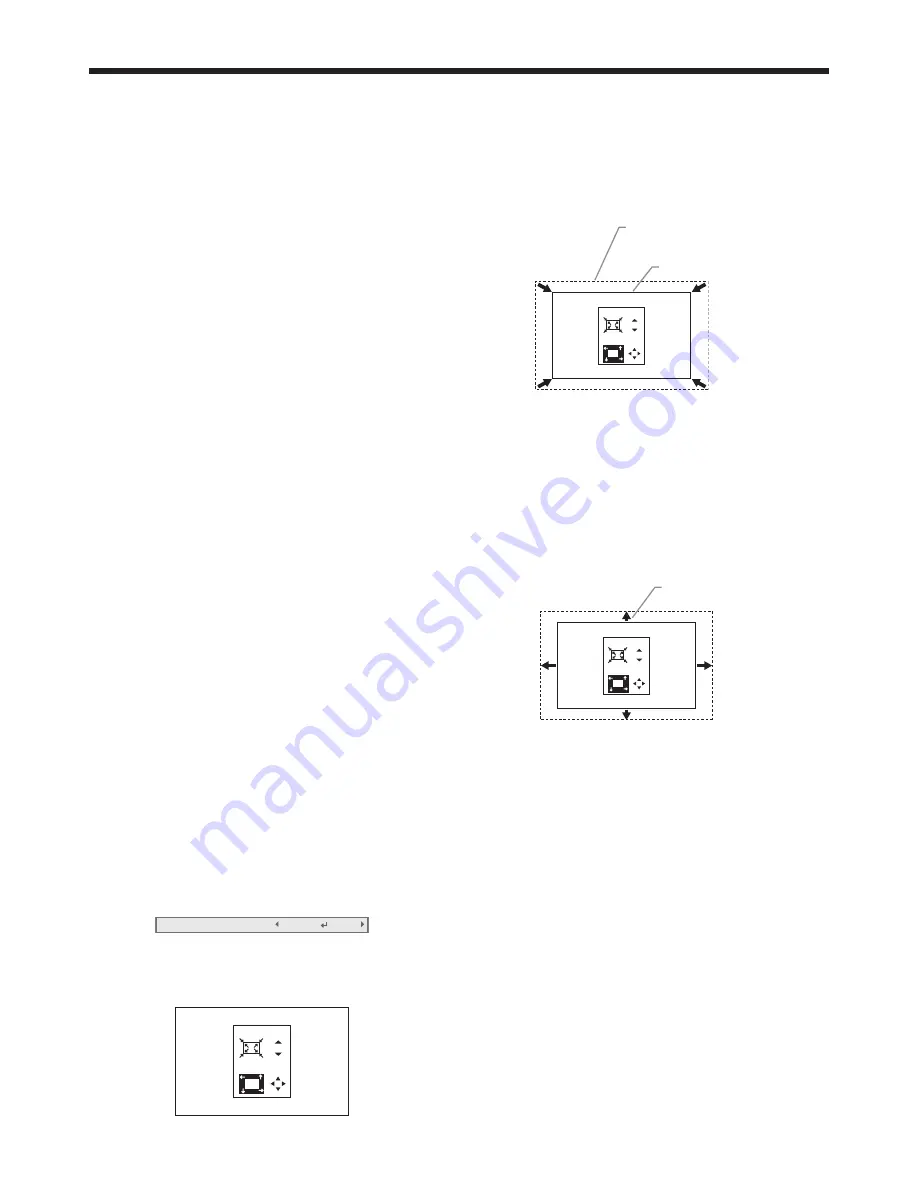
Original image size
(= maximum image size)
Reduced image
5. Press the
,
,
or
button to move the
projected image position.
• Every time the
button is pressed, the
projected image moves up.
• Every time the
button is pressed, the
projected image moves down.
• Every time the
button is pressed, the
projected image moves to the left.
• Every time the
button is pressed, the
projected image moves to the right.
Adjustable in any of
four directions
E-ZOOM
SHIFT
VOL
Important:
• When you reduce the projected image using the
E-Zoom/Shift function, the resolution decreases. In
addition, stripes may appear or straight lines may
bend in images with complicated patterns.
Preparation (continued)


