English-32
U-1
Turning on all the connected devices
Turning on external devices
1. Turn on the connected devices such as
the computer and DVD player.
Turning on the monitor
CAUTION:
When an OPS-compliant computer is installed as an expansion
module, the computer automatically turns on and starts as the
monitor is turned on.
Don’t turn off the monitor immediately after turning it on
because the computer may be in the startup process. Select
OPTION as the video input and wait for the operating system of
the computer to complete the startup process.
NOTE:
When the computer doesn’t start within a given period
of time (approx. 1 minute), “OPERATION ERROR” and an
error message are displayed. See the user’s manual of your
computer.
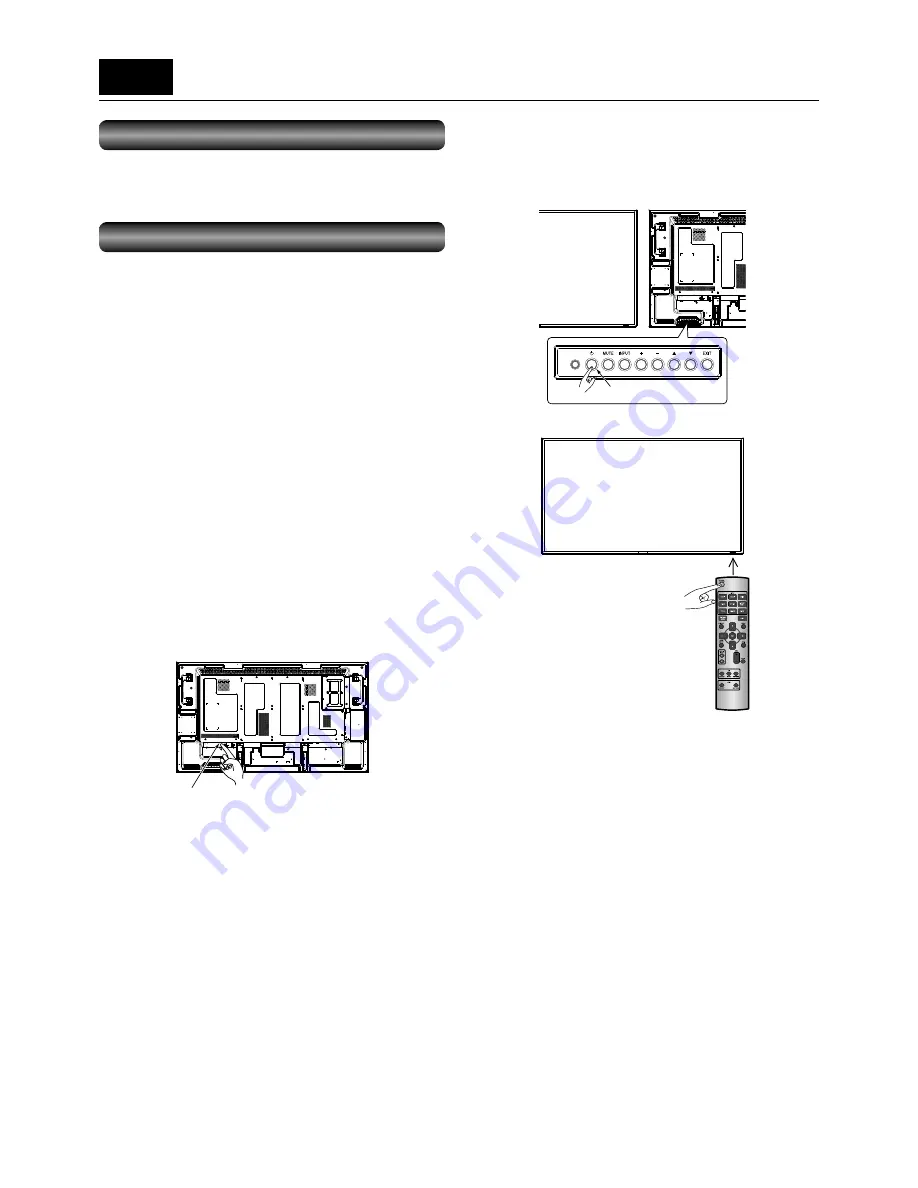
2. Turn on the Main Power Switch.
The power indicator turns on green and the monitor turns
on.
The control buttons on the rear, wireless remote control,
and schedule setting don’t work while the main power
switch is off (the power indicator is off).
When using them, check that the Main Power Switch is on
(the power indicator is on).
Main power switch
3. When the power indicator glows
red, press the POWER button on the
monitor.
The power indicator turns green.
Wireless remote
control
Power button
Power button
or
NOTE:
Within 2 seconds after turning off the power by the POWER
button on the wireless remote control or the monitor or by a
communication command, don’t turn off the main power switch,
don’t disconnect the power cord, and don’t turn off the breaker.
If the AC power is turned off immediately after the power-off
operation, all the OSD settings including the language selection
may be reset to the factory defaults at the next power-on.
If the OSD settings are reset to the factory defaults as
described above, reconfi gure the OSD settings using the
following procedure.
1. Turn off the power of the monitor using the wireless
remote control or otherwise.
2. Wait for at least 2 seconds.
3. Turn on the power of the monitor using the wireless
remote control or otherwise.
4. Check and reconfi gure the OSD settings.
Содержание A2129
Страница 1: ...LCD Display Monitor MODEL ...
Страница 2: ......
Страница 3: ...English English Deutsch Español Français Italiano Русский Deutsch Español Français Italiano Русский ...
Страница 4: ......
Страница 401: ......
Страница 402: ......
Страница 403: ......


