


-
7
-
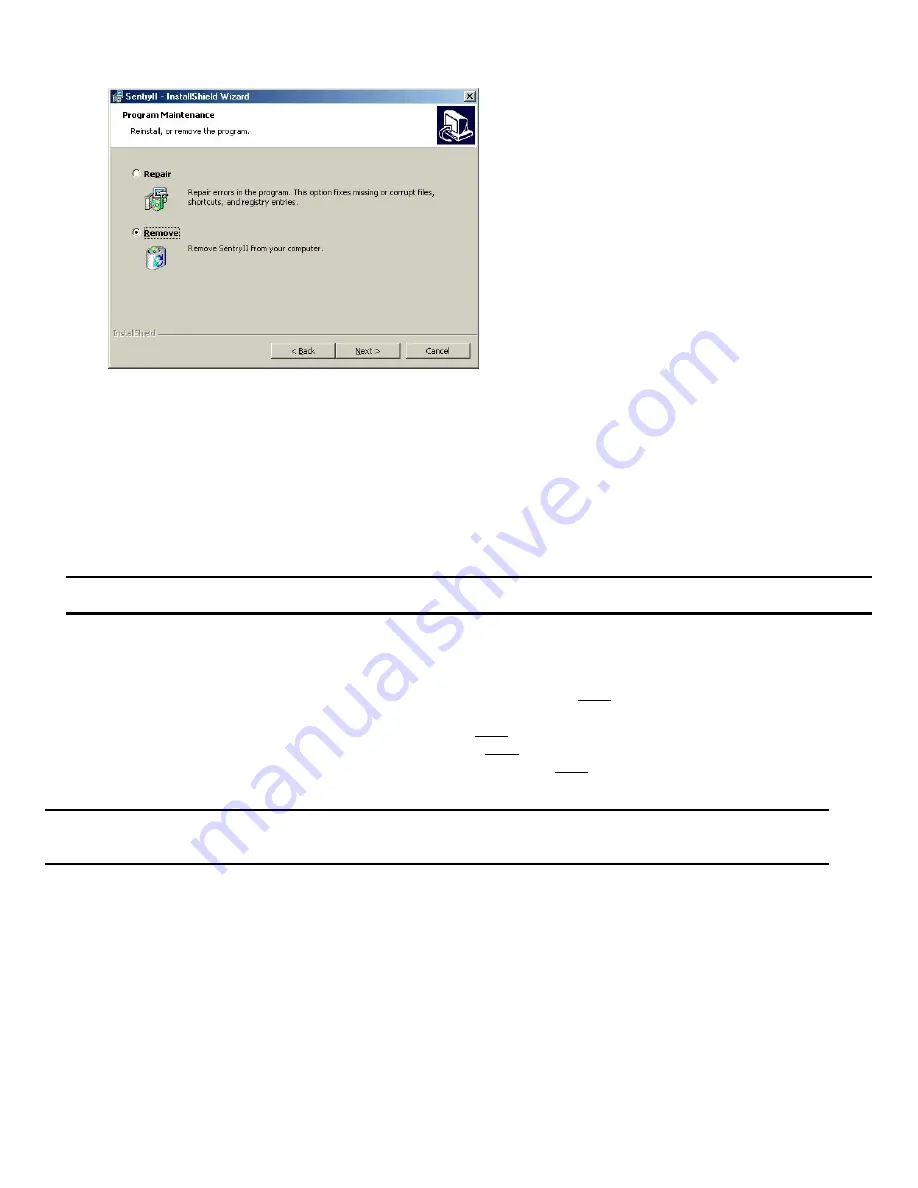
Step 4. The
SentryII
Data Logs
and
Event Logs
are NOT removed during the uninstall process. They can be located in the
C:\Program Files\Minuteman\
SentryII
Data and Event folders.
Novell Netware
Install Procedure
Step 1.
SentryII
must be installed from a Windows client computer. Before you begin, you will need the name of the Novell
Netware server and where the software will be installed. If you do not know the name of the netware server, ask your Novell
Netware Administrator.
NOTE: Novell Client32 is
NOT
required, however TCP/IP
is
a necessity for SentryII.
The Novell server must be running TCP/IP.
Step 2. Map a drive to the netware server's SYS volume. (NOTE: The netware user must have administrator access rights for SYS)
If you do not know how to map a drive, see the following:
•
For Windows 95/98/ME, from
Help
on the Windows Start menu, see the index
map network drive
and
To assign (map)
a drive letter to a network computer or folder
.
•
For NT, from
Help
on the Windows Start menu, see the index
mapping network drives
.
•
For 2000, from
Help
on the Windows Start menu, see the index
mapping drives
and
to network computer or folder
.
•
For XP, from
Help
and Support
on the Windows Start menu, see the index
mapping drives
and
to network computer
or folder.
NOTE: Make a note of the drive letter selected, as this will be needed later. Also the computername is the NetWare server
name and the foldername is SYS. (i.e. \\{computername}\SYS).
Step 3. Insert the SentryII Installation CD and select
Install Software
from the menu. If the autorun feature does not work, run
setup.exe
located in the
{
drive
}:\
\SentryIIServer\Netware folder on the SentryII Installation CD. NOTE: Replace
{
drive
}
with the
drive letter of the CDROM drive.
Step 4. The InstallShield Wizard will guide you through the installation process.
Step 5. When prompted for the SentryII installation folder, select the drive letter mapped in Step 2 and enter a new folder name, a
maximum of 8 characters may be used, where the software will be installed. (For example,
F:\SentryII
.)


