


-
34
-
Step 2. Insert the
SentryII
Installation CD and select
Install Software
from the menu. If the autorun feature does not work, run
setup.exe
located in the
{
cdrom drive
}:\
\RemoteClient\Netware folder on the
SentryII
Installation CD.
Step 3. The InstallShield Wizard will guide you through the installation process.
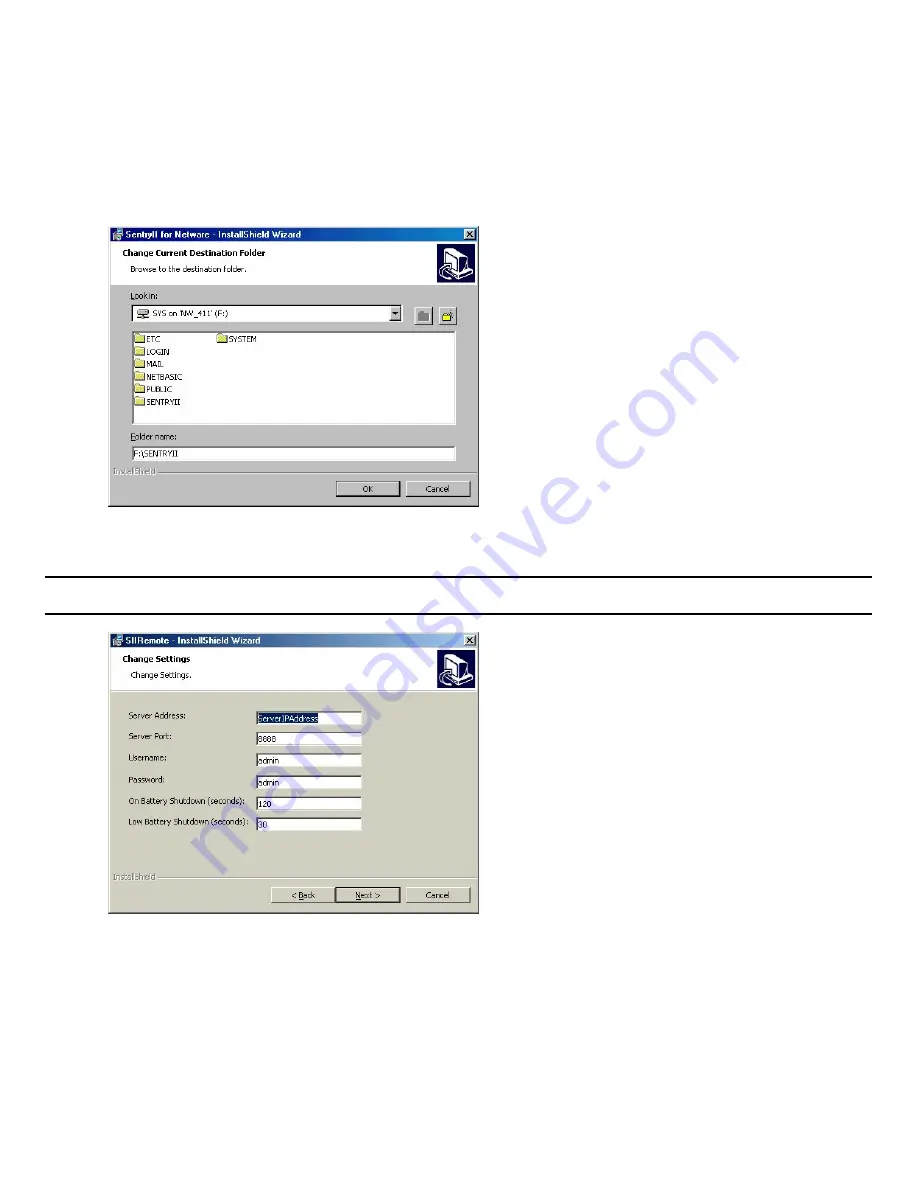
Step 4. When prompted for the
SentryII
installation folder, select a drive letter mapped to the SYS volume of your Novell server and
enter a new folder name, a maximum of 8 characters may be used, where the software will be installed. (For example,
F:\SentryII
.)
Step 5. Specify the desired setting for the
SentryII
Remote client.
NOTE: This splash screen is only available during the install process. To change these settings after installation, you may edit the
InstallFolder
\SIIRemote\SIIRemote.ini file.
The following is a description of the fields contained on this page:
•
Server Address
The
SentryII
Server’s IP address.
•
Server Port
The API port number of the
SentryII
Server. (See
Server Settings
on page 13)
•
Username
The default is admin. This setting must coincide with the defined
SentryII
users list. (See
User Management
on page 13)
•
Password
The default is admin. This setting must coincide with the defined
SentryII
passwords list.
(See
User Management
on page 13)


