1.
2.
3.
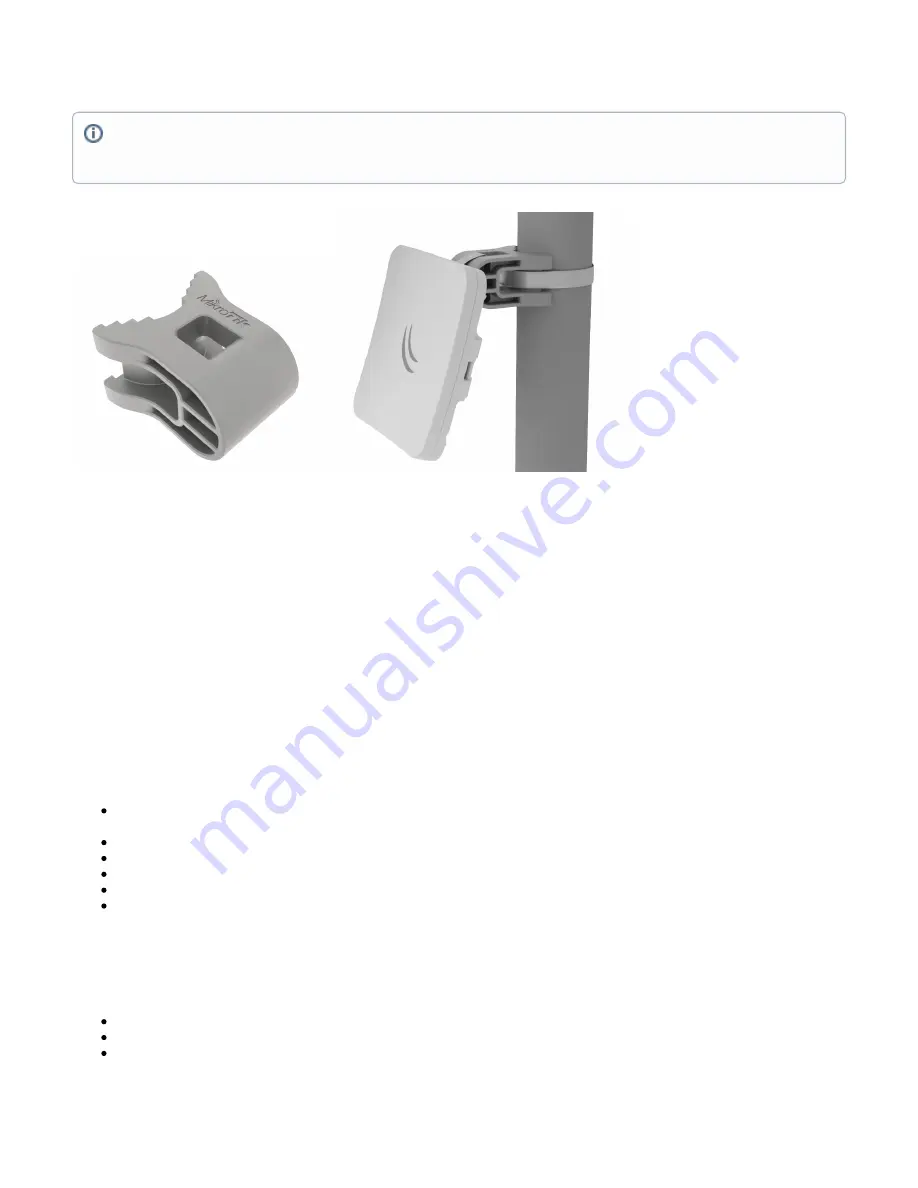
Specially designed for the SQ series enables vertical and horizontal adjustment on the pole.
Powering
The SQ series only accepts DC power from Passive PoE injectors (one power supply and PoE injector are included)
accepts 10-30 V DC consuming at maximum load 5 W.
SXTsq Lite2
accepts 10-30 V DC consuming at maximum load 6 W.
SXTsq Lite5
accepts 10-28 V DC consuming at maximum load 7 W.
SXTsq 5 ac
accepts 10-28 V DC consuming at maximum load 7 W.
SXTsq 5 High Power
Connecting to a PoE Adapter:
Connect the Ethernet cable from the device to the PoE+DATA port of the PoE adapter.
Connect an Ethernet cable from your local network (LAN) to the PoE adapter.
Connect the power cord to the adapter, and then plug the power cord into a power outlet.
Extension Slots and Ports
One Ethernet 10/100 Mbit (
Gigabit Ethernet), supporting automatic cross/straight cable correction (Auto MDI/X), so you can use
SXTsq 5 ac –
either straight or cross-over cables for connecting to other network devices.
One Integrated Wireless:
SXTsq Lite22.4 GHz, 802.11b/g/n, antenna gain 10 dBi.
SXTsq Lite55 GHz, 802.11a/n, antenna gain 16 dBi.
SXTsq 5 ac5 GHz, 802.11a/n/ac, antenna gain 16 dBi.
SXTsq 5 High Power5 GHz, 802.11a/n, antenna gain 16 dBi.
Buttons and Jumpers
The routerBOOT reset button has the following functions. Press the button and apply the power, then:
Release the button when green LED starts flashing, to reset RouterOS configuration to defaults.
Release the button when the LED turns solid green to clear all configuration and defaults.
Release the button after LED is no longer lit (~20 seconds) to cause the device to look for Netinstall servers (required for reinstalling RouterOS
over the network).
It's recommended to secure Ethernet cable to the pole using zip ties. With the distance from the device approximately 30 cm.
As an additional option, you can use "quickMOUNT-X" – mounting bracket for easy adjustment that can be obtained separately. Product web
page:


