1.
2.
3.
4.
5.
6.
Use the MikroTik smartphone app to configure your router in the field, or to apply the most basic initial settings for your MikroTik home access point.
Scan QR code and choose your preferred OS.
Install and open application.
By default, the IP address and user name will be already entered.
Click Connect to establish a connection to your device through a wireless network.
Choose Quick setup and application will guide you through all basic configuration settings in a couple of easy steps.
An advanced menu is available to fully configure all necessary settings.
Configuration
The device is preconfigured as a wireless client (CPE), and all you need to do is select the AP to connect to and set a device password. You can do this in
the quickSET tab that is loaded by default. In case IP connection is not available, Winbox can be used to connect to the MAC address of the device.
In case you wish to boot the device from the network, for example, to use MikroTik Netinstall, hold the RESET button of the device when starting it, until
the LED light turns off, then the device will start to look for Netinstall servers.
More information about using RouterOS and connecting to this device in our documentation:
.
Mounting
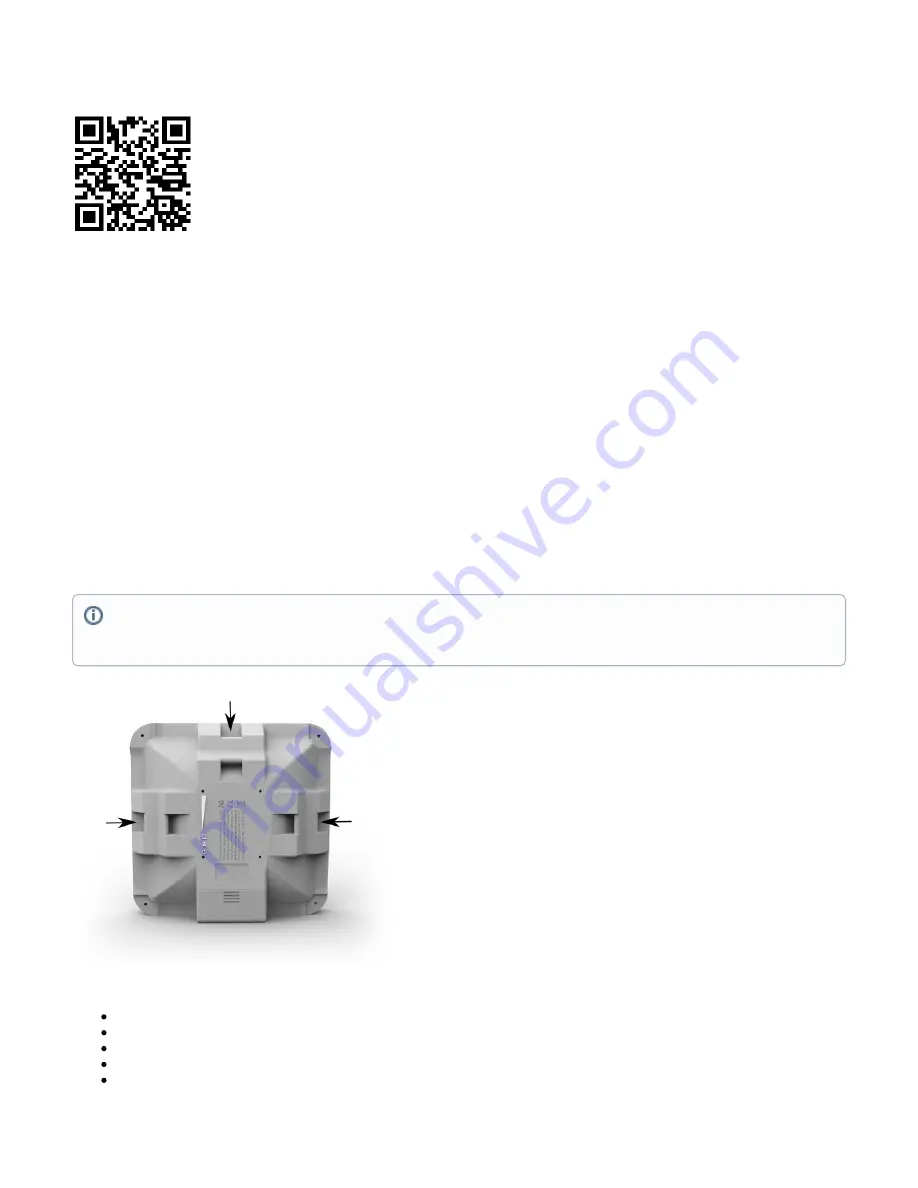
The device comes bundled with a metal mounting ring, which can be used on one of the three mounting slots on the backside of the device.
Use a Phillips screwdriver to loosen the metal ring.
Slide one end of it through the most convenient of the three mounting slots.
Position the device on the pole where it will be mounted.
Slide the loose end of the mounting ring back to its closing latch and use the screwdriver to tighten it.
The included ring mount allows for mounting on 3-7 cm diameter poles.
The IP rating scale for this device is IP54. When mounting outdoors, please ensure that any cable openings are directed downwards. We
recommend using POE injector and proper grounding. When using and installing this device please pay attention to Maximum Permissible
Exposure (MPE) safety distance with a minimum of 20 cm between the radiator and your body.


