Trend Micro™ Network VirusWall™ Enforcer 3500i controls access to
your corporate network to ensure that all devices—managed or
unmanaged, local or remote—comply with corporate security policies
before they connect. It prevents threats from entering the network by
scanning devices for the most up-to-date security software and critical
Microsoft™ patches.
Use this Quick Start Guide to get Network VirusWall Enforcer up and
running on your network. To obtain more information on product
features and advanced settings, see the following documentation:
• Dell™ Product Information Guide—this printed document provides
safety, environmental, and regulatory information about the device.
Read the safety information in this document before using Network
VirusWall Enforcer.
• Readme—a text file on the USB flash drive, the Readme covers
basic getting started instructions, new features, known issues, and
late-breaking information.
• Installation and Deployment Guide—provided on the USB flash
drive, this PDF document describes installation, planning,
deployment, and initial configuration.
• Administrator’s Guide—also in the USB flash drive, this PDF
document contains a comprehensive overview of Network VirusWall
Enforcer. It also provides detailed configuration and management
information.
If there are any items missing in your package, please contact your
Trend Micro sales representative.
Your package should include the following items:
Open and inspect the package.
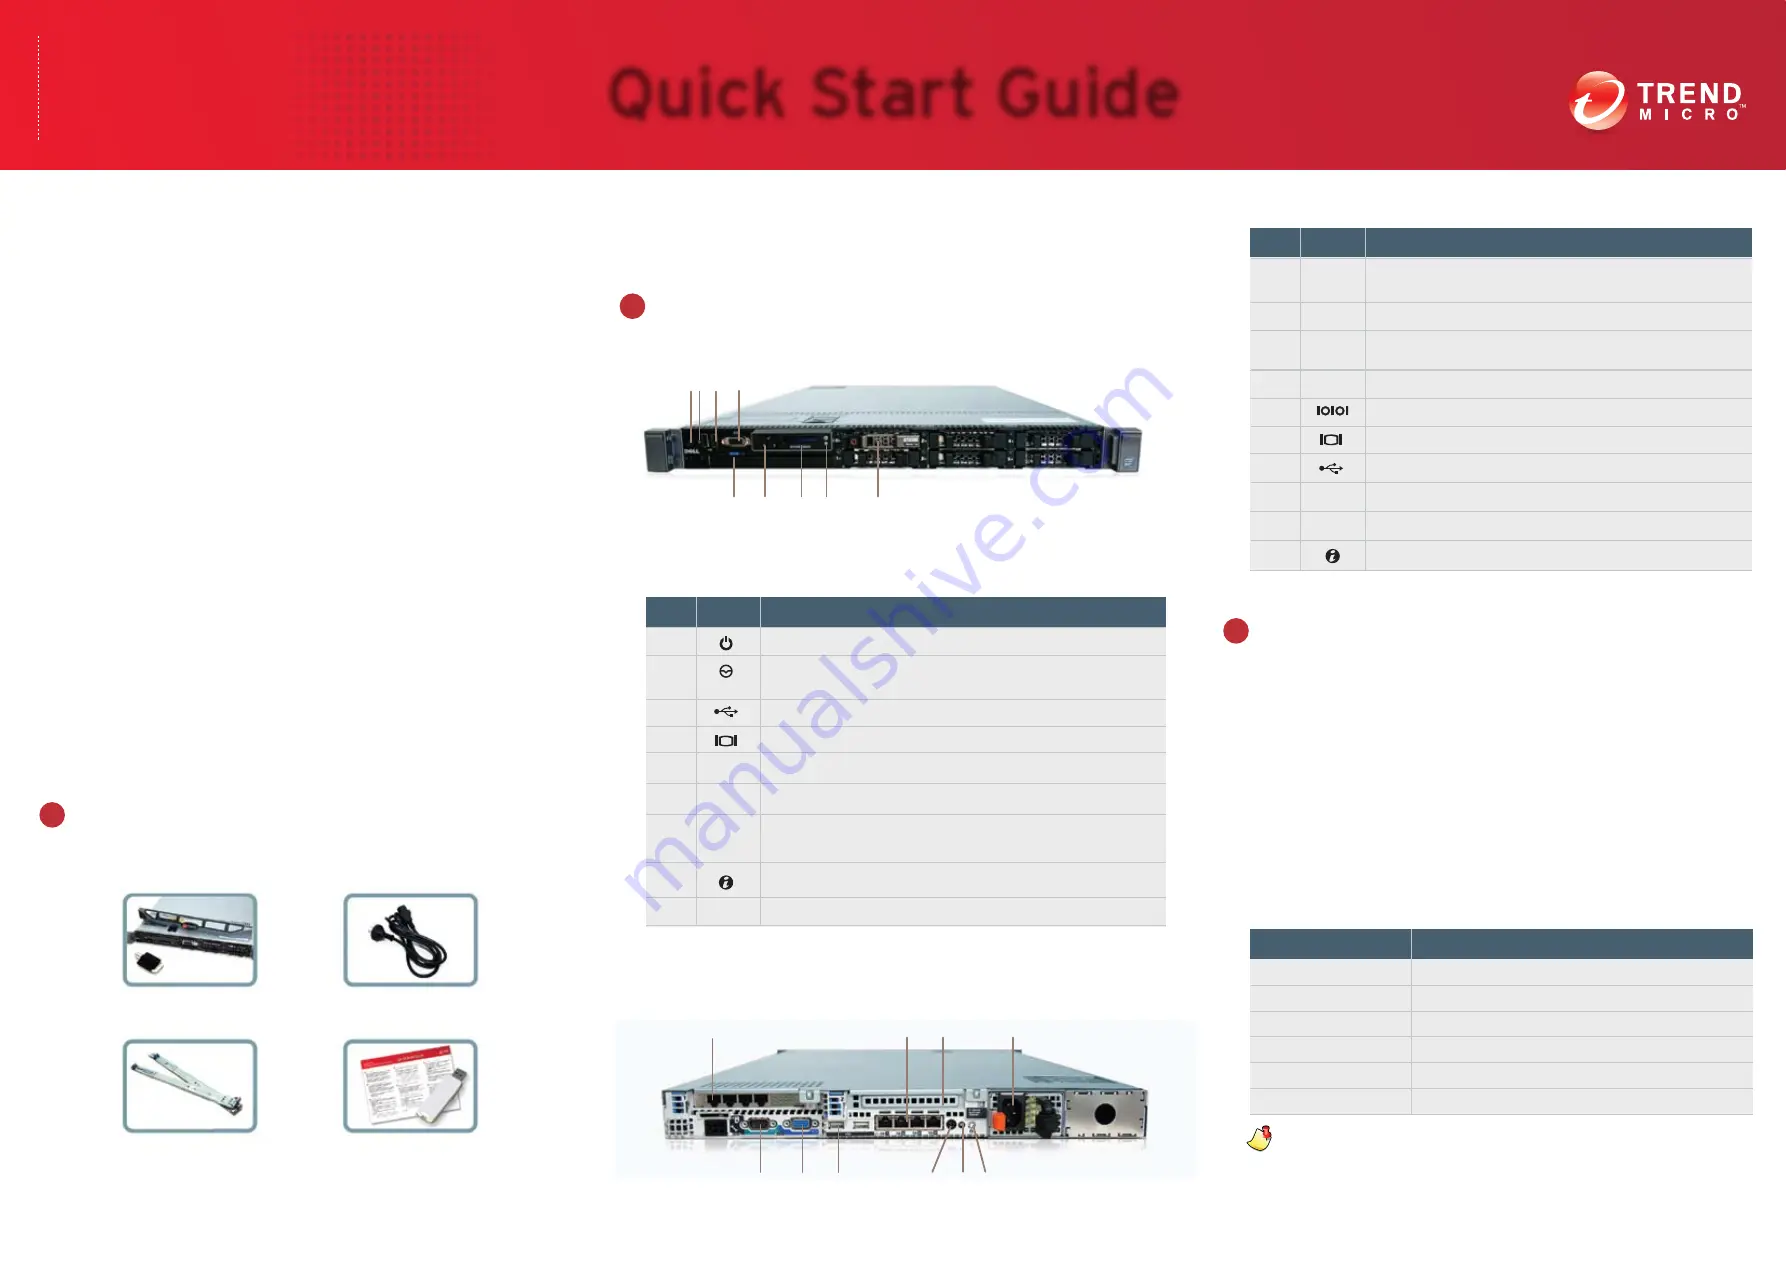
Understand the device interface.
Review the physical interface of your Network VirusWall Enforcer device.
Front panel
The front panel provides a quick way to connect a keyboard and a VGA
monitor to the device.
For the latest versions of Network VirusWall Enforcer documents, visit
the Trend Micro Update Center at
http://www.trendmicro.com/download
.
Item
Icon
1
2
3
4
5
6
7
8
9
Power-on indicator, power button
Nonmaskable interrupt (NMI) button for troubleshooting
software and driver issues with support
USB 2.0 connectors
Device identification button for locating the device in a rack
2.5-inch hard drive
Component
Video connector
Device identification panel
LCD menu buttons for use with support
LCD panel provides device ID, status information, and
system error messages for use with support
Back Panel
The back panel contains all the network interface ports. These ports are
grouped into the management interface ports and the data interface
ports.
Item
Icon
1
2
3
4
5
6
7
8
9
10
Expansion card ports using a Silicom™ LAN bypass server
adapter card (data interface)
Onboard Ethernet ports (management interface)
Optional expansion card ports using a Silicom™ LAN bypass
server adapter card (data interface)
Serial connector
Power supply connector
Video connector
Device identification button for locating the device in a rack
Component
USB 2.0 connectors
Device status indicator connector
Power-on indicator
Device with bezel
Power cord
Documents and
USB drive
Rack kit
1
4
6
7
8
9
5
2 3
1
5
6
7
8
9 10
2
3
4
Plan your deployment.
Decide how to integrate the device into your network and determine
which topology it will support. Position Network VirusWall Enforcer
between layer 2 and layer 3 switches to scan all packets entering
and leaving that section of the network.
Identify segments of your network to protect by considering which
kinds of endpoints may introduce viruses or violate security policies.
Also, consider the location of resources that are critical to your
organization.
Network Settings
As part of your deployment planning, prepare the network settings
that the devices should use to successfully connect to your network
and scan packets.
Setting
IP Address
Netmask/Prefix Length
Default gateway
DNS Server 1
DNS Server 2
VLAN
Value
Note:
If you are connecting Network VirusWall Enforcer to a
dual-stack network, you need to supply IPv4 and IPv6
addresses.
1
2
3
TREND MICRO
Network VirusWall Enforcer
3500i (R610 Series)
™
Quick Start Guide
™


