


DCA-8000
Midtronics Inc. 7000 Monroe Street Willowbrook, IL 60527
www.midtronics.com
Page
3
Quick Start Guide
167-000900EN-A
March 2019
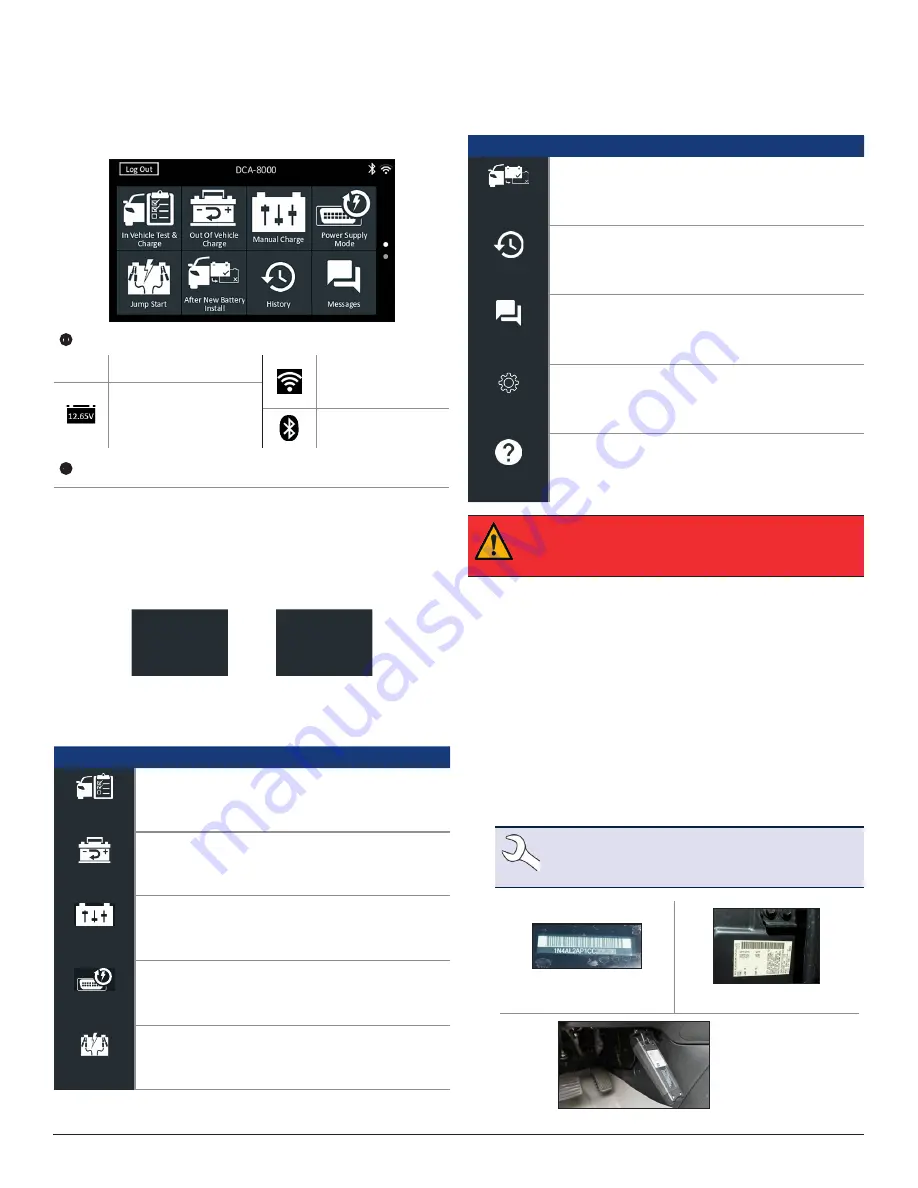
Main Menu
Menu Bar
Log Out
Log out current user
WiFi signal strength
Measured battery voltage
(When a battery is
connected)
Bluetooth
connectivity status
Main Menu Selection Area
Additional Screens
The dots at the bottom or side of a menu or results screen
indicate additional screens are available. Swipe horizontally left,
right, up or down across the Controller screen to view all of the
results.
Screen 1
Screen 2
Screen 3
Screen 1
Screen 2
Swipe
Horizontally
Swipe
Vertically
Main Menu Icons
Icon
Description
In Vehicle Test
& Charge
Automates battery testing for quickly testing
vehicles using the fewest steps.
Out of Vehicle
Charge
For testing out-of-vehicle customer batteries for
possible return.
Manual
Charge
Provides a timed charge that ranges from 5 to 120
minutes or a continuous charge that ends when
STOP is pressed.
Power Supply
Mode
Evaluates and maintains battery voltage at 13.5
volts to provide uninterrupted reprogramming and
retention of a vehicle’s system settings.
Jump Start
Makes high output current available to boost
charge an in-vehicle battery and assist in starting
the engine.
Icon
Description
After New
Battery Install
For testing newly installed batteries in a vehicle.
Also includes vehicle electronics reset information
after battery installation.
History
Access archived test histories or search test
history by VIN or by technician.
Messages
Displays alerts, notifications, and tool software
updates.
Settings
Setup/adjust: WiFi, printer setup, email settings,
user information, default language, display/sound
settings, BMIS, shop info, connected devices, tool
software version information.
Support
Access the analyzer Self-Test and a digitized
version of the Instruction Manual that was shipped
with the analyzer.
IMPORTANT
:
Leave the DCA-8000 plugged into
power overnight so the tool can automatically check
for and install any available software updates.
In Vehicle Test & Charge
1. Connect the charger clamps to the appropriate battery posts.
2. At the Main Menu tap
In Vehicle Test & Charge
. The Ac-
quire VIN screen is displayed.
3. Use a connected bar code scanner to scan the VIN bar code,
usually located on the driver’s side door frame. A paired CVG
can also be used. The VIN can also be entered manually.
For best results, use the barcode located on the driver’s side
door frame. The VIN is also displayed behind the windshield
on the driver’s side dashboard.
NOTE
: Refer to Appendix A in the Instruction
Manual for recommended scanning procedures
and VIN scanning help
Windshield
Drivers Door Frame
CVG Module


