EN
35
connecting the coolant line
caution!
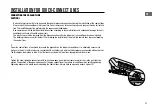
· No traces of moisture or dirt may penetrate the adapter pipes and connections during the installation of the coolant lines.
Always install the lines outdoors in dry weather. Do not remove any of the sealing caps and plugs until ready for installa-
tion. The installation must be performed in the sequence outlined below.
· Non-compliance with the individual installation steps according to these instructions and subsequent damage to the air
conditioners will void all liability and warranty.
· The plastic caps must be removed from the pipe connections after the indoor wall air conditioner has been installed.
· The bending radius may not fall below 150 mm during the installation of the pre-filled coolant lines to prevent bending
the coolant lines.
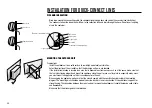
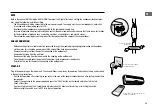
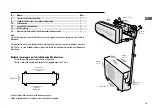
1.
Screw the coolant lines a few thread turns onto the pipe ends on the indoor air conditioner. It is absolutely necessary to
make sure that only the thin tubes are connected with each other and only the thicker pipes are connected with each other.
The thick pipes are marked in blue. If the thin lines are mixed with thick lines, the appliance will not work.
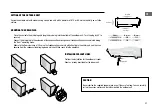
2.
Tighten the hand-tightened connections with two suitable open-end wrenches (never use pliers) to yield a gas-tight con-
nection. The position of the open-end wrench at the pipe connection of the indoor air conditioner may not change during
tightening because this would result in bending the coolant lines. Always hold an open-end wrench against it!
INSTALLATION FOR QUICK-CONNECT LINES

