Microtek TMA1600 Installing and Getting Started 15
2. Once ScanWizard Pro is launched, go to the Preview window, and click the Scan
Material icon. From the submenu that appears, choose either Positive
Transparency or Negative, depending on the film type. You will notice the change
in the appearance of the icon.
3. Click the Overview button to start an overview, and you will see the image appear
in your Preview window.
Your First Scan
1. Launch ScanWizard Pro from your image editing application. To do this, choose
the Import or Acquire command from the File menu of your image editing
application, then select ScanWizard Pro.
To operate ScanWizard Pro in the stand-alone batch mode in Macintosh systems,
go to the Apple menu, and choose the Batch Scan command. In Windows, launch
ScanWizard Pro from the Start menu in Windows.
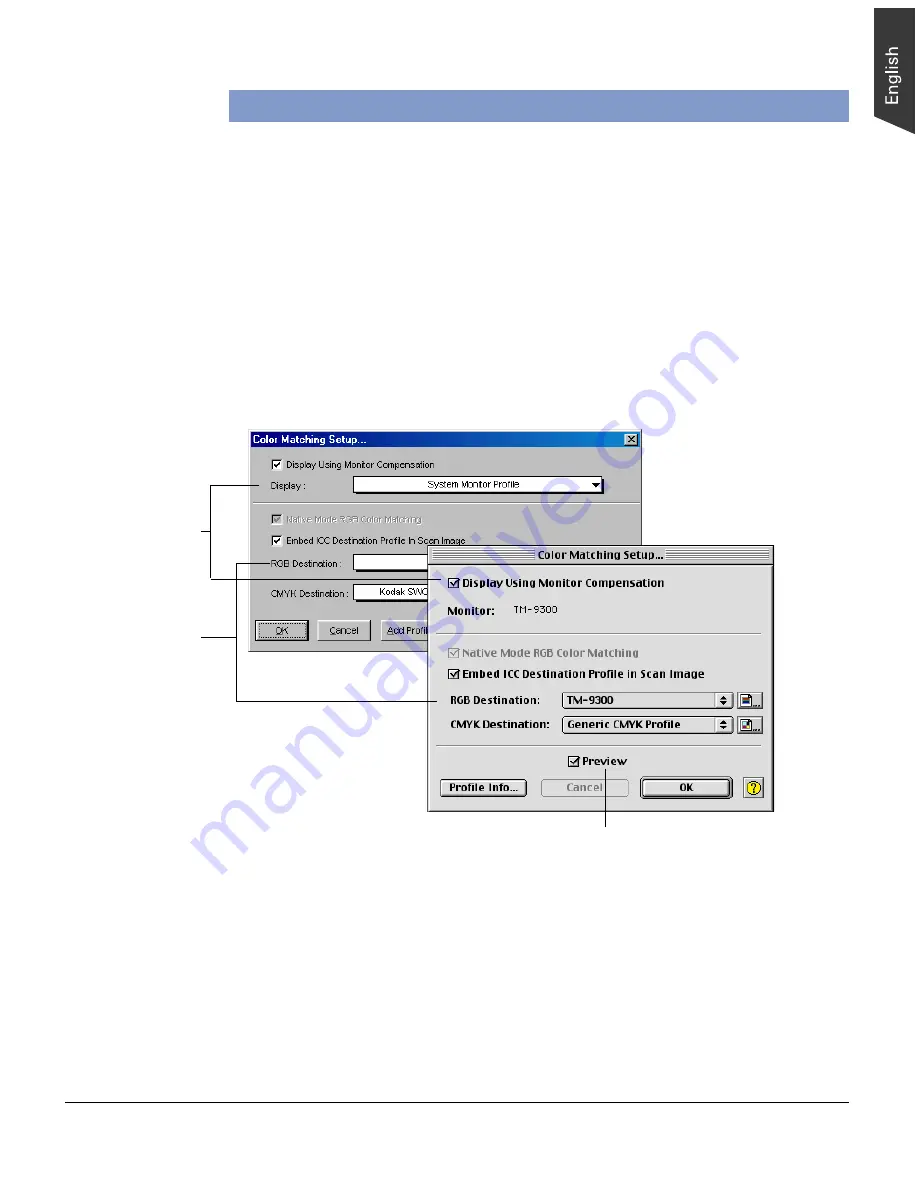
The first time you launch ScanWizard Pro, you will be asked to perform Color
Matching for your monitor and printer.
If Color Matching was set up when you first installed the scanner, you will not
have to do this procedure again for the TMA1600.
Monitor selection
shown here is set
in the ColorSync
Control Panel.
Color Matching
features
Immediately updates the Preview window image
when a new setting is selected. This will reflect
colors consistent with the newly selected
profile.


