background image

2          ScanMaker  9700XL  Installing  and  Getting  Started

This document provides information on how to install the
ScanMaker 9700XL flatbed color scanner and perform basic
image scanning procedures.

Introduction

The ScanMaker 9700XL is a 48-bit color flatbed scanner that supports tabloid-sized
(A3 or B-size) scanning for corporate users or designers. This scanner scans images
up to 12" x 17" at an optical resolution of 1200 x 2400 dpi (9600 x 9600 dpi
interpolated).

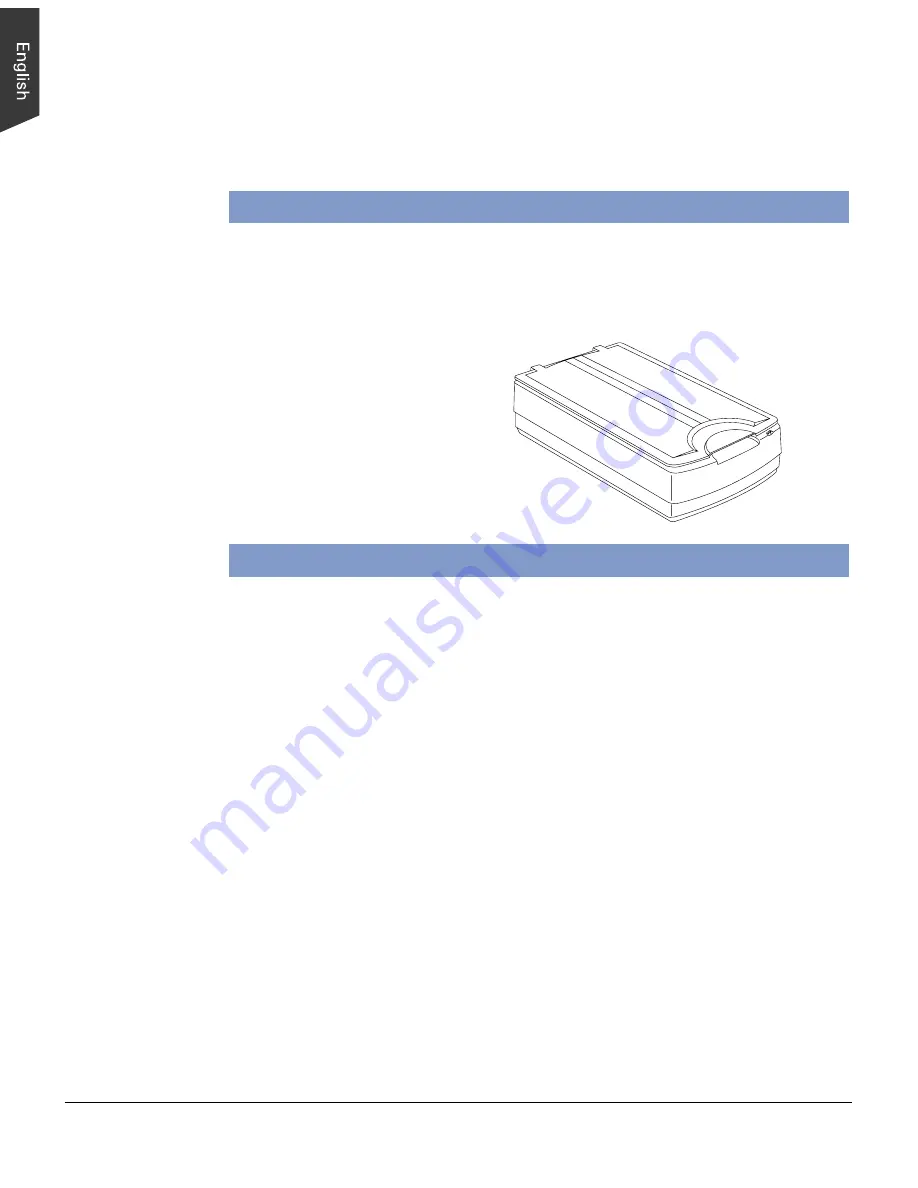
The ScanMaker 9700XL
provides two built-in interfaces
(USB and SCSI), and allows
you choose any of the two
interfaces to digitize image
originals.

System  Requirements

128MB RAM or more recommended

CD-ROM drive (for installing software)

Color display with 24-bit color output capability

USB

PC

- Pentium PC or later with USB port
- Windows 98, 2000, Me, or XP

Mac

- iMac or G3/G4 with built-in USB port
- Mac OS 8.6, OS 9.x, or OS X

SCSI

PC

- Pentium PC or later
- Windows 95, 98, 2000, Me, NT 4.0, or XP

Mac

- Power PC class or later with ASPI compliant SCSI port
- Mac OS 8.5, OS 9.x, or OS X

Содержание ScanMaker 9700XL

Страница 1: ...ration target 14 Before you calibrate 14 Calibrating your target 15 Loading a profile 16 Specifications 17 Additional Documentation in the CD ROM 17 Trademarks Microtek ScanMaker and ScanWizardTM Pro...

Страница 2: ...f 1200 x 2400 dpi 9600 x 9600 dpi interpolated The ScanMaker 9700XL provides two built in interfaces USB and SCSI and allows you choose any of the two interfaces to digitize image originals System Req...

Страница 3: ...ruler Taking a Closer Look Unpacking the Scanner Open your scanner package and check the components as stated in your packing list If any component is missing call Microtek Customer Service ScanMaker...

Страница 4: ...sport the scanner the scanner must be locked To lock the scanner follow the steps below 1 Turn off the scanner if your scanner is on 2 Set the SCSI ID number to 9 3 Turn on your scanner The scanner s...

Страница 5: ...installer program will install the Color Matching System driver program and ask you to perform Color Matching for your monitor and printer The Color Matching feature ensures color consistency from the...

Страница 6: ...ard please refer to the SCSI Installation Guide on separate documentation included in your scanner package or refer to the documentation that came with the SCSI card Follow the steps below to make the...

Страница 7: ...nner s terminator switch to the ON position For PC users Note If you have multiple devices on your SCSI chain make sure the scanner is the last device on the chain and that the scanner is terminated i...

Страница 8: ...the back of the scanner and plug the other end into a power source power surge protector highly recommended 6 Turn the scanner s power switch to On and wait for the green light on the scanner s front...

Страница 9: ...USB connection 1 Connect the power cord to your scanner Plug the power cord into the back of the scanner and plug the other end into a power source power surge protector highly recommended Make sure...

Страница 10: ...nstalling and Getting Started 3 Turn the scanner s power switch to On and wait for the lights on the scanner s front panel to stop blinking and stay on steady Your system will detect the scanner autom...

Страница 11: ...ntal ruler on the scanner If you are scanning a book or thick materials lift the scanner lid out of its hinge sockets high enough to create room between the originals and the lid 3 Lower the scanner l...

Страница 12: ...m the Start menu in Windows The first time you launch ScanWizard Pro you will be asked to perform Color Matching for your monitor and printer 2 Once ScanWizard Pro is launched go to the Preview window...

Страница 13: ...6 To scan a photographic original bring up the Settings Window and select None on the Descreen options menu To scan printed material on the Descreen options menu select the suitable descreen level Ne...

Страница 14: ...follows Gently remove the target from its protective sleeve and avoid touching the target image surface When not in use keep the target in its sleeve and away from light and heat Note To keep the colo...

Страница 15: ...rofile icon In Windows go to the Start menu and choose Programs Microtek ScanWizard Pro for Windows then Microtek Scanner ICC Profiler 3 The main dialog box appears Set the appropriate parameters clic...

Страница 16: ...etails on how to calibrate the target and generate the profile refer to the help feature of the Microtek Scanner ICC Profiler program Loading a profile Once the profile has been produced follow the st...

Страница 17: ...x 9600 dpi Dimensions L x W x H 24 7 x14 8 x5 1 627 38x375 92x129 54mm Weight 26 4 lbs 12 kg Voltage AC100Vto240V 47 63Hz Environment Operating temperature 50 to 104 F 10 to 40 C Relative humidity 20...

Страница 18: ...use harmful interference and 2 this device must accept any interference received including interference that may cause undesired operation Responsible Party Loi Han 16941 Keegan Avenue Carson CA 90746...

Отзывы: