8
Note about viewing images on your television
•
Leaving an image on your television screen for an extended length of time is not
recommended.
Viewing Pictures on Your TV
Once you have set up your Photo Viewer, you can start viewing digital pictures on your
TV. To help you get started, try viewing the
Quick Tour
disk included in the box with
Microsoft TV Photo Viewer.
Viewing Pictures from a Floppy Disk
1
Turn on both your TV and your Photo Viewer.
2
Make sure you’ve selected the proper video input source on your TV, as described
on the previous page.
3
Insert the floppy disk into the Photo Viewer.
4
Press the
Forward
button once to start reading the disk. Press
Forward
again to
navigate through the pictures in your album. Or, press
Auto
to display pictures
automatically as a slideshow.
5
When you’ve finished viewing the pictures on the disk, just eject the disk and put in
another disk to view more pictures.
Searching for a Particular Picture
You can search for a particular picture on a disk by pressing and
holding the
Forward
or
Back
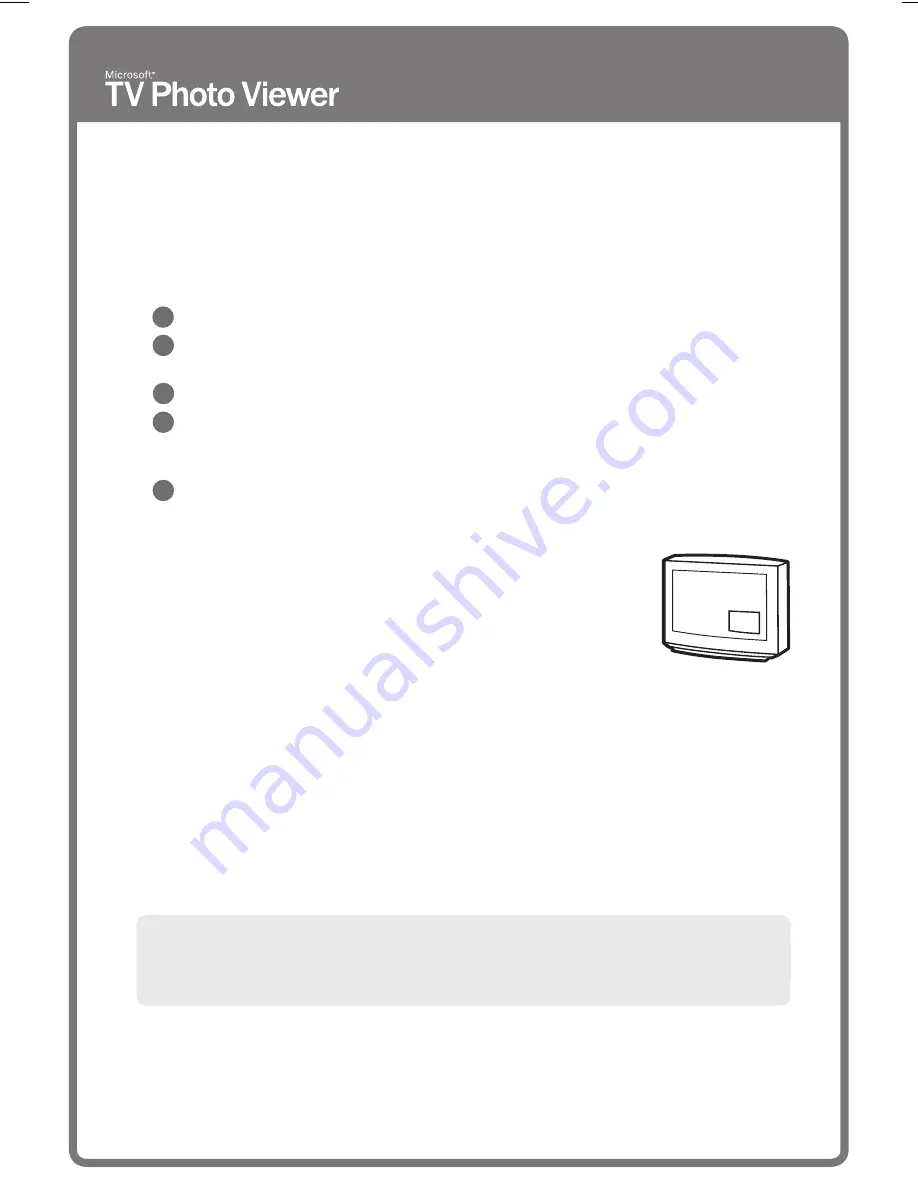
button. A small image appears in the
lower right corner of the TV screen, indicating which picture you are
about to view.
The small images are created automatically when you use the TV Photo Viewer
computer software to create a floppy disk. If you choose not to use the software to
create your floppy disk, a small square with a number inside it will appear instead of the
small image.
Viewing Floppy Disks Directly from Your Digital Camera
If you have a digital camera that can take pictures in 640 x 480 JPEG format and save them
to a floppy disk, your Photo Viewer may be able to display those pictures directly on the
TV without first using the TV Photo Viewer software. However, if you have taken pictures
in a format other than 640 x 480 JPEG, you need to use the TV Photo Viewer software to
resize and compress the pictures and put them onto a floppy disk. This is the case for
most digital cameras.
1-X08822768bdy.p65
5/7/2001, 11:22 PM
8
Содержание TV Photo Viewer
Страница 1: ......


