


ZLK38AVS Software Installation
ZLK38AVS User Guide Revision 3.0
8
5
ZLK38AVS Software Installation
There are two steps to installing the software on the Raspberry Pi:
1.
Creating Raspbian image: This step is performed on a separate PC.
2.
Raspberry Pi Software Installation: This step downloads the installation scripts and installs the
Microsemi, Amazon, and Sensory software onto the Raspberry Pi. This step requires a monitor,
keyboard, and mouse connected to the Raspberry Pi, or a VNC (or similar) connection to the
Raspberry Pi in order to control and monitor the installation process.
5.1
Creating Raspbian Image
Raspbian Stretch with Pixel is the operating system that will be installed on the SD card. On a separate
PC, follow the steps below:
1.
Format the SD card to FAT32 to ensure you are starting with an empty card.
2.
Download and install Etcher from https://etcher.io/.
3.
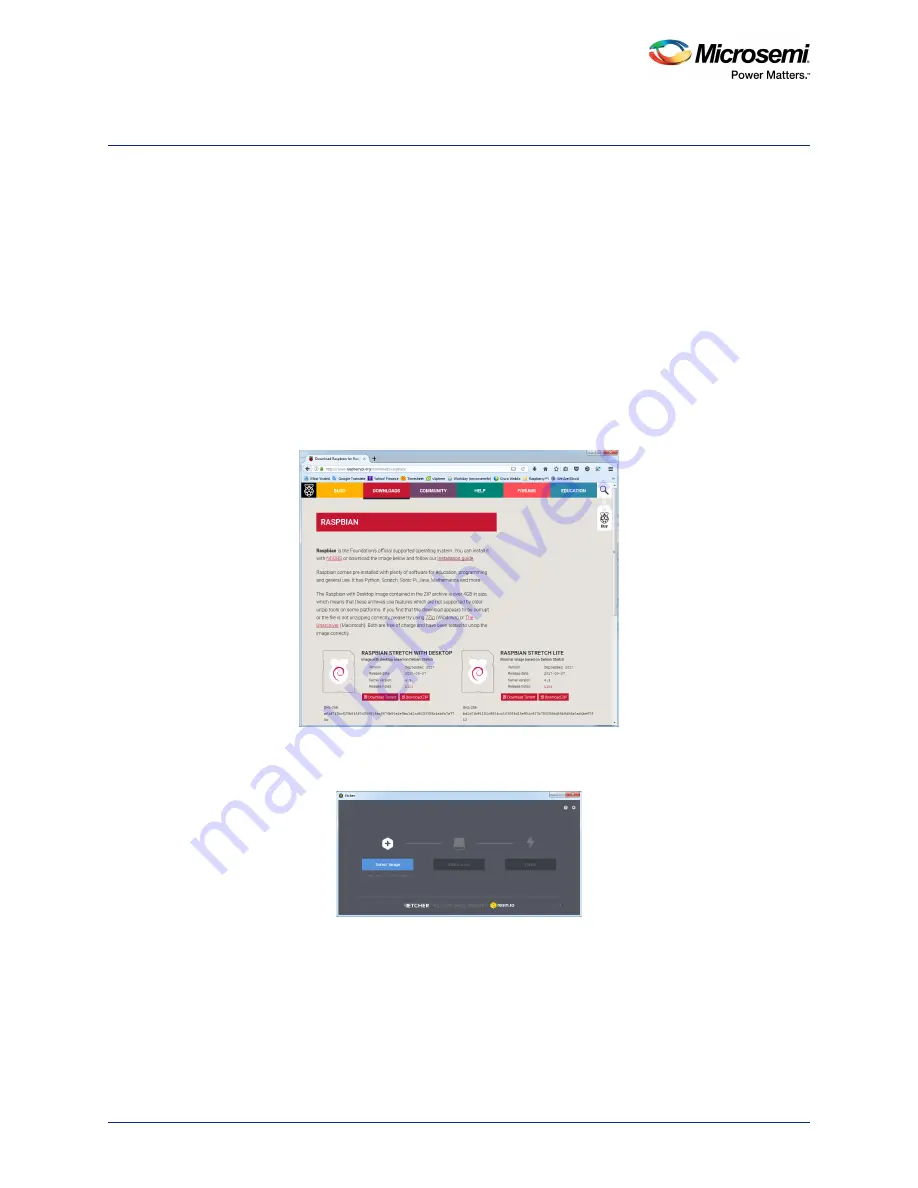
Download Raspbian Stretch with Desktop from https://www.raspberrypi.org/downloads/raspbian.
Figure 9 •
Raspbian download page
4.
Write the image to the SD card using Etcher.
Figure 10 •
Etcher Disk Imager example
5.
Once the card has been written, exit Etcher and install the SD card into the Raspberry Pi.
5.2
Raspberry Pi Software Installation
Once the Raspberry Pi is up and running, make sure it is connected to the Internet by opening up the
web browser. Open a terminal window and change into your desired working directory, or create one.