R e v i s i o n 3
31
5 – Board Demonstration
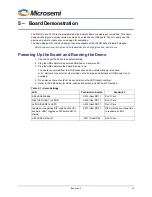
The IGLOO nano FPGA is pre-programmed with a simple demo to quickly get you started. This demo
design will help give a quick overview as well as a quick check of this board. You can easily use this
demo as a guide to create your own design for evaluation.
The demo design RTL code and design files are available at the IGLOO nano Starter Kit website:
www.microsemi.com/soc/products/hardware/devkits_boards/igloonano_starter.aspx
Powering Up the Board and Running the Demo
1. Check and put the board in its default setting.
2. Plug the USB cable into a powered USB hub or a powered PC.
3. Plug the USB cable into the board to power it up.
The board is powered from the USB connection and no external supply is required.
A 5 V wall-jack connector is only provided on the board as an alternative if USB power is not
available.
4. On power-up there should not be any activity on the LED (reset condition).
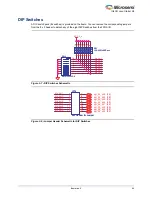
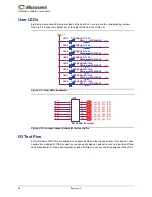
5. Refer to the table below for LEDs, push-button switch, and DIP switch functions:
Table 5-1 • Demo Settings
LED
Push Button Switch
Dip Switch
All 8 LEDs blinking
SW4 (User PB 1)
Don’t Care
Right Shift (LED1 to LED8)
SW5 (User PB 2)
Don’t Care
Left Shift (LED8 to LED1)
SW6 (User PB 3)
Don’t Care
Toggles on respective DIP switch action (for
example, LED1 toggles on DIP switch SW3.1
status)
SW7 (User PB 4)
DIP Switches are connected
to respective LEDs
All 8 LEDs will be off
SW1 (Reset PB)
Don’t Care
Содержание IGLOO nano Starter Kit
Страница 1: ...IGLOO nano Starter Kit User s Guide ...
Страница 6: ......
Страница 9: ...IGLOO nano Starter Kit Revision 3 9 Figure 1 3 Bottom Silkscreen ...
Страница 14: ......
Страница 28: ......
Страница 30: ......
Страница 32: ......
Страница 34: ......
Страница 36: ......
Страница 41: ......


