Appendix
D
CloudLink Web HMI
D-2
Vision HAWK Smart Camera Guide
Connecting
To launch CloudLink, use your favorite web browser and enter the address of your device
in the browser’s address bar. For example, if you have a Microscan smart camera on your
network at address
10.20.1.123
, you would enter:
CloudLink also works with
Visionscape Software
and with
AutoVISION
’s Emulator.
To connect to a software-based job running in FrontRunner or AutoVISION:
First, be sure the job is running, and then type the following into your browser’s address bar:
Note:
You must specify port
8080
for a PC-based connection. If you are connecting to a
PC-based system from a different machine on the network, use the IP address of the PC
instead of the local host. For example, use
http://10.20.1.234:8080
if the PC’s IP address
is
10.20.1.234
.
Once you press the
Enter
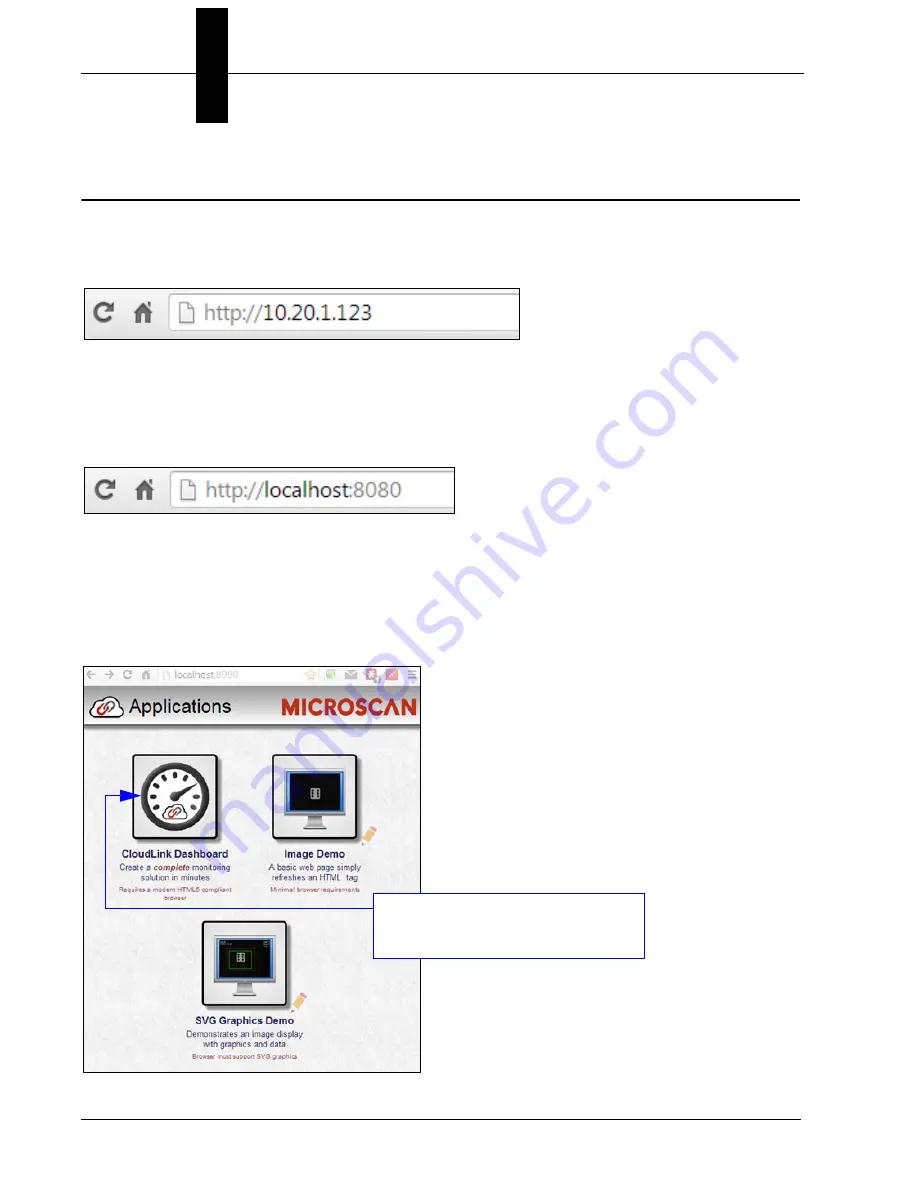
key, you should see the following home page:
Click the
CloudLink Dashboard
icon to launch the application.
Содержание Vision Hawk Smart Camera
Страница 1: ...Vision HAWK Smart Camera Guide 84 016800 02 Rev J...
Страница 12: ...Chapter 1 Introduction 1 6 Vision HAWK Smart Camera Guide...
Страница 24: ...Chapter 2 System Components 2 12 Vision HAWK Smart Camera Guide PNP Output for Host Input...
Страница 27: ...Mounting and Wiring the Vision HAWK Smart Camera System Components 2 Vision HAWK Smart Camera Guide 2 15 PNP...
Страница 28: ...Chapter 2 System Components 2 16 Vision HAWK Smart Camera Guide Input Output Wiring...
Страница 62: ...Appendix A Connector Pinouts A 4 Vision HAWK Smart Camera Guide...
Страница 68: ...Appendix B Cable Specifications B 6 Vision HAWK Smart Camera Guide...
Страница 78: ...Appendix C General Specifications C 10 Vision HAWK Smart Camera Guide...
Страница 86: ...Appendix D CloudLink Web HMI D 8 Vision HAWK Smart Camera Guide...
Страница 98: ...Appendix F Vision HAWK Boot Modes F 4 Vision HAWK Smart Camera Guide...


