15
16
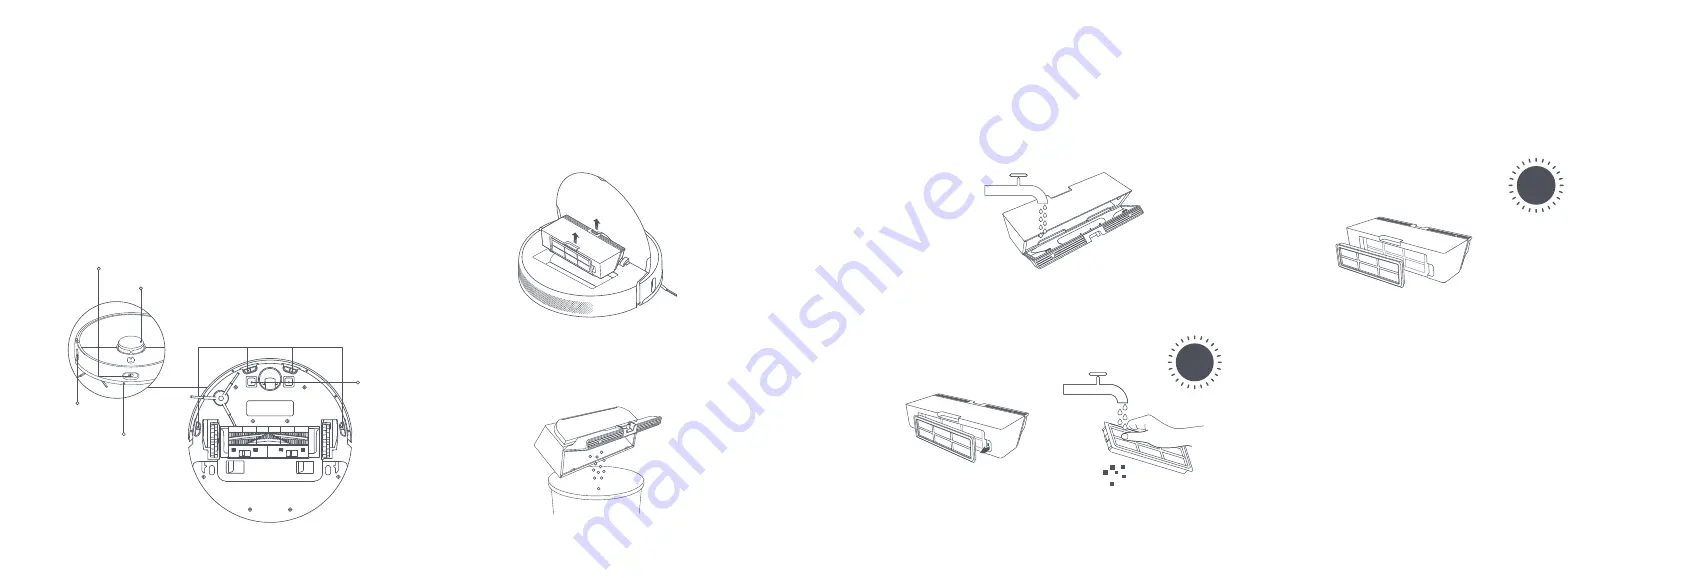
4. Remove the filter, as illustrated, then rinse it out and lightly tap on the
edge of the filter to remove dust and debris.
5. Place the dust compartment and filter aside to dry before reinstallation.
3. Add clean water to the dust compartment, and close the dust
compartment cover, then shake the compartment back and forth, finally
pour out the water.
CAUTION:
Only clean water should be used to clean the filter. Do not use detergent.
Notes:
·Do not attempt to clean the filter with a brush or finger.
·Biweekly cleaning is recommended.
Note:
Filter must be fully dry before use.
Dust Compartment
* Weekly cleaning is recommended.
1. Open the vacuum-mop cover, then pinch the dust compartment clip to
remove the dust compartment.
2. Open the dust compartment cover as indicated by the diagram.
Note:
To prevent the filter from becoming clogged, lightly tap the dust compartment
when emptying its contents.
Sensors and Charging Contacts
Use a soft cloth to clean all sensors and charging contacts in the
vacuum-mop:
·
The four cliff sensors on the bottom.
·
The charging contacts on the bottom.
·
The edge sensor on the side of the vacuum-mop.
·
The bumper and the obstacle sensor on the front of the vacuum-mop.
·
The LDS laser sensor on the top of the vacuum-mop.
Cliff Sensor
Charging
Contacts
Obstacle Sensor
LDS Laser Sensor
Edge Sensor
Collision Buffer


